Turbo Timber 2M SWS – Part Five
Having run through the majority of my checklist, I had a just a couple items left to consider.
Originally, I had thought about making some servo/linkage covers for the TT, but on reflection I didn’t really think that was really necessary in this case. With it being a high wing and keeping the wings somewhat cushioned from handling issues by storing them in wing bags, I am not really concerned about handling or field damage (on a low wing, sometimes the linkages would touch the ground during a less than optimal landing but not on this bird!). Also, with the TT, I’m not expecting a lot of high speed flying so wind resistance or aerodynamic considerations are not really a factor so we will just check that box off and move on.
The next item was to add a glider tow release to the airplane. I’ve had something similar on several planes and have a good handle on the proper placement and functionality needed. The tow release is actually not the way you want to detach the glider from the tow plane, its simply an extra safety measure allowing the tow pilot another option in the case that the glider causes issues… release failure, erratic flight, or whatever… and there is a need to quickly remove the connection between the two craft.
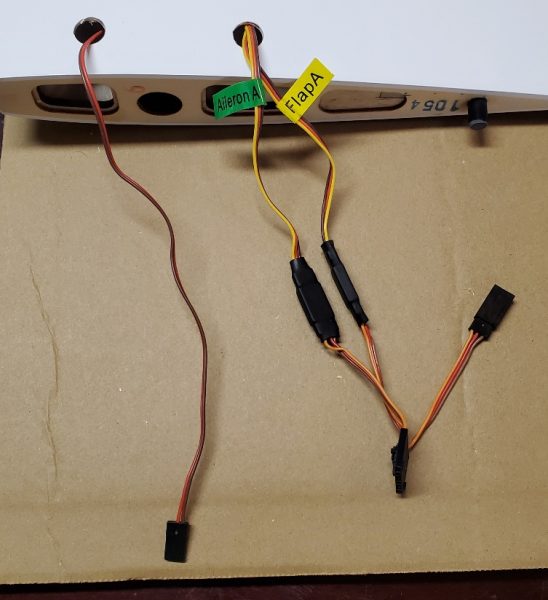
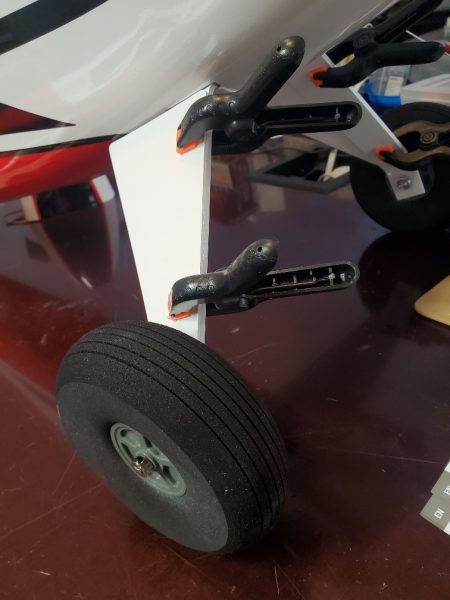
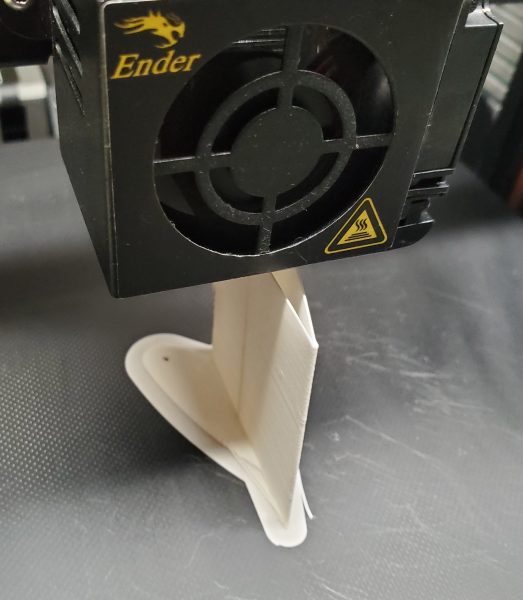
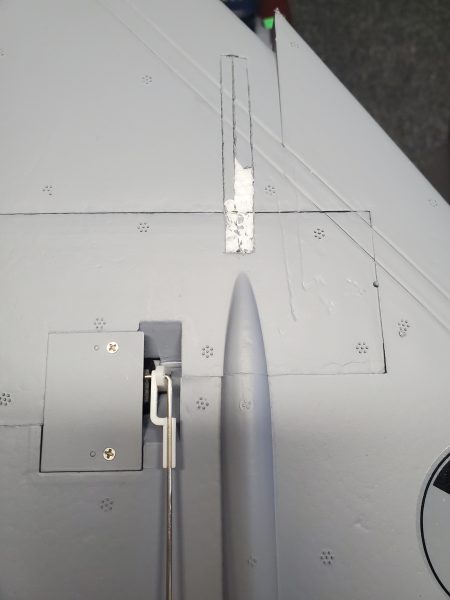
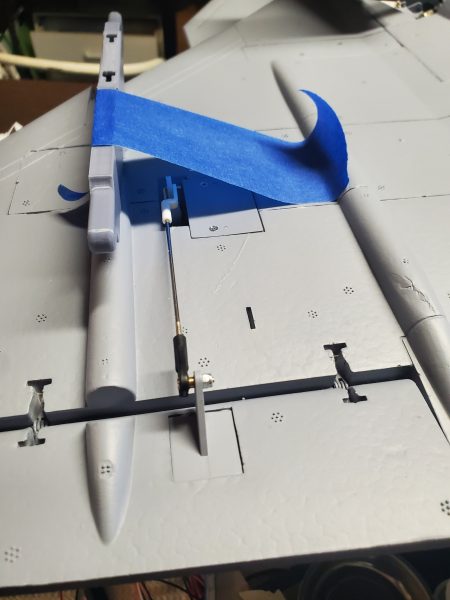
Placing the release toward the trailing edge of the wing is typically a good compromise. Close enough to the CG of the plane to minimize the effect of the tow on the flight of the tow plane with plenty of avaialble structure to mount to and a clear path for the tow line to avoid any likely entanglement since the towed plane is typically above and behind the tow plane. I had a nice tow release I pulled from another aircraft when I sold it, so all I had to do was create a mounting plate and assign a switch with appropriate endpoints and I was pretty much in business. As I’ve done on other aircraft, I notched the trailing edge at the center of the wing to fit around the release. Here are some pics of the installation.
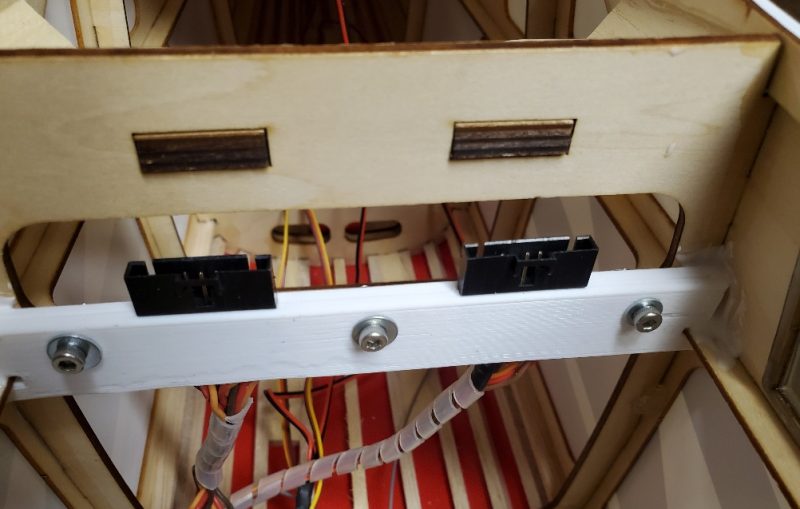
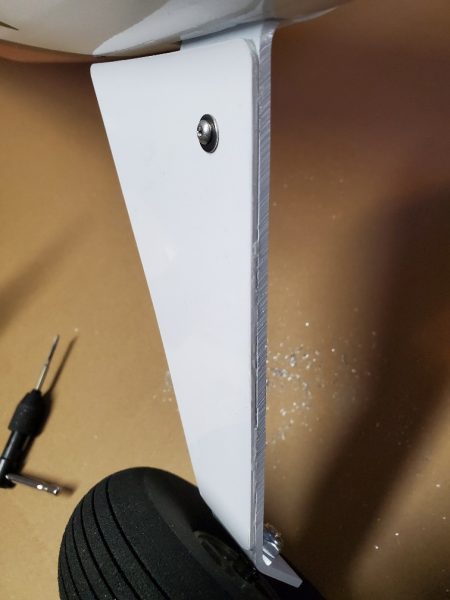
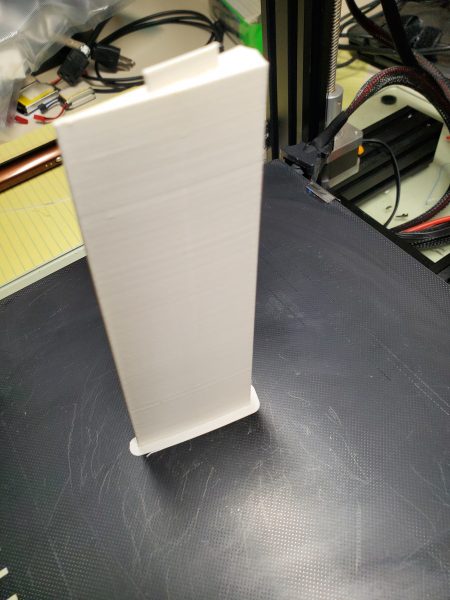
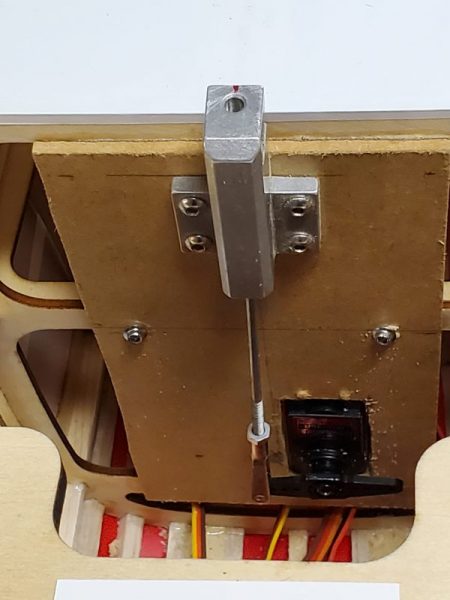
I built the whole release mechanism out on a board cut to size to fit the bulkhead top to bottom brace dimensions and then glued and screwed it in… Here is a shot of that installation.
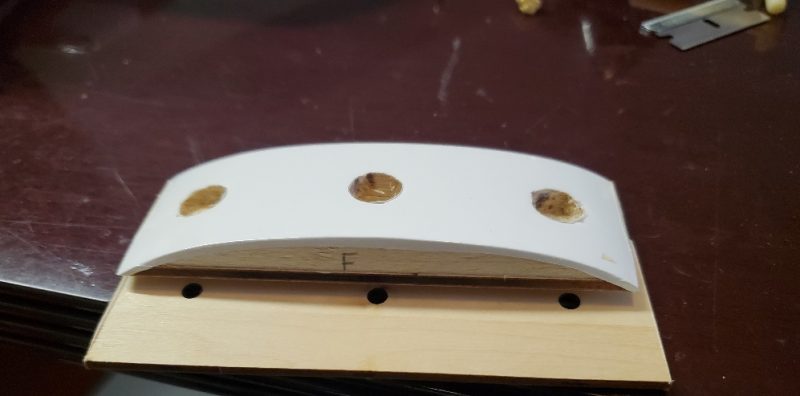
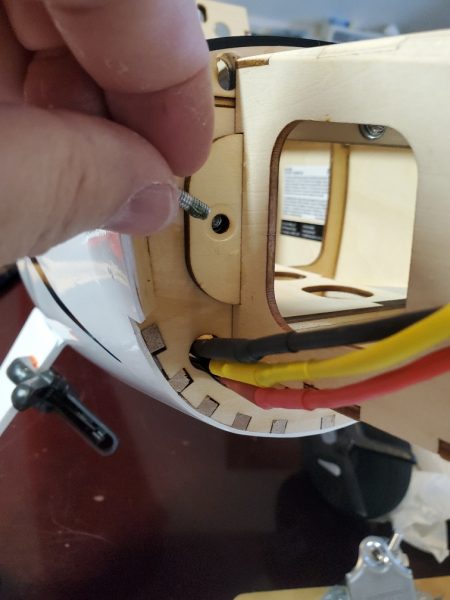
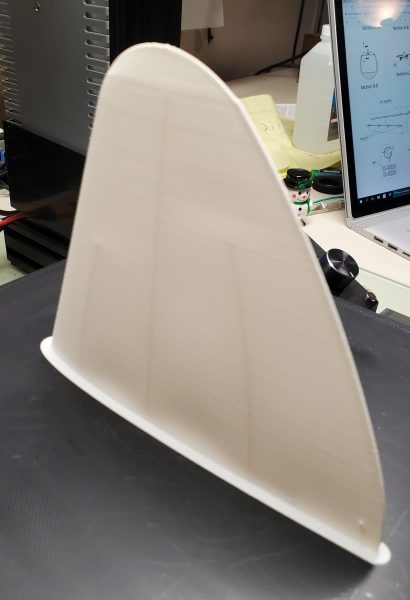
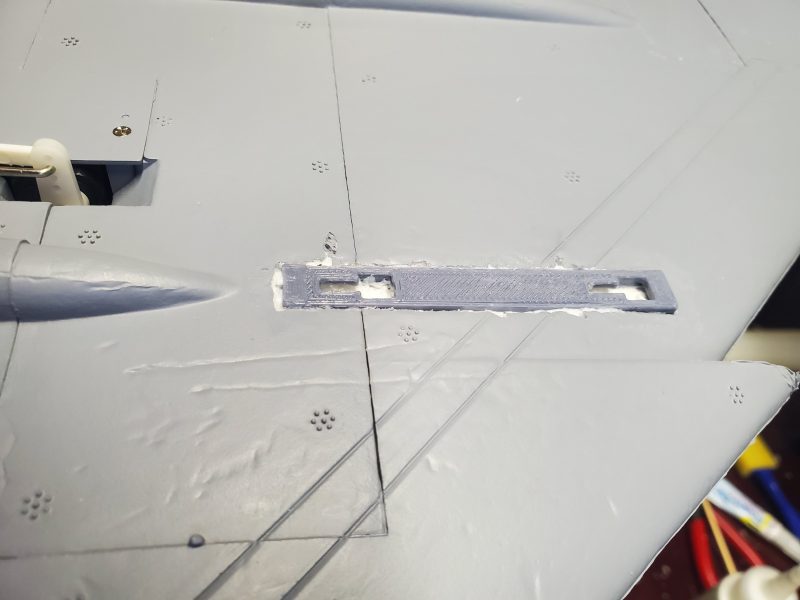
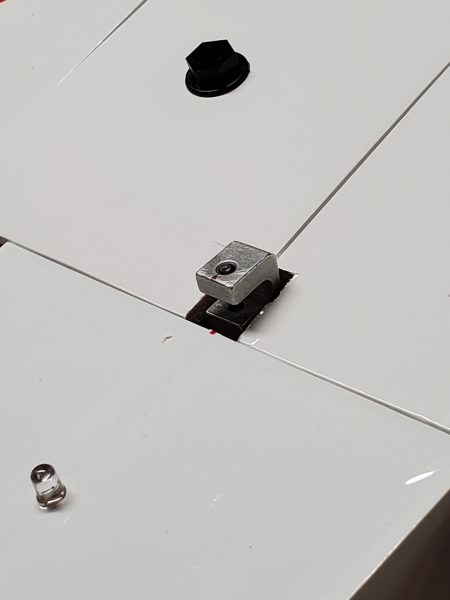
Here is what it looks like with the wings notched to fit around the release. I’ll clean up the notches a bit… maybe harden them with some glue on the exposed wood and then paint white or cover…
Another couple of items on my list are items for another day. Having a camera mount would be nice to grab some video, but I’m still debating location(s) and how to attach the mount(s). I may work on a design to use the glider tow release as one mounting point… just don’t drop it by mistake! Another option is in cockpit but the windscreen is curved and not perfectly transparent so likely I’ll look at something underneath instead… probably attached to the landing gear in some way. But, I’m not in a big hurry for that. Likewise, I’d like to put floats on the TT, but I have some time for that and I haven’t decided if I can adapt some floats I have or if I’ll dole out for the standard option available from E-Flite. Likewise, I want to paint a prop with some matching colors to the scheme on the airplane but for now, my standard Xoar 15×8 is looking pretty nice so that can wait for another day as well.
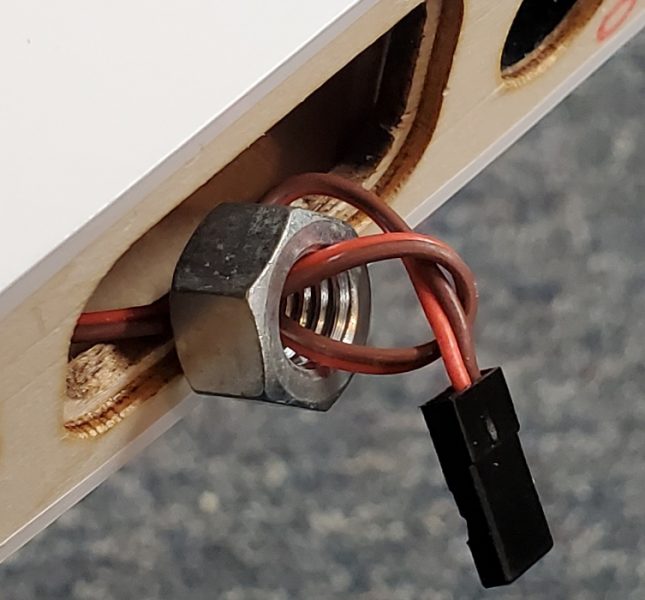
Just as I thought I was going to concede that I was ready to fly this bird, I ran into a minor issue. I was having trouble getting the prop nut tight enough to feel safe that the prop and spinner were going to stay attached… especially if I employ reverse thrust… without the prop spinning against the spinner backplate. With a cowled installation like this, there just isn’t access to the motor to get another gripping point. After some discussion online, I was reminded of an old trick I had employed before and had forgotten. Taking some sandpaper and cutting out a couple discs and then gluing them back to back I created a very high friction washer. Sandwiching this between the prop and backplate stopped the slippage and allowed for a nice snug connection.
Of course, this was NOT the end of the story. As soon as I had the prop and spinner properly attached, I ran up the motor and immediately noticed that the tip of the spinner had a very small “wobble”. I verified that the motor shaft was running true so it had to be something in the spinner itself. I have no idea where this went wrong… maybe in trying to tighten and hold the spinner, I damaged it/warped the backplate… maybe in manufaturing… whatever. I found an appropriate location for the spinner… (I have several trashcans in my shop) and started looking for a replacement.
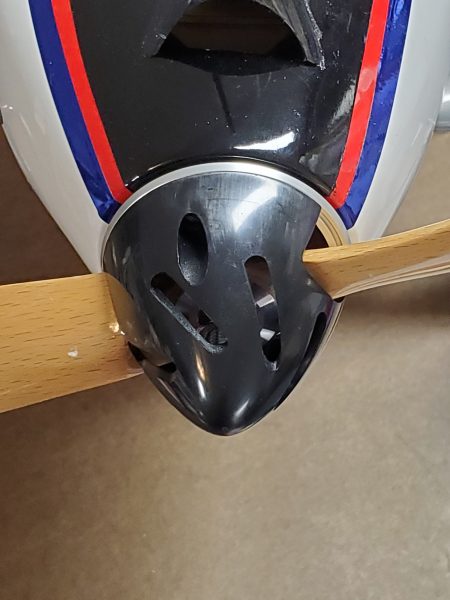
I had considered replacing the spinner early on with a slotted spinner in order to increase airflow over the motor and so this was just an opportunity to check off that item. I quickly found a couple of vendors out there for a nice spinner that promotes air flow and in a few days I had a nice spinner from Gator RC in my hands. That spinner (57mm/2.25″ diameter) turned out to be a perfect fit, with the metal backplate fitting the motor shaft perfectly as well as eliminating the slipping issue AND no more wobble!
All that is left at this point is to check balance and throws and get a good day to get in the first flight or two. Eventually, I would like to consolidate my various rate switches (I always start out with Ail/Elev/Rudder throws and expo settings on individual switches) but for now I want the flexibility to switch each individually and see what setting best matches the way I want the airplane to fly. I’ll try to post some pics and report on how that goes but I have every reason to expect it is going to be a great flying airplane. Here’s to a successful maiden flight!
Here’s a quick “chapter guide” if you want to jump to any of the other posts on this aircraft:
Part 2 – Inspection and possible modifications
Part 3 – Assembly and modifications
Part 4 – Radio setup, modifications, and repairs