The Super Tucano has arrived! Basic assembly woes.
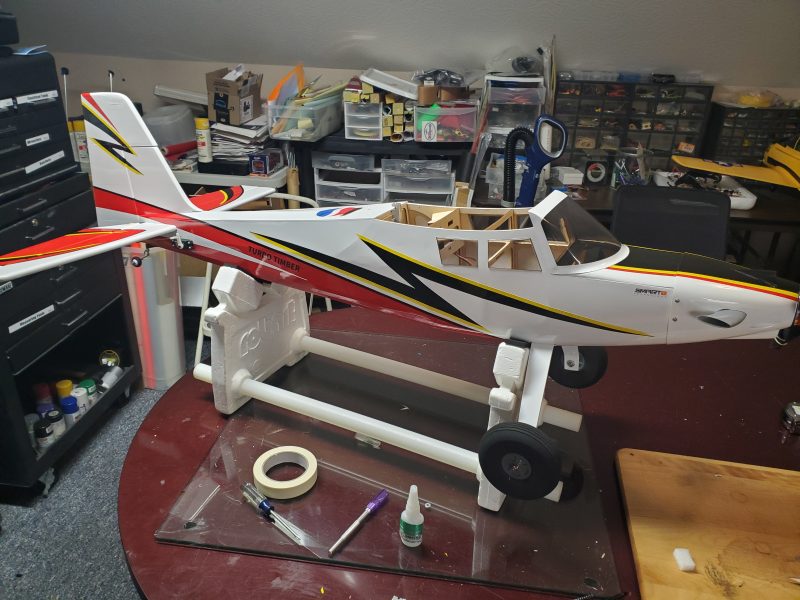
After a couple of minor delivery date changes courtesy of Fedex, the Super Tucano finally arrived on the front porch. Some minor box damage, but upon unpacking, no damage to the aircraft was found. It appears the packing did its job well.
After watching a couple of relevant videos, I started going through the box and laying out all the pieces and parts and downloaded the directions… which are pretty poor. For instance, there are several machine screws (3mm) and a couple of sheet metal screws… but the directions don’t seem to differentiate, so good luck figuring out which are intended for what. The directions also direct the use of 14mm in one part of the body/tail assembly and 18mm in another but all of the screws supplied are 14mm! The supplied diagrams are not detailed enough to show the two types or lengths so those are no help either.
This is really disappointing for a model that I had to wait in line to purchase and that costs as much as this one does. The assembly manual is a downloadable pdf and the airplane is on its second itteration already due to some early retract issues… which I appreciate. Would it have been so hard to also correct these errors?? Either update the manual and/or come up with a new screw pack please?
I dug out a few extra 3mm screws and proceeded with the build, but the irritation had just begun. While the assembly process as a whole is only a few steps… the airplane comes much more complete than many I have built… the poor instructions and some odd design choices along with some quality issues combined to make the process painful. Hopefully your mileage will vary.
I initially held off on the wing assembly and started with attaching the rear of the fusealage. That went fairly easily and I allowed it to dry overnight as I had opted for some slow setting adhesive.
Next, I started on the tail assembly and that is were things started to get interesting. The horizontal was fairly straight forward, but I did notice that the machine screws were going into plastic… no threaded inserts or the like. The whole question of which screws to use was in my mind as I really wasn’t sure if I was intended to use the sheet metal type screws or the machine screws for this step.
Moving on to the vertical fin attachment, I started to realize what some of the on-line reviewers had mentioned, but in my opinion under emphasized. Getting the screws into the deep hole in the bottom of the tail and into the (again) plastic to cut threads was difficult at best. The wires running to the front of the airplane are potentially in the way (read as constantly) and it is easy to lose the screw in that open space, or miss the socket/hole. You also have to hold the fin tightly in place while doing this. The entire task is frustrating and for me at least, resulted in the creation of many new inventive curse phrases and suggestions for anatomically impossible tasks I would like to suggest for those who decided this was a reasonable assembly task.
I eventually ended up stripping one of the holes and had to do some extra modeling. Luckily I have a drawer full of threaded inserts that are made to be heated and pressed into plastic. I also have a purpose made tool to heat these and insert them so that is what I did. I consider this design to be a major flaw with the airplane. Not having some sort of pre-threaded hole or insert such as I installed is just inexcusable in an airplane of this cost, and combined with having to put the screw in a blind hole with no guide tube or similar device to help out… just defies logic.
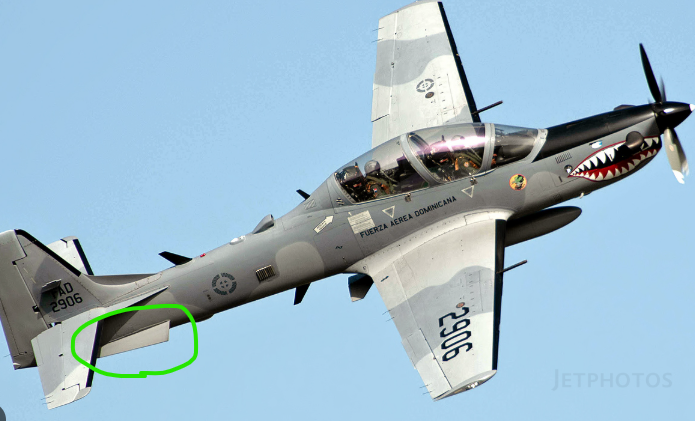
Having conquered that little task (in a short 2 hours or so), I moved on to putting in all of the antennas and fins. I had read about the proper direction of the fins on the bottom aft part of the airplane (these are called strakes) and when I got to that part, I looked at the manual and the photography and sure enough they were in opposition to each other. I double checked by looking at photos of the real airplane and confirmed that the written directions are correct, the photography is of an airplane that was incorrectly assembled! The strakes on the actual airplane are widest at the leading edge and taper down toward the aft end of the surface.
Here is the photographyof the model used by HK…
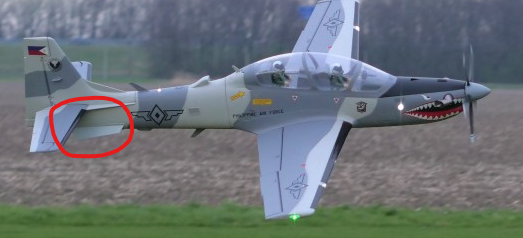
Here is an example showing the strake on the real aircraft…
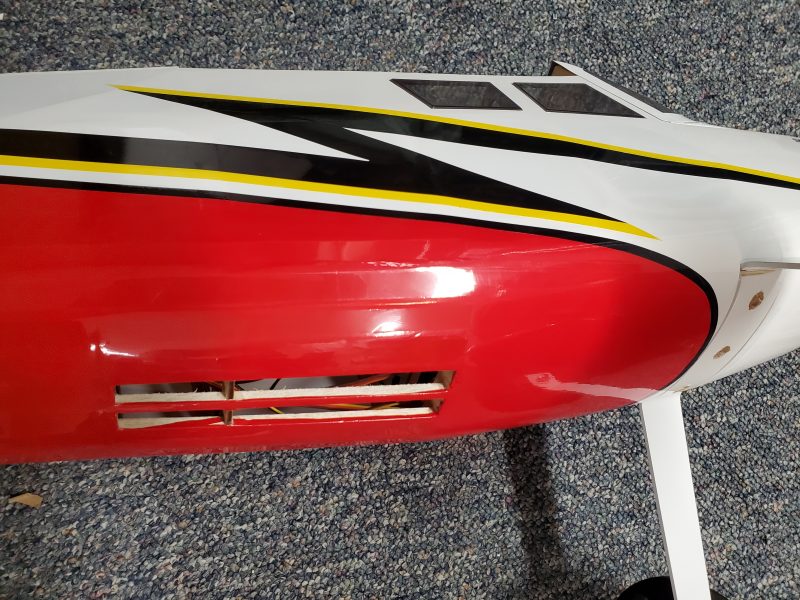
It was about this time that I really started noticing the finish work on the airplane. First of all are what I guess are injection or mold marks of some kind. I think of them as daisies and they are all over the airplane. Once I noticed them, I was rather suprised and then reminded of another HK/Avios airplane I had owned that suffered from the same daisy marks. That airplane was not a scale airplane, so I didn’t really care so much but on this airplane it is disappointing. Likewise, the paint adhesion on this airplane promises to be problematic. A couple of spots are already flaking off and I recall the same on my previous experience with an Avios aircraft as well. By contrast, I recently worked on a foam plane from Flightline and the paint was excellent. It also has the “daisy” marks all over it, but the paint adheres much better. I presume they use different foam/paint to create these planes so maybe this is a tradeoff of some sort but I wish the finish was better. There also seems to be a lot of “flashing” left on this bird which just seems to be a little sloppy.
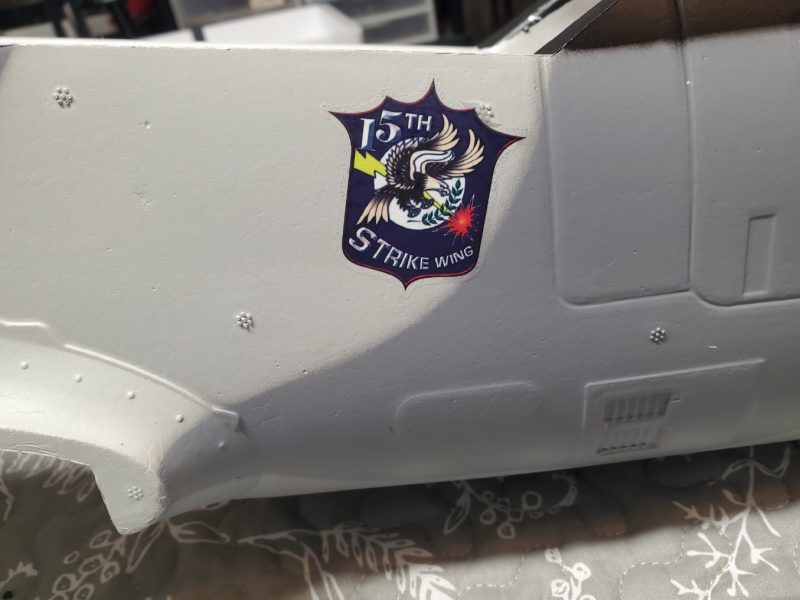
The final finishing item is the decals. There are a couple of places where they seem to have rubbed and gotten damaged somewhere along the way… those are minor. The big issue is that one of the more noticable decals is just crooked… and very noticably so. I had no doubt, taking it off would peel paint and covering the resulting scar could be a challenge… and then I’d have to get a replacement decal if I wanted to replace them… Which doesn’t seem to be readily available! Again, disappointing. I am just about to just conceed that the airplane is simply never going to really look good with all these issues unless I want to invest a week of “refinishing” time.
Here is the decal in question… the worst of the lot:
After gluing the rear section late in the evening and then working on the tail surfaces on the following evening, I started in on the wing on the third day. I have a full time job so I can’t just sit and work on models all day, though I hope to correct that issue soon!
I expected to spend 15 minutes test fitting and then glue the wing halves together… setting it aside for the evening to let the glue set up. Instead I fought with getting the wings to mount onto the plane for… ever or so it seemed. I could only get 3 screws in (at best) and I quickly realized that it was always one or the other of the back wing bolts that would NOT go in. I walked away and went to bed, convinced my plane was built from parts that had intially failed quality control but were pressed into service to fulfill the quantity ordered.
I tried several more times the next day and finally resorted to bending the metal posts to get a good alignment. This involved multiple mountings and removals of the wings and careful, very small adjustments for fear of the metal shattering if I applied to much pressure. I finally got to a good place and got the wings to mount nicely. To bad it didn’t come out of the box this way!
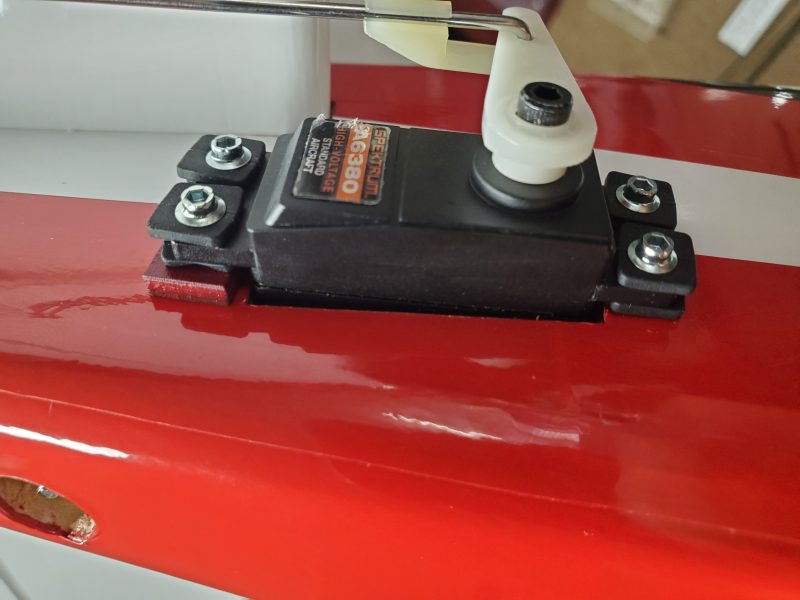
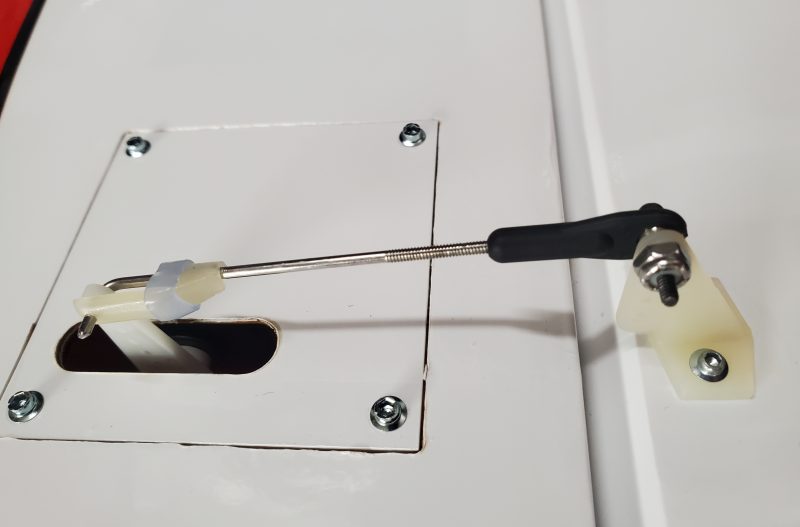
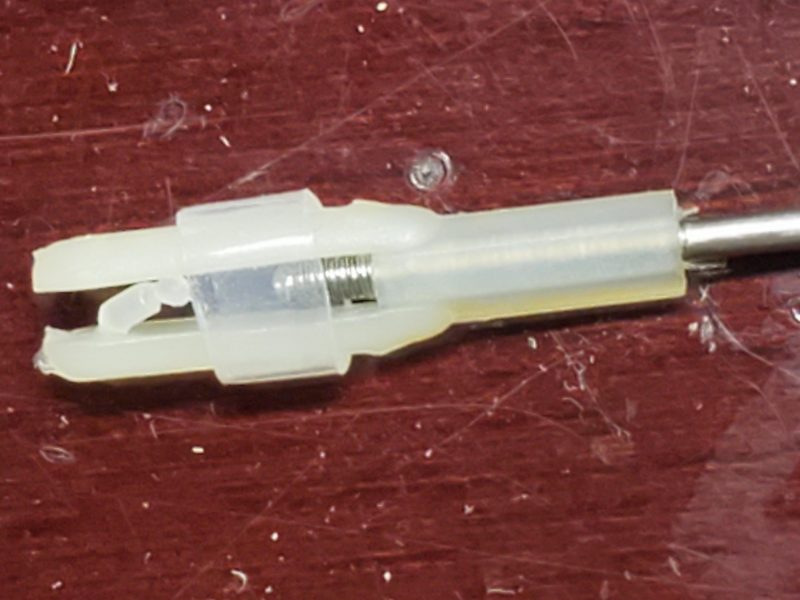
The last piece I undertook was to recreate the linkages on all the primary flight surfaces. I’m just not willing to fly a plane with this much power relying on plastic pin clevises, so I gathered up good quality 2-56 Dubro rods and bolt through ball clevises and E/Z bend link clips and did a nice upgrade.
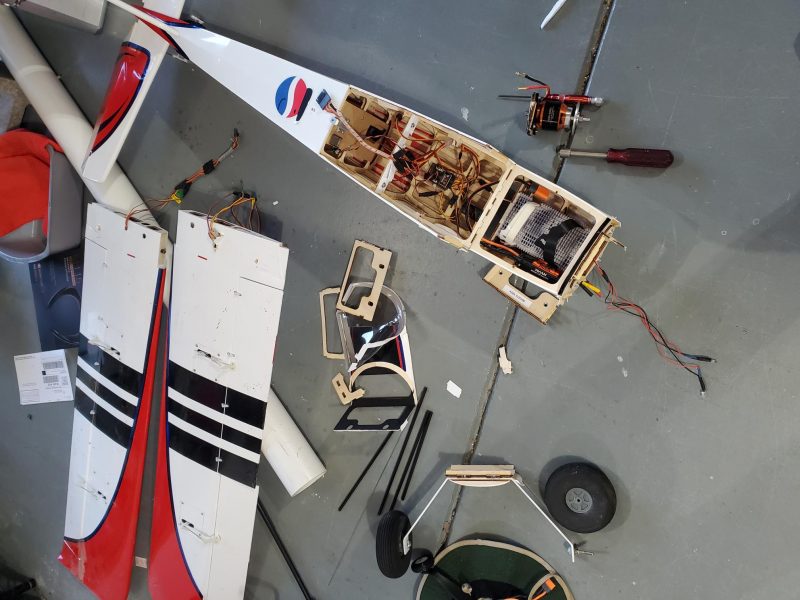
At this point I had the basic assembly done and started moving into what I will call personalization of the airframe. This will include the addition of functional bomb drops/pylons, more scale details in the cockpit, etc…