
Turbo Timber 2M SWS – P1
I have long been a fan of versatility in an airplane. I love aircraft that have a wide flight envelope, can fly for a good while if you keep out of the throttle, can tow a glider, haul a payload, fly off grass, snow and/or water, and look pretty good doing it! For that reason, I have had many planes that to some extent fit that description. I had my Telemaster 40 rigged with a bomb drop, glider tow release, floats, etc… over the course of serveral years and had several of the Timber line of aircraft, as well as the Grand Tundra and some others… The Grand Tundra was my everyday airplane filling that role for a good while, but it was never a particularly attractive aircraft and it is foam… I know a lot of folks thing that is great, claim they are easier to repair, etc… but I am in the opposite camp. I would always prefer to work on a wood airplane. Once its broken/bent/scraped and battered, I find it much harder to get a foam plane back in shape. I know partly that is because I hate the sanding and finishing work it takes to make a foam plane look good. Without a huge amount of work, a foam plane just looks like… well… foam… and once you compress it and tear it… lots of work involved to get it back looking decent… flying maybe but no exactly straight or pretty without a lot more work than I want to do.
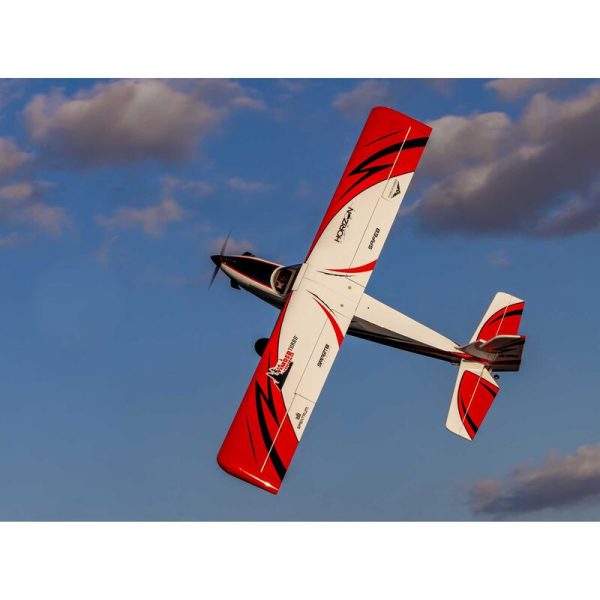
So, when E-Flite dropped the Turbo Timber 2.0 SWS it caught my attention. It is almost the perfect plane, on paper.
I prefer Electric power to anything else these days (check). I love anything that uses 3S, 6S, 8S or 12S as I have the appropriate batteries for most of these already in hand. 6S aircraft in particular often fall into a sweet spot of large enough to fly well, easy to haul and inexpensive to operate with high quality 6S batteries being easy to get at good prices these day.
I have been using more and more of the Spektrum electronics in my planes. The ESCs have all the features I want, including some useful telemetry when combined with the Spektrum receivers I’m already choosing. They also have some good servo lines and what seem to be good motors and this has all of that as part of the package.
Wood construction covered in good quality iron on covering with a nicely visible scheme. This means the airplane just looks better than most foamies ever will. Plus a wood airplane is often just stiffer with less material involved so ends up holding its shape better under G loads… at least that is what I believe.
Thus began my determination to get one… Several planes went up for sale, along with assundry other items laying about the shop… bye-bye Grand Tundra and hello TT SWS
First of all, I know some folks are going to say… “The price is to high!” and I get that. But, my feeling is… aside from I’m getting old and everything seems high to me… the price actually seems very fair. Especially when you buy the ARF like I did. The electronics that they chose in this airplane seem to be pretty high end. The Spektrum line of ESCs, Servos and Motors all seem to be good quality. My experience so far with their ESCs has been nothing but positive and I have several. I especially enjoy the programmability right from my transmitter and the available telemetry is something I consider to be a must in an electric aircraft. You have to combine them with the compatible receivers to get all of this but I would have bought that or a very similar receiver anyway! I will point out that I do not have, nor want the Spektrum batteries and chargers and don’t see the value to justify the cost of that part of the Spektrum product line. I have done a lot of study on LiPo batteries and I have a couple of favorite brands I purchase from at a much lower price and better performance than anything Spektrum has produced so I don’t expect that to change anytime soon. The servos have great specs for the price and while I’ve only had a few, so far so good. I don’t think I’ve owned any of their motors yet, but they appear to be well built and I’ve not seen anything that would give me pause… so the ARF comes with equipment I would likely chose for myself so all in all the bundle makes sense to me financially.
So a few days ago I figured out how to get a 10% off coupon which aligned well with the balance in my “RC fund” as a result of some sales at a couple of swap meets and Facebook marketplace adds and the order was placed. I also got lucky and caught it in stock for what I understand was about a one day window on Tower Hobbies web site. I think this was the second shipment they received and the ARFs didn’t last long! I settled in to wait the predicted 2 weeks or so for free shipping and started looking for any discussion groups or video reviews that I hadn’t already read. That lasted for about a day when suddenly I got an update saying it was shipped via Fedex! Being only 100 or so miles from Champaign, IL where Tower is based has some advantages and the predicted arrival was 1 day! It got confusing for a bit as Fedex seemed to decide it hadn’t shipped after all then changed the expected arrival day two or three times until finally it actually showed up after only 2 work days! Yahoo!
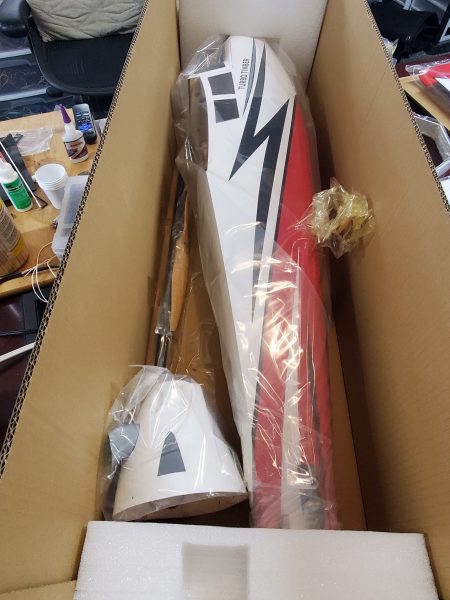
I was a bit concerned when I saw the box had a corner torn out…
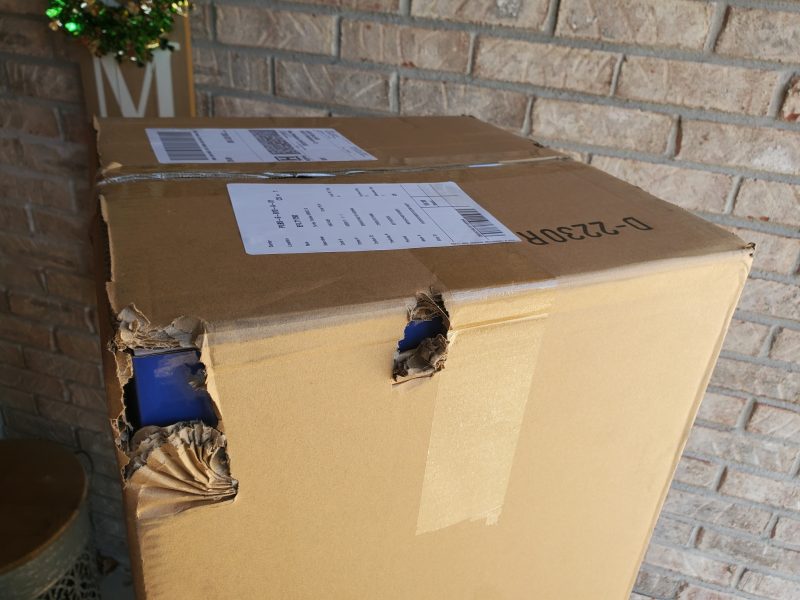
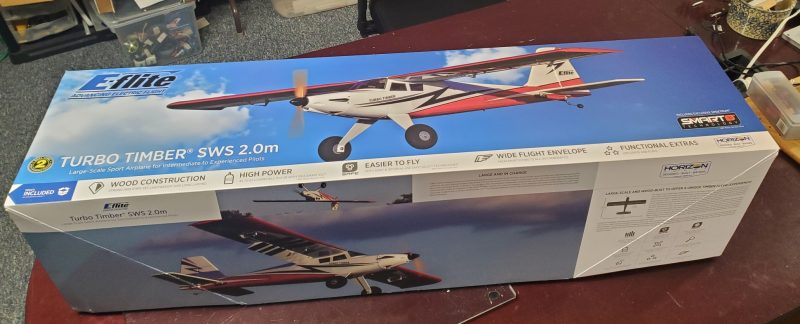
It turned out the outer corrugated box had done its job and protected the contents and even the inner box with all the pretty graphics was in like new condition!
Work got in the way and it took me the better part of 2 days to unpack the box and another to unwrap all the parts and lay them out on the bench. It may have taken a few hours just to clean the bench and make room to do this but much of that was done while I attended to some conference calls with my headset on. Having a new airplane all layed out on the table right behind you can be distracting but I managed to at least do my cleaning chores and some unwrapping while paying sufficient attention so a few business calls!
Here’s some pics of that process to give you some idea how well the packaging worked out… Everything seems intact with nothing beyond a scuff or two… that’s about as good as can be expected for a shipment from (I presume) China all the way to the midwest US.
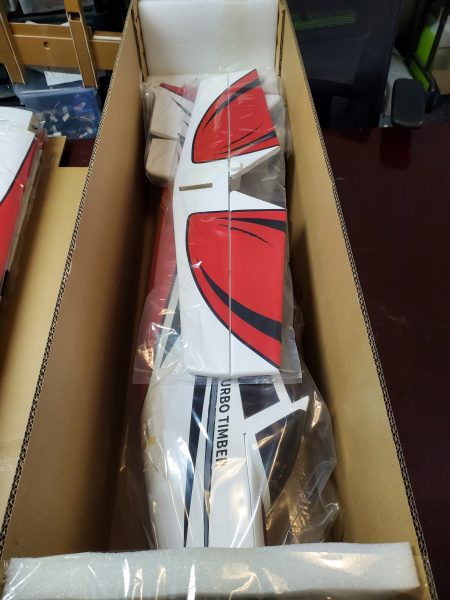
Just taking off the lid…
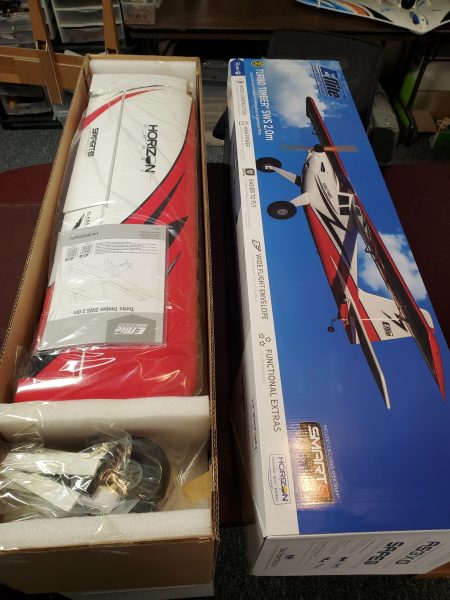
Wings out and down to the tail sections… everything taped down to minimize shifting/scuffing.
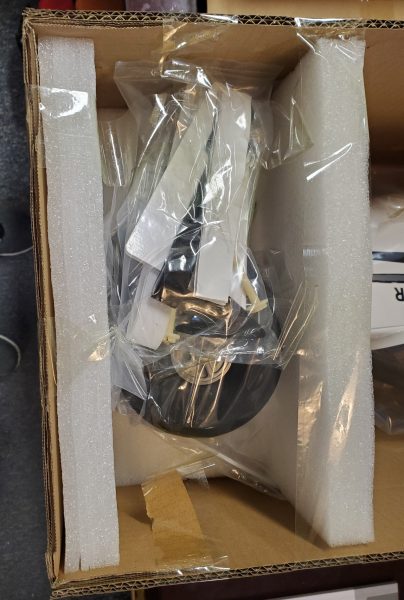
Tires, LG, all the hardware… bags in bags to keep things separated.
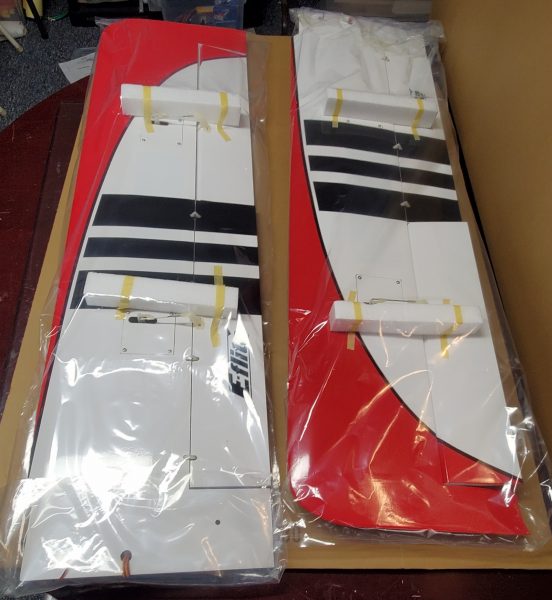
Notice the wings have guards over the servo linkages to keep those from digging into anything else… nice.
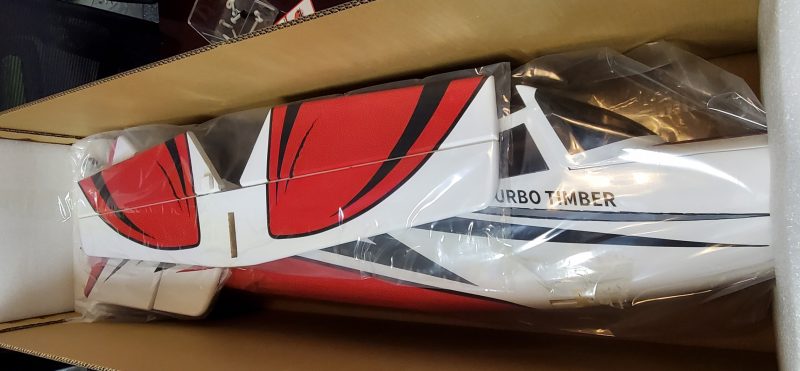
Front and back of fuse are embedded in foam to keep it away from box sides…
With tail pieces removed we find the cowl (fiberglass) nicely protected/wrapped and secured in place.
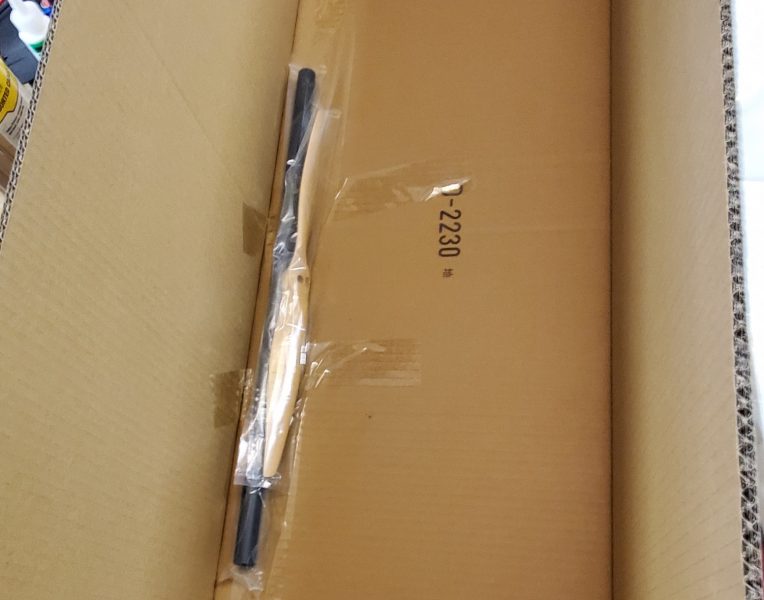
After removing the cowl and body… down to the bototm of the box where we find the prop and wing tube. Prop looks like a copy of a Xoar (or maybe made by them??) Finish on the prop is not quite up to Xoar standards and the length of the blades is a few mm short of my actual Xoar but the basic shape and profile is very close.
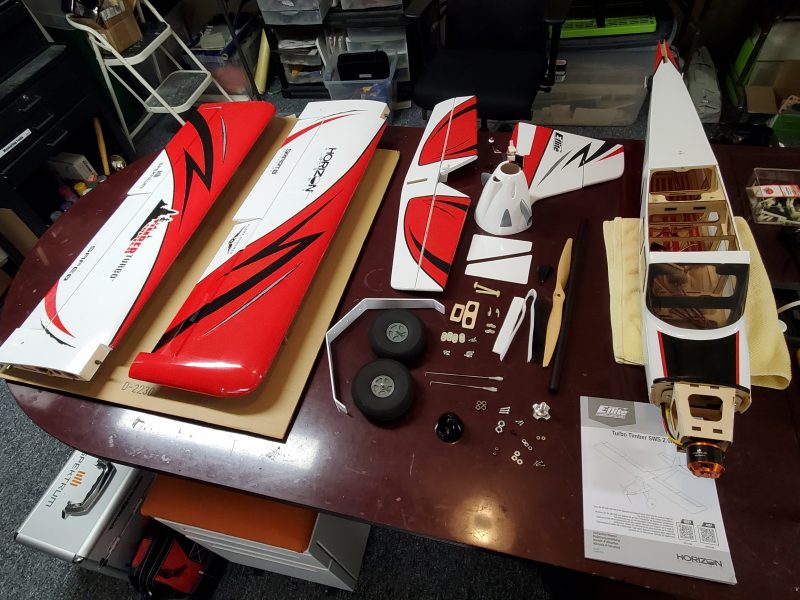
All the parts on the table… awaiting unwrapping.
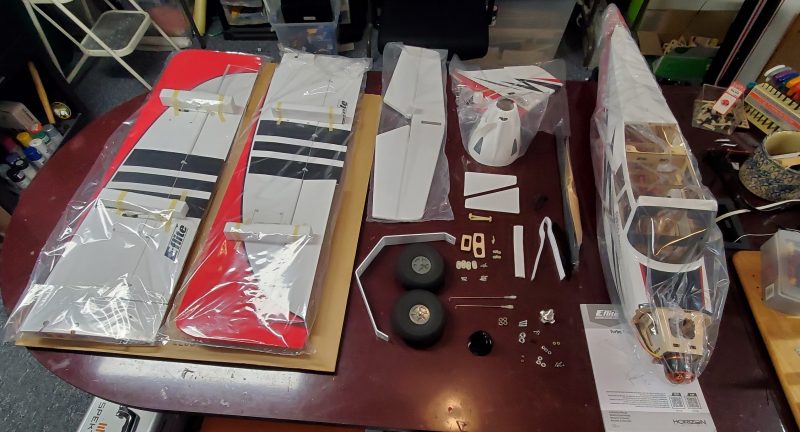
Now free of all the plastic wrap… not a lot of parts. If I was in a rush maybe a 2-4 hours and I could have it done?? But I am being meticulous on this one so it will take much longer.
I’ll break this up at this point and start on my next steps with the following disclaimer:
I’ve seen enough on the lists and video reviews and such that I am confident in saying that you could easily (if you have much experience at all) just go through the directions provided in a few hours and come out the other side with a perfectly serviceable and good flying, completely stock, Timber 2.0 SWS…. but that is just not how I roll! I’m not big on doing modifications just to do them, but I like to do what I think will result in the airplane having a long life… no silly crashes because someone didn’t tighten a bolt… and I want it to be just a little distinct from every other similar airplane at the field. I also want to do what I can to make it run efficiently with adequate power and flight time, and as easy to transport and assemble as I can without to much effort. So next up will be an inspection and a list of what I see that I might check/change or modify to make this airplane uniquely mine and to help make it last (I hope). Some other setup/changes will be to suit my intended purpose(s) without getting to drastic. And I’ll be picky and try to fix anything I see that jumps out at me as being “not to my standard”.
Here’s a quick “chapter guide” if you want to jump to any of the other posts on this aircraft:
Part 2 – Inspection and possible modifications
Part 3 – Assembly and modifications
Part 4 – Radio setup, modifications, and repairs