
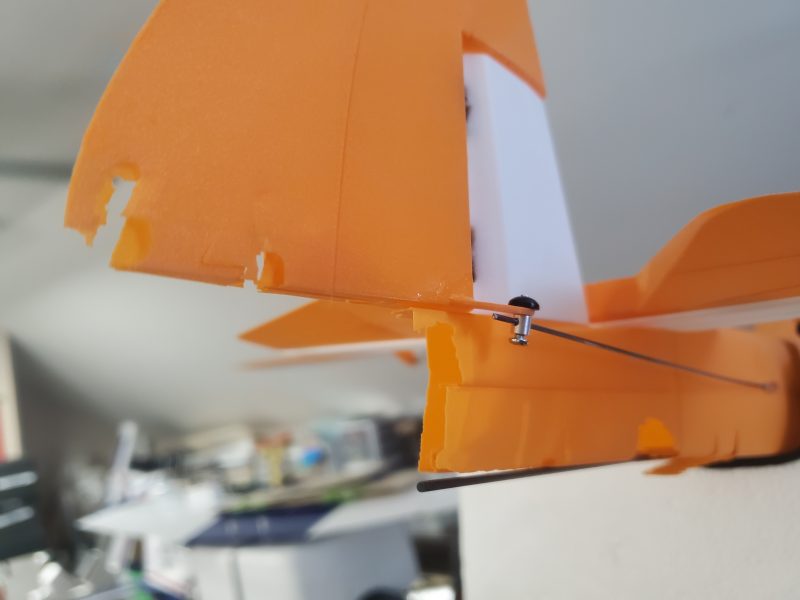
Well “Wolf #2” fell prey to another pilot’s RC airplane that got away from its owner and chewed the tail off of my Wolf.
So I immediately started planning for Wolf #3!
A couple things I learned from Wolf #2.
- One bit of fine print I had never noticed in my builds of Wolf 1 and 2 was the recommendation for differential aileron. Rudder is often used to make up for adverse yaw but often the best solution (short of a different airfoil) is to implement differential aileron. This lead me to the discovery that once implemented I no longer had the need for rudder to get turns absent the adverse yaw I had experienced in previous flights.
- After flying with a 2200 3s and a 1350 3s, I soon realized the 1350 provided for better performance with more than adequate flight times. I finally tested an even smaller battery pushed forward to maintain proper balance led to even better glide characteristics and less need to maintain speed. I settled on an 850mah for adequate flight time combined with just enough weight to get a proper balance.
So with all that in mind, I decided I could afford to drop the rudder modifications. Along with the lighter battery this meant I saved enough weight that I could make modifications to allow for a removable wing without worrying about making her to heavy. I had found having the wing permanently attached made the Wolf unnecessarily difficult to transport and more easily damaged than necessary so I planned to remedy that.
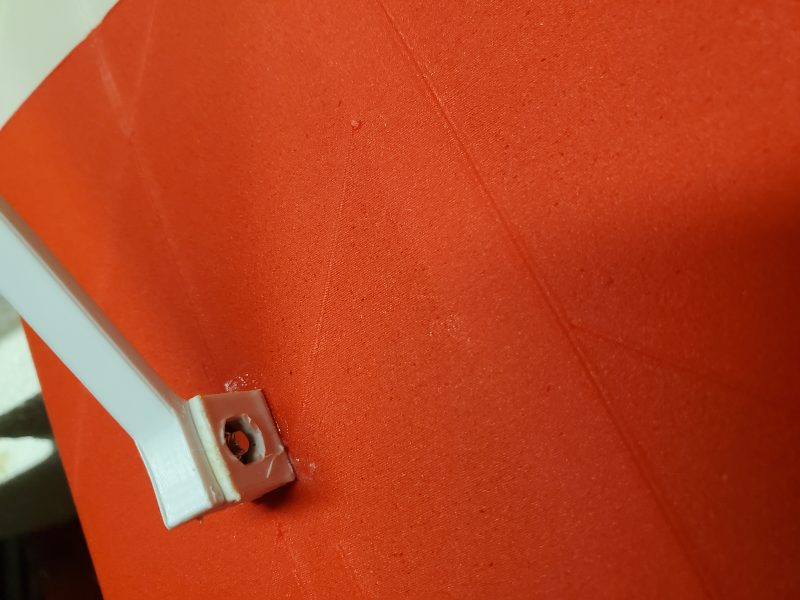
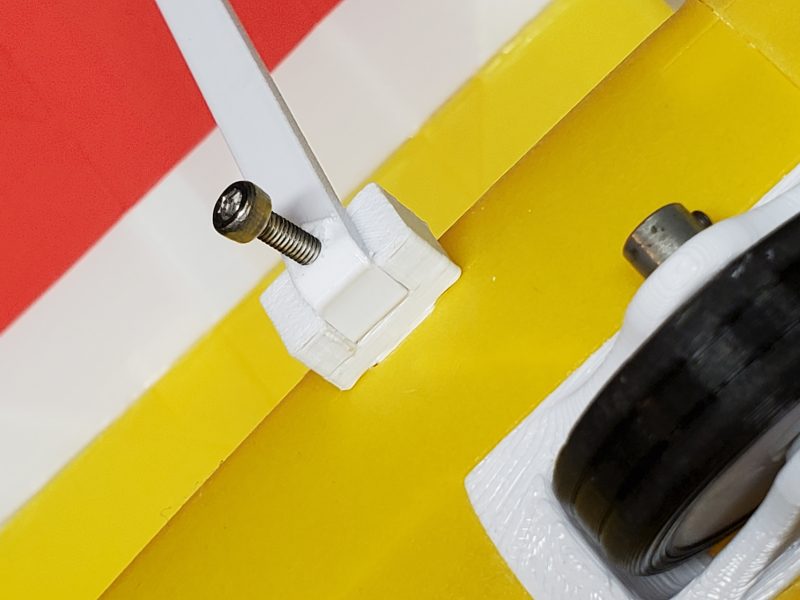
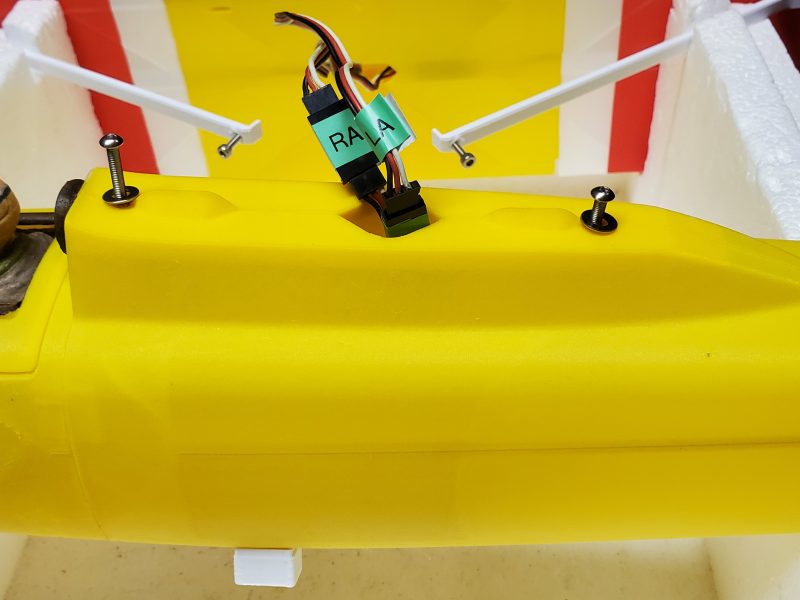
In order to accomplish this I had to create some new strut attachment brackets and provide for some reinforcemment, both in the wing and where it mates to the top of the fuselage.to make me comfortable that the wing would stay attached., to be sure the wing would stay attached! For the struts it was just a matter of creating some small blocks to attach to the body and wing with an inset to capture a nut. That looks something like this.
Wing end

And fuselage end
Then I used the Cura Slicer program to add a support blocker to the part during the slicing process. By doing this, I could then add an ioption to modify the settings for the overlap that allows for adjusting the infill as well as the number of walls. By doing this I was able to create areas in the wing and on the top several millimeters of the wing saddle area that are much more dense/strong. This accomodates the threaded insert installation (melting those into the saddle area) as well as increased support for the bolt head and washer to hold the wing securely.
You can see the denser area as a darker triangle in the wing…
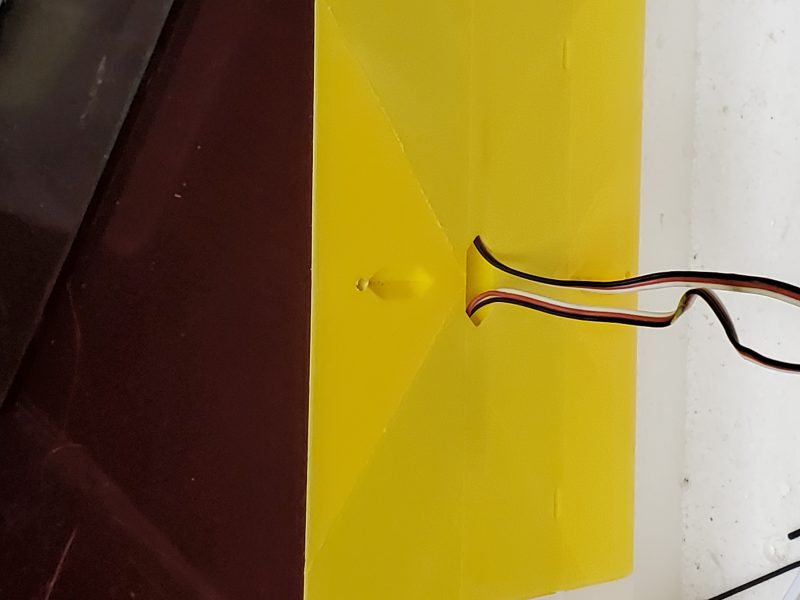
and on the top of the fuselage
The result of this is something a bit easier to transport

The sharp eyed (pretty much anyone who can see color… at all) may have noticed some color variations in the new version of the Wolf. This was another option I went for when I had to reprint. I am not a big fan of painting/sanding etc… so to make the airplane highly visible and keep from having to do any painting I printed with pause commands inserted at carefully calculated layer levels to allow me to change filament color and create the banding effect you see.
I have only had 3 or 4 flights on the latest iteration of this aircraft but so far it seems to be structurally sound and flies pretty well. With it getting cold here in the mid-west part of the US, this one will be going on the shelf for a while but I’m looking forward to more time with it in the air this spring.