Turbo Timber 2M SWS – Part Three
Assembly has begun after a good read through of the manual. I am proceeding in an order that does NOT follow the manual but just as my fancy strikes me and the time available allows. So here we go.
The first step I tackled was assembly and install of the landing gear. This went pretty much according to plan until I went to mount the gear on the bottom of the airplane. At that point I noticed that the landing gear cover that sits over the landing gear and acts as a large washer could not sit flat… it seemed to be to thick/long to fit. This shows the gap.

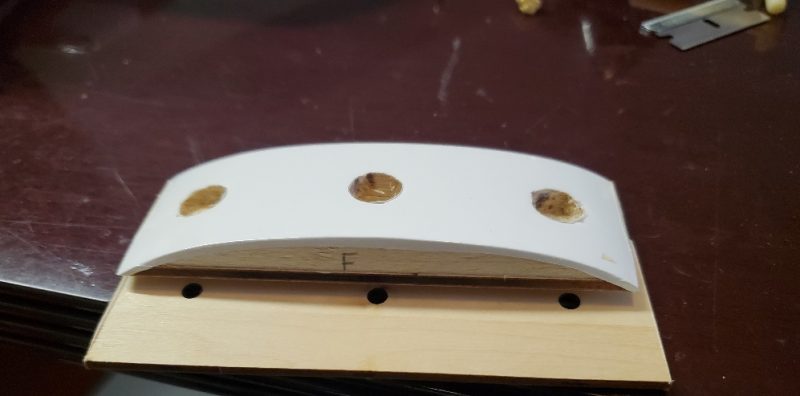
Then I figured out that there was a layer of ply that apparently is held in with double sided tape… very strongly in my example… still attached to that cover! Once I realized it was there I pried the plate loose and everything fell into place. The manual doesn’t mention removal of the landing gear cover at all, it just jumps to mounting the landing gear and attaching the cover. Here is the cover and the excess plate you want to remove. I marked the front as I was working as the body of the plane is tapering gently at the point where this mounts.
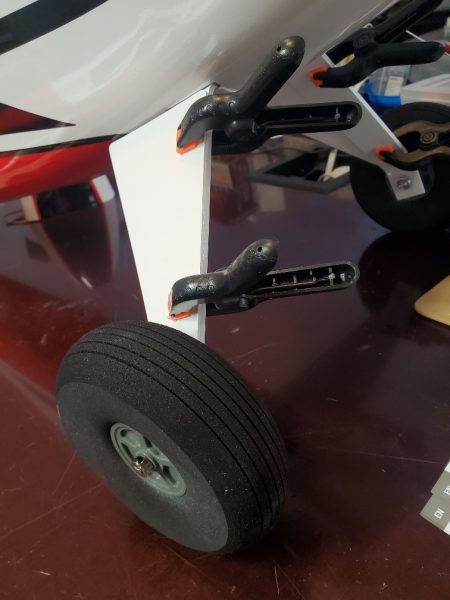
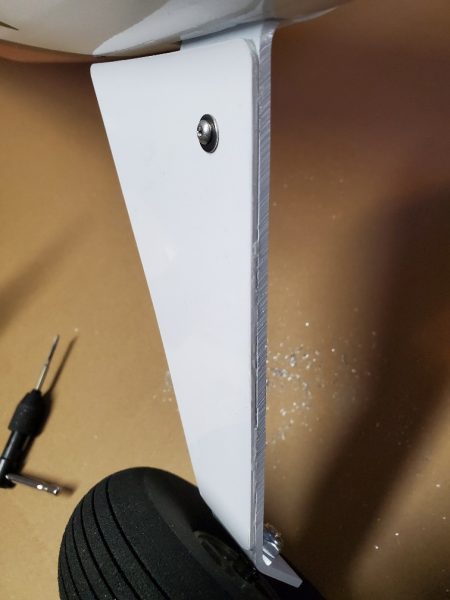
The final part of the landing gear is attaching the “fairing” to the outside surface of the landing gear. The manual calls for simply gluing this in place but I’ve seen several examples already of those disappearing during the first flight or two so I was wondering how well this was going to work. So the first thing I did was to glue it on as directed and give it time to set up. It lasted about 8 hours until I accidently contacted it during a later work session before I knocked one of them off! So I reapplied the glue and clamped and let set once more. Then I went back and drilled and tapped the landing gear (on each side) for a single 3mm bolt. I put a washer undel the head of the screw and after tightening added a nut on the reverse side just as a jam or lock nut. I am hoping that this will help the fairing stay in place.
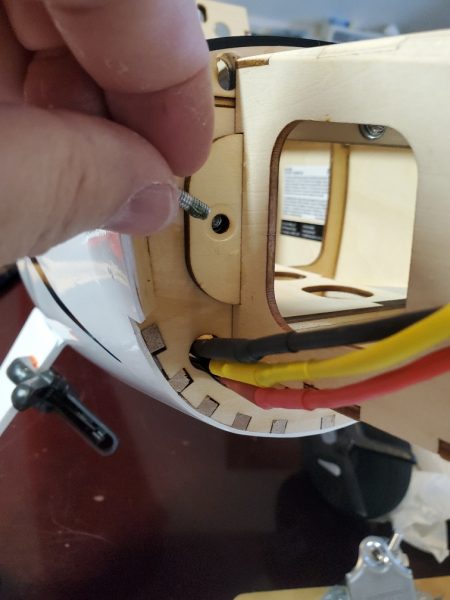
Another task I took on early on was to mount the Propeller Adapter to the motor. As I was working on this I checked the bolts holding the motor box to the front of the firewall as well as those holding the X-mount to the motor box. I noticed several needed a bit of tightening so I took the time to pull each and put some lock tight on before a final snug up.
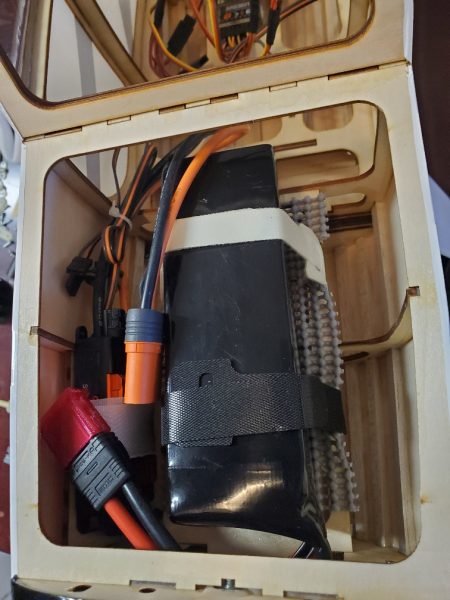
Another step in the build manual was applying velcro in the battery tray and setting up the battery straps. I varied from the method in the manual and went with some shelf liner and a couple of straps but the method outlined in the manual will work as well.
Next, I mounted the cowl. With predrilled holes this was pretty painless. Of course I decided to add the additional cooling scoop which requires a bit more modeling skills than most of the build and risks your Cowl if you cut in the wrong place… but it went on easily and I’m always a fan of better cooling to keep my expensive electronics working well. I have my doubts about the glue holding this on, so I may revisit the attachment a bit later.
Finally, I turn to assembly of the tail section of the airplane. You put the horizontal in place and then slot the vertical down into the top of the plane… part of which extends through the horizontal, creating a solid connection. long studs extend through to the bottom of the airplane. It was a bit difficult to work the vertical into place, but I eventually slotted it in with a little wiggling and a small amount of profanity. I actually like how tightly it fits and while my first instinct was to add some glue, I’m resisting that idea with the thought that removal of the tail surfaces is possible in the future should the need ever arise. Also, have a 5.5mm nut driver or deep well socket handy for this part as the nuts that hold all this together go down in a bit of a hole!
There is not a lot more to talk about that falls into the category of assembly. Pretty much all the other steps in the manual were self explanatory and went without any real need for modification or comment.
Next, I’ll tackle all the electronics and radio setup work I’ve been doing.
Here’s a quick “chapter guide” if you want to jump to any of the other posts on this aircraft:
Part 2 – Inspection and possible modifications
Part 3 – Assembly and modifications
Part 4 – Radio setup, modifications, and repairs