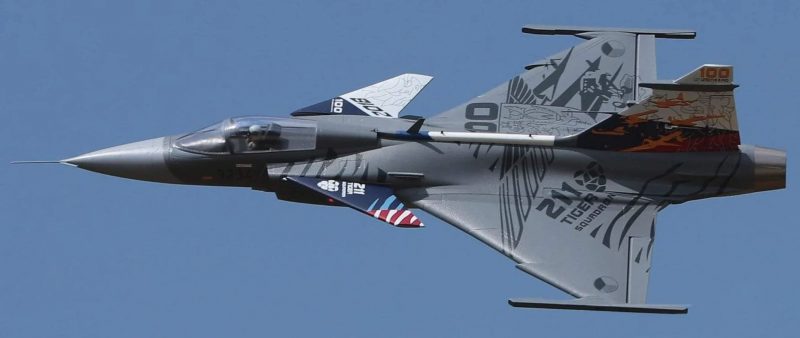
I recently acquired a Freewing JAS-39 Gripen (Griffin for us English speakers). I’ve never had much interest in EDFs but why I have it and what possessed me to buy it is a topic for another post. For my purposes here, it is enough to say I have one and I wanted to make it look a bit more formidable by adding some weaponry, help out with balance with a little added weight to the aft of the balance point and just add some scale touches at least for display purposes.
Luckily, there are some readily available STL files. STL files are the output of a CAD program and are what you need to input to the slicer software which produces the G-code files. The slicer software parses through the STL file to decide what instructions to send to the 3D printer to create the shape and creates a list of those commands which is your G-code file. So, having the STL files means the hardest part of 3D printing what I want (the actual CAD design work) is done for me!
I printed a couple of Iris-T missiles first using some white eSun brand PLA+ filament. The Iris-T is the European equivalent to the US Sidewinder missiles. Both are extremely smart, relatively short range heat seeking air to air missiles. The Gripen can carry either but I decided to start with the more “native” weaponry. These are almost always carried on the wingtip hard points on the Gripen and since the wing tip hard points are already in place on the model, it made sense to start with something for those stations. They came out pretty well with only a little bit of stringing and just one or two very slight imperfections. I was pretty happy. There are keyhole slots in the end of the rails on the wingtips of the Gripen and there are mounting rail STLs available so I printed a few of those as well. The missiles have a flat spot designed in where you can easily glue these to the missile. Once that was done, with only a little sanding/carving/cleanup I was able to slide the missiles onto the wingtips. Here is a pic of the IRIS-T on the wingtip of the plane pretty much fresh off the printer with just some minor gluing and sanding. These are 1/9th scale just like the airplane.
There are a couple of nice things about having these on the plane. First, they add some needed tail weight. The Gripen has a very swept back Delta wing so the wingtips are far back from the desired CG so while not the ideal place for extra weight, its not a terrible spot either. Second, they cover up the sort of ugly wingtip “rails” with some nice eye candy. And third, I’m thinking there may be some wingtip strikes with the landing gear being fairly narrow as they are on many jets, so they can act as wing tip protection to some extent. I can print another missile or fin or whatever, but the wingtips of the airplane would be much harder to reproduce and replace if they get beat up or broken.
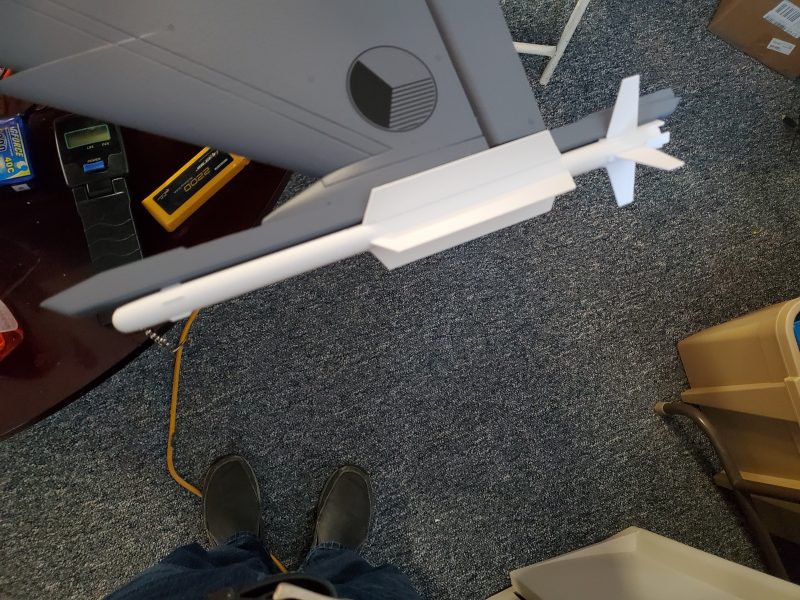
Next I tackled some Meteor missiles. These are long range, radar guided air to air missiles. In real life these things are around 13 feet long, so scale they are around 16″ long. These are massive and carry a big warhead. Imagine a telephone pole coming at you with a big bomb on the front… at multi-mach speeds! Used properly they are on par with the best such weaponry out there. With the right launch parameters and guidance these can be fired from 100+ miles away!
These are generally carried on under wing pylons on the Gripen but the model doesn’t have any built in hard points for those so I had to print out the keyholes/hardpoints and the pylons themselves and get those mounted on the plane. It took some carving in the wing, careful alignment and slowly digging a bit deeper until I had what I wanted then glued the hardpoints in. With those in place I could slide the pylons on and lock them in place then slide the missiles in place under the pylons and lock them in and bingo, we are in business. Below are some snapshots of that process and the results.
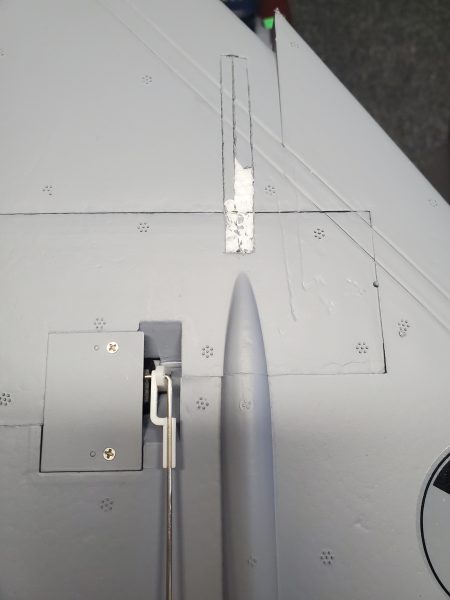
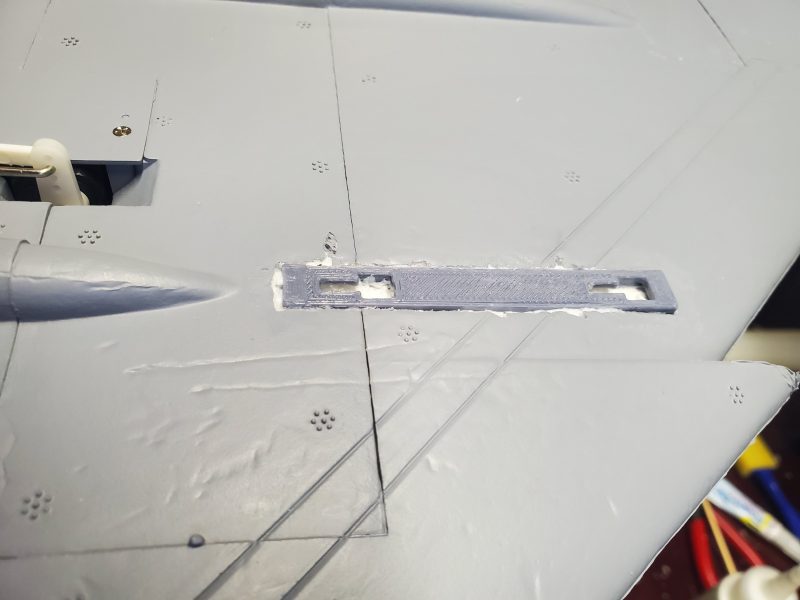
This is the outline of the mounting socket as I’m starting to remove just the skin/paint in preparation to route out maybe an 1/8 inch or so of foam so I can glue it in..
This is the socket in place.
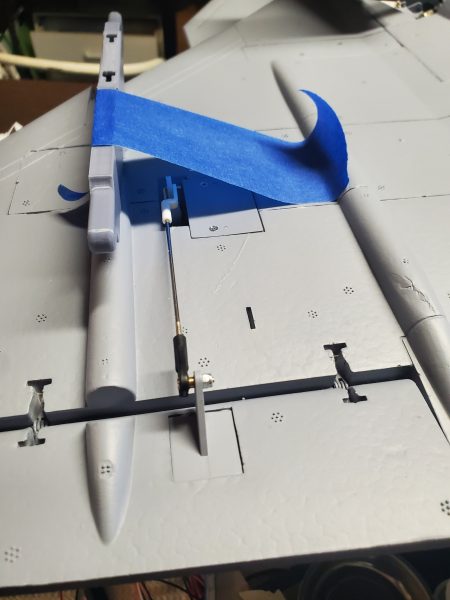
The tape attached to the pylon is adding some pressure after the glue is in place and just starting to setup nicely. It looked a little off so needed some pressure to get it to sit level in the wing.

Here’s the whole thing after I hung a meteor on it… starting to look pretty good!
After I got this far I was down to needing sanding and painting so I started doing a bit of research and found a variety of paint schemes available and went to work. The meteors especially varied a lot, so I took a bit more license with those and stayed with the white scheme but the IRIS-T is almost uniformly and almost completely gray so I decided to reprint those so I wouldn’t have to do so much painting (I hate to paint!). Then I took advantage of where some of the color bands are to cover up some of the glue joints with pin stripe or color bands on both missiles.
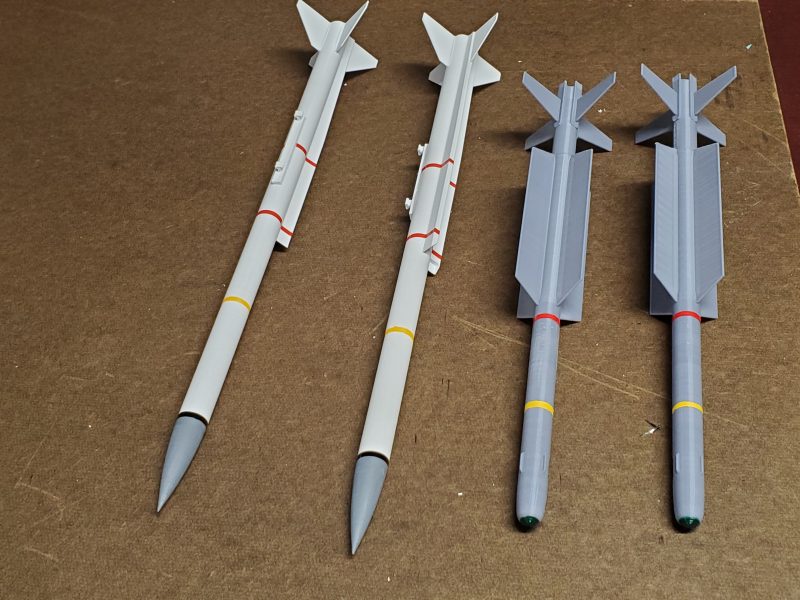
Meteors (on left) and Iris-Ts (on right)
I’m sure for the true scale guys these are nothing special but I think they add a lot to the look of the airplane and the effort was not huge. For me, having the 3D printer (and the efforts of the guys who first did the design) made it possible to really upgrade the look of the airplane with minimal effort. And no one has anything that looks like these!
Of course, it doesn’t end here. I have engine inlet and outlet covers printed as well and I’m eyeing some fuel tank designs I’ve seen…
So if you are wondering if you need a 3D printer to add a little extra something to your hobby… the answer is of course, NO. But I recommend it. There’s a lot you an do that will add that little something extra to your favorite bird. I expect to do a bunch more of this in the future.