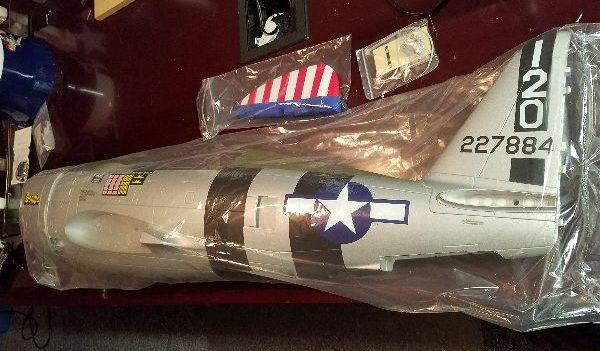
Back around Xmas a relative gifted me with a nice little micro flyer for indoor use. It was definitely a beautiful little plane… as a matter of fact it was something that I liked so much that I had purchased one for myself just weeks earlier! So back to local shop I went to make a trade… and on a whim I picked up a Mini Convergence VTOL from E-Flite.
I flew it a couple times over the winter at some of our indoor events but I was not about to try forward flight in the limited space available so it sat mostly unused through the winter and for most of the summer before I really recalled it was over there in the corner in a pile with my other indoor flyers! After I dug it out and charged some batteries I took it out to the field, rechecked all my programming to find the right switch setting to get into a forward flight mode and lifted off.
Forward flight mode went well and I was getting a pretty good handle on how the plane handled life as a fixed wing when the radio timer started warning me I should start to think about landing. I slowed a bit and then flipped the switch to go back to vertical flight mode when things started to get “interesting”.
The plane began to immediately flip end over end and no control input made a lot of difference. It didn’t fall very fast but all I could do was throttle down when the ground came up to grab the airplane.
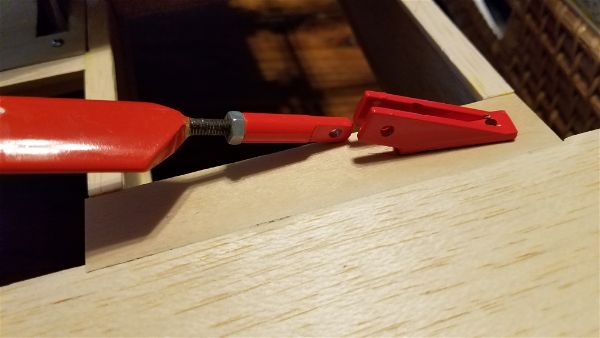
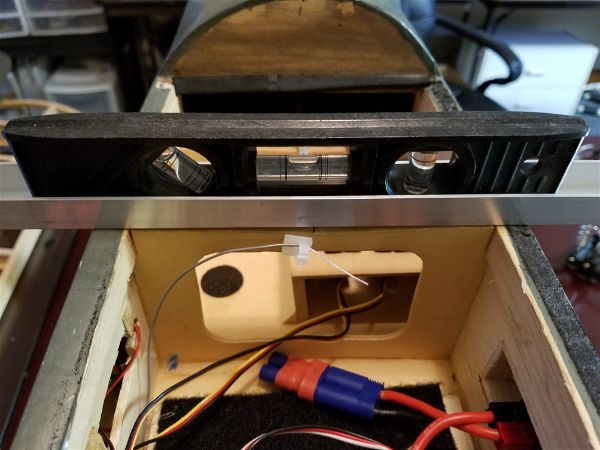
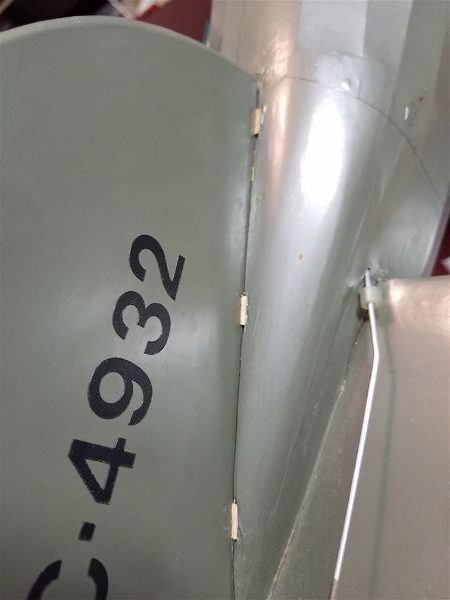
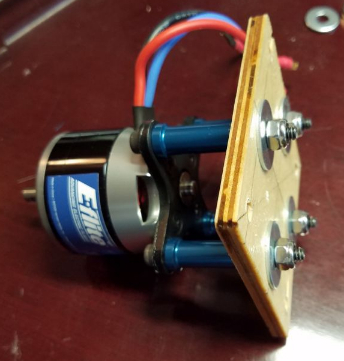
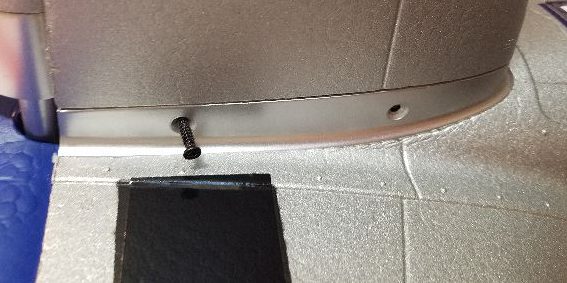
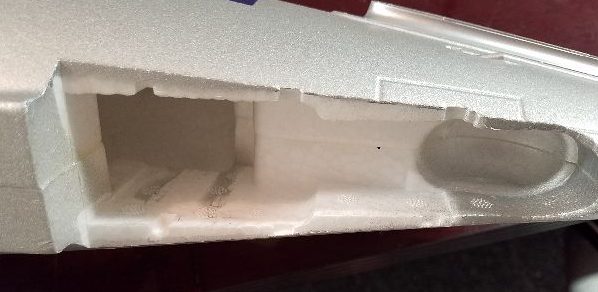
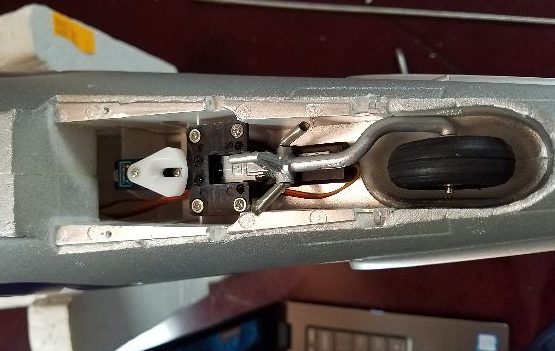
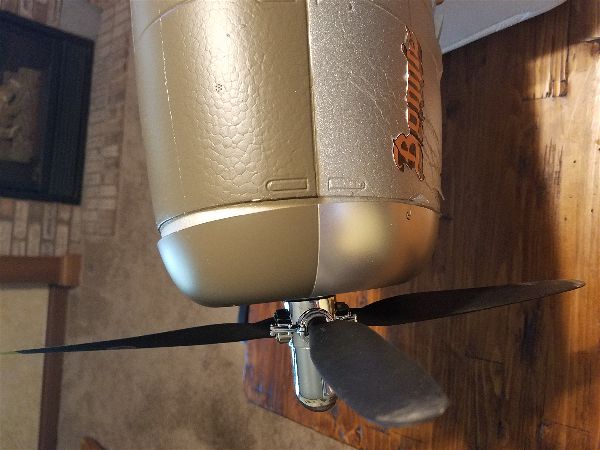
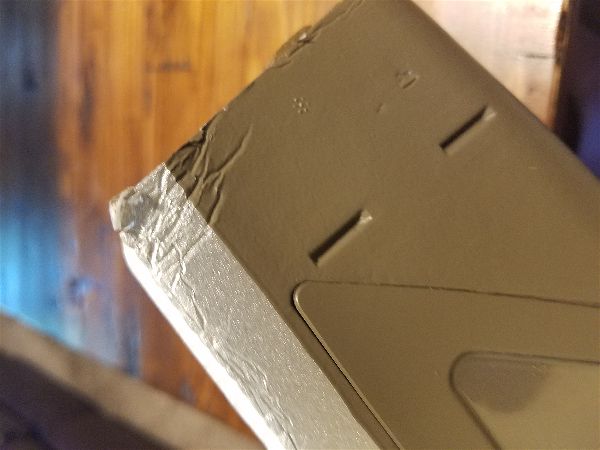
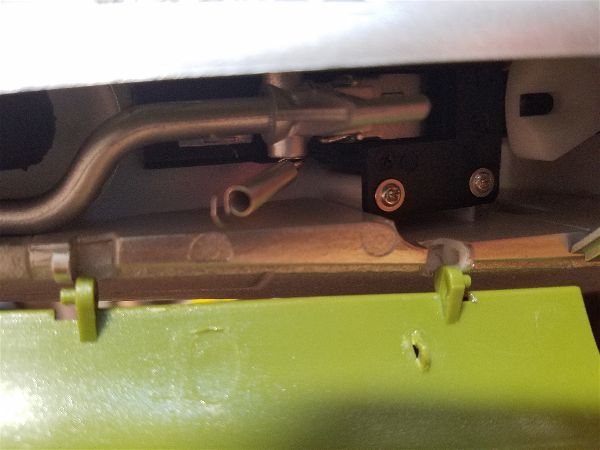
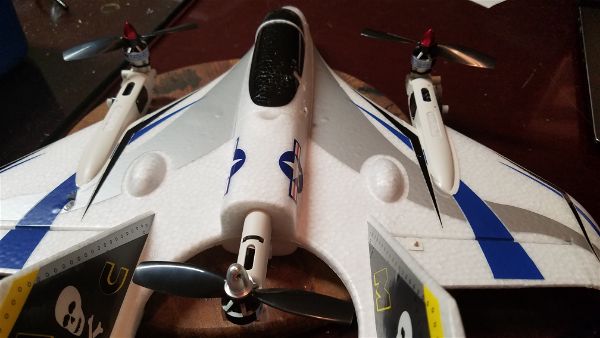
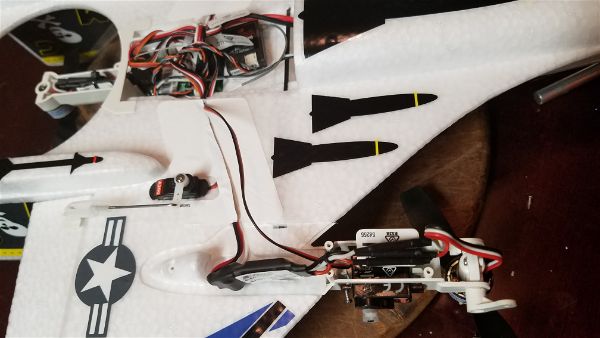
Back on the bench here is a view of the culprit…

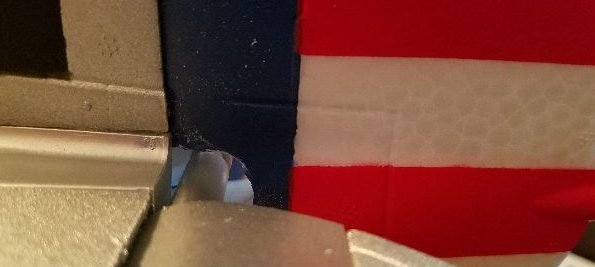
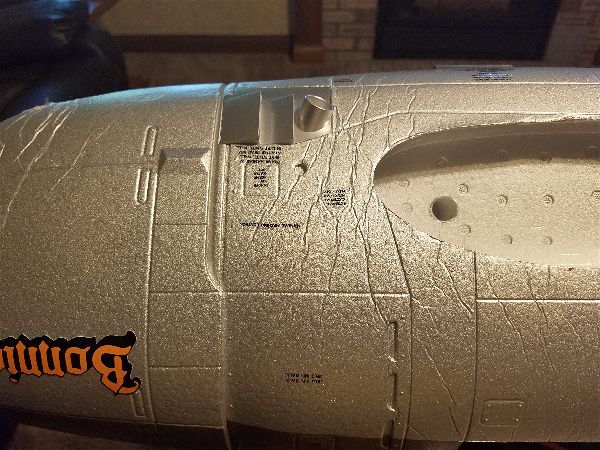
As you may have noticed there’s something missing on the rear motor… two things in fact. The prop and the spinner nut! No wonder if flipped end over end! There were also a couple of foam “piercings”. One in the wing and one in the canopy. Neither of those are any real concern.
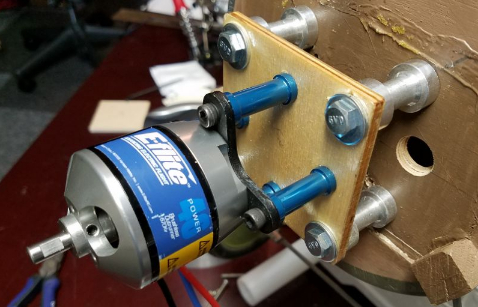
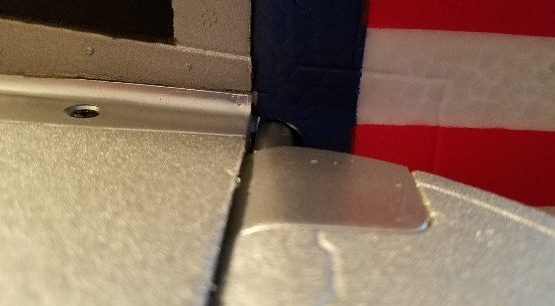
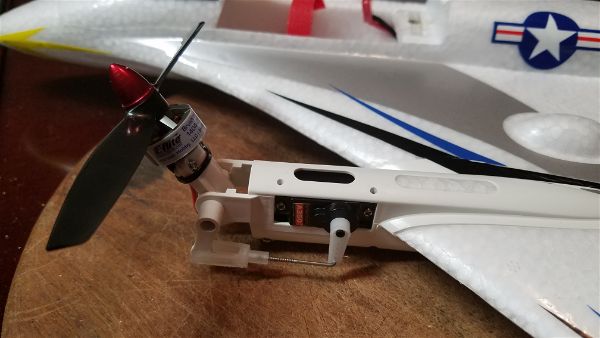
Luckily the bird comes with two spare props. The rear prop, I found, is the same as the port/left prop. This has it’s pitch in what I would consider the “standard” direction for aircraft with a counterclockwise rotation creating rearward/downward thrust. Luckily, I just happened to have an aluminum prop nut/cone with the correct thread in the shop and the plane comes with one of each type of spare prop so that problem was quickly solved.
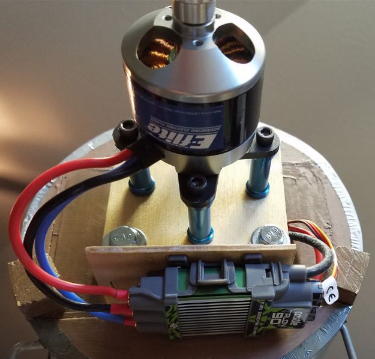
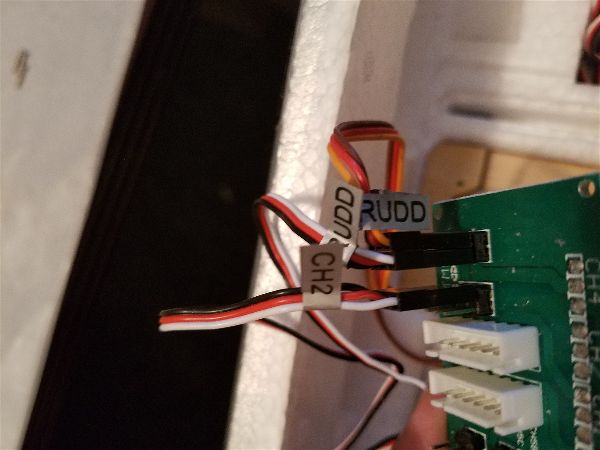
Unfortunately when I powered the plane back up I quickly found another issue. The port side motor did not rotate up into the same position as the starboard.
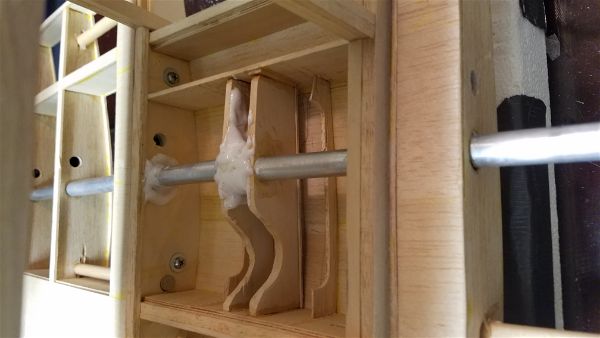
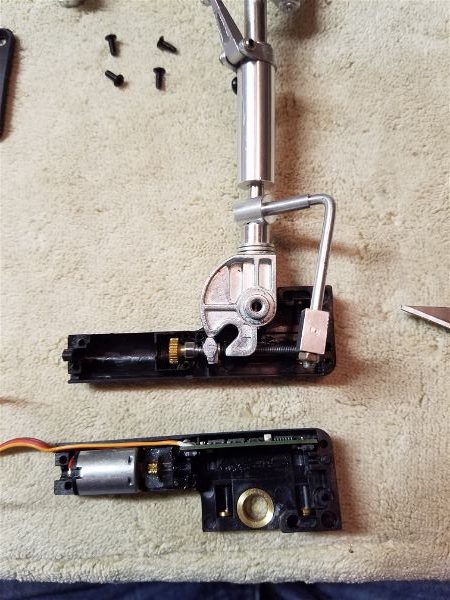
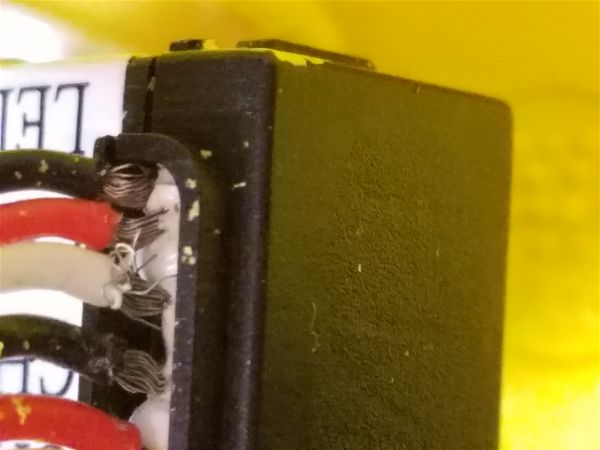
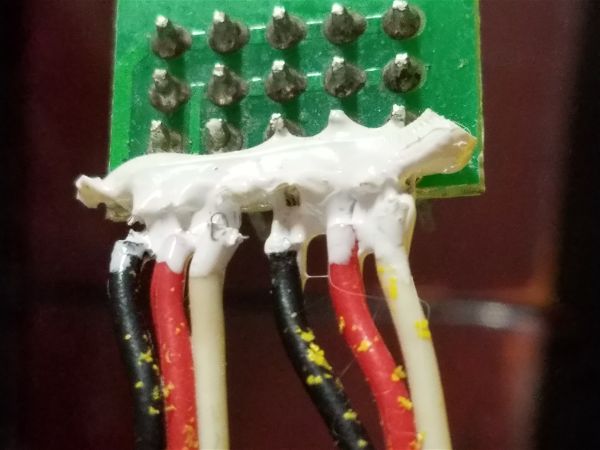
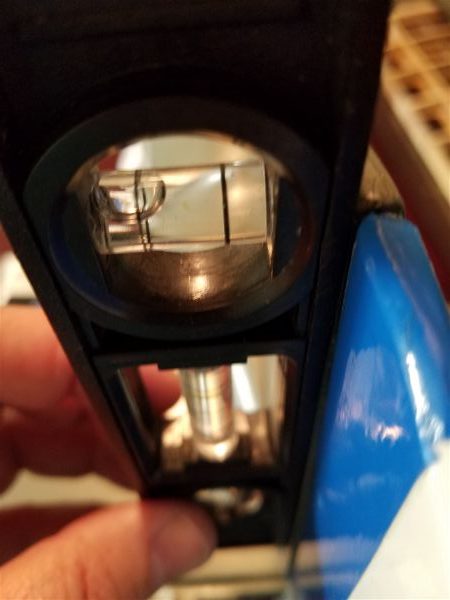
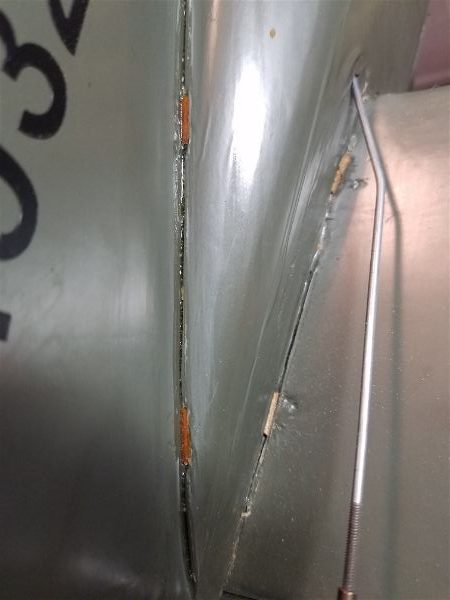
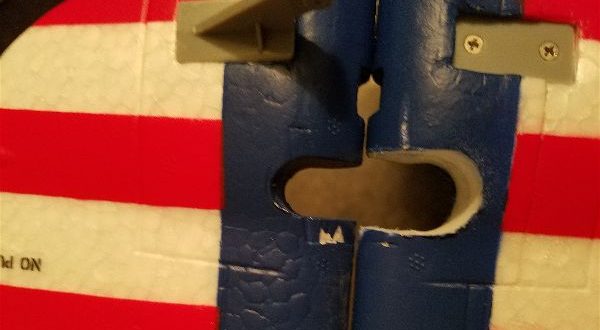
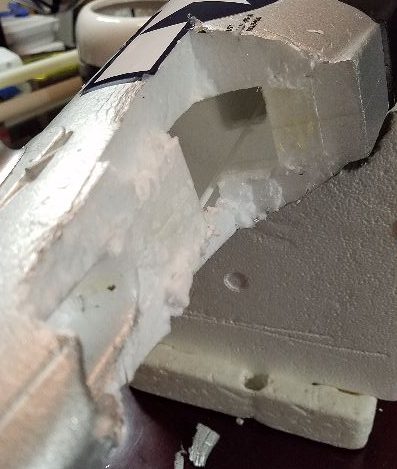
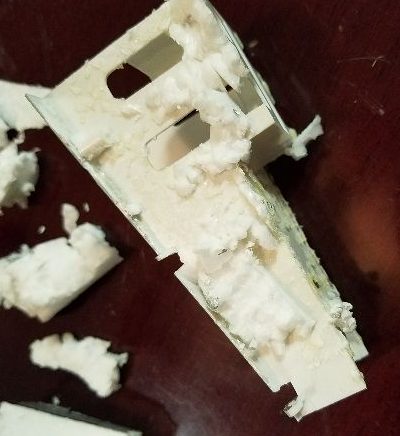
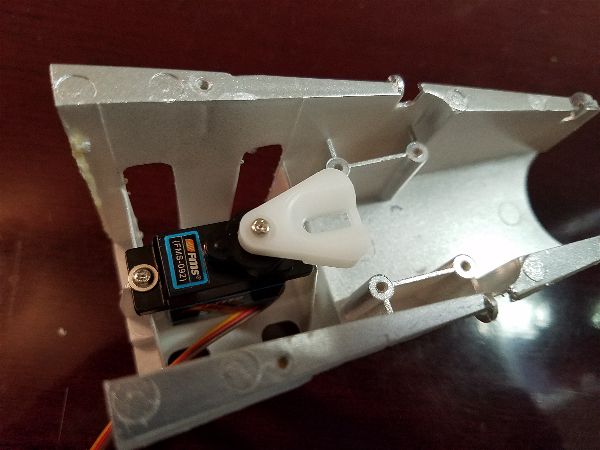
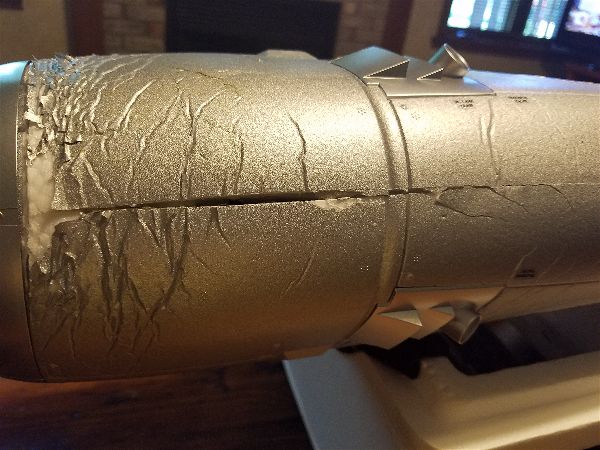
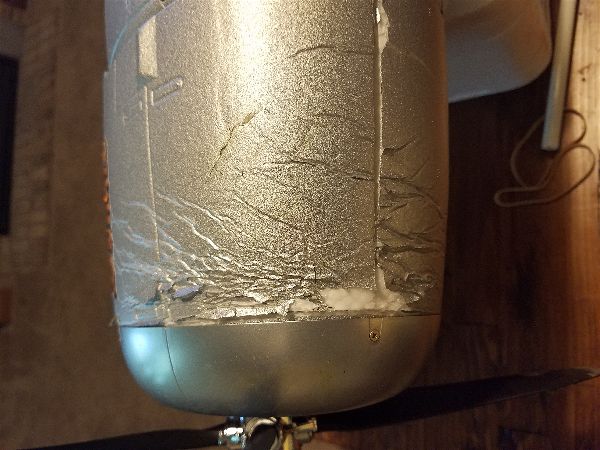
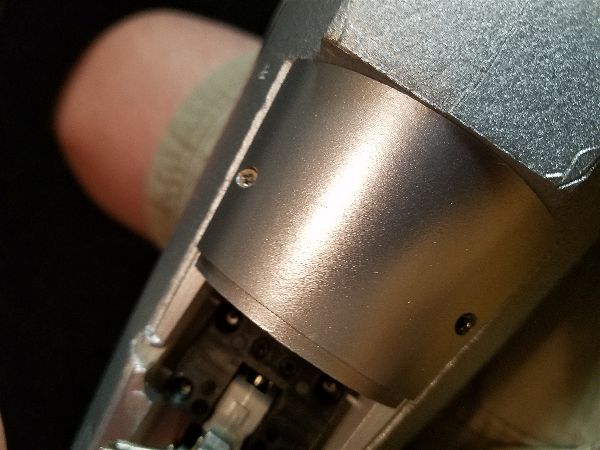
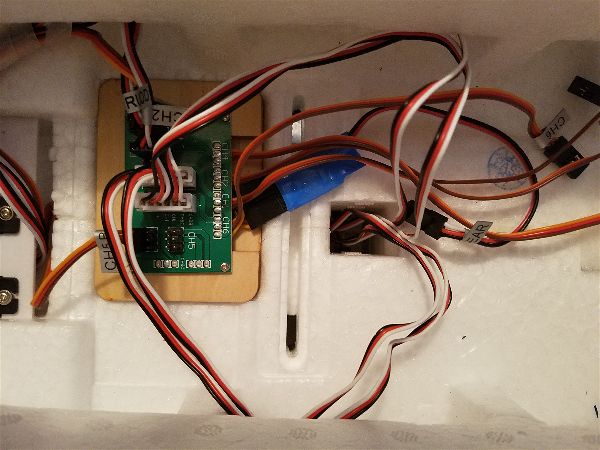
I quickly realized something was not right with the servo that performed the “tilt” on that motor. Opening it up, you can see why.
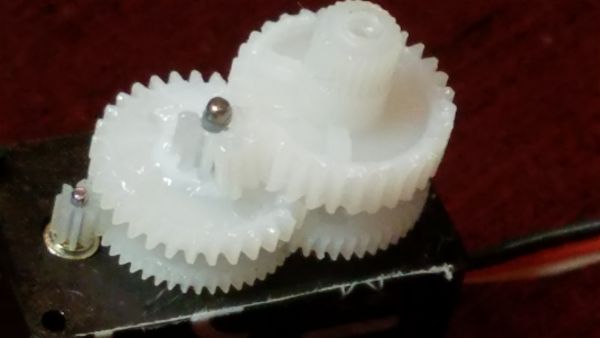
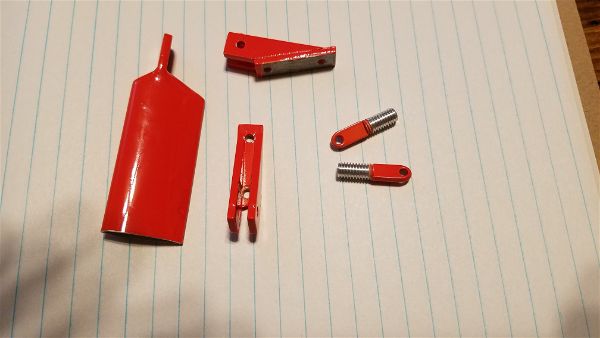
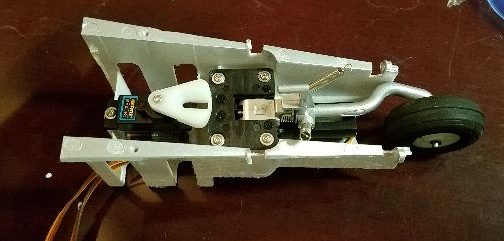
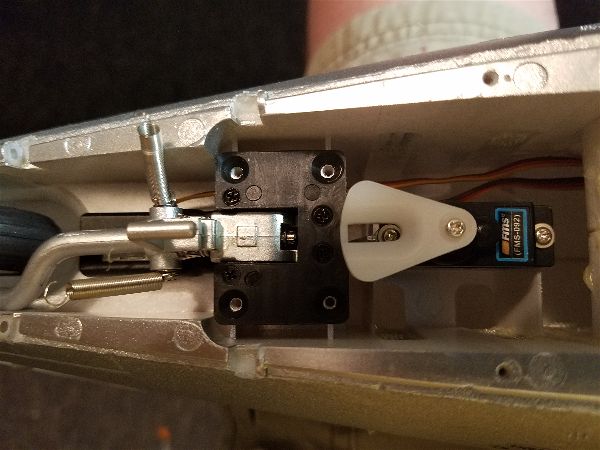
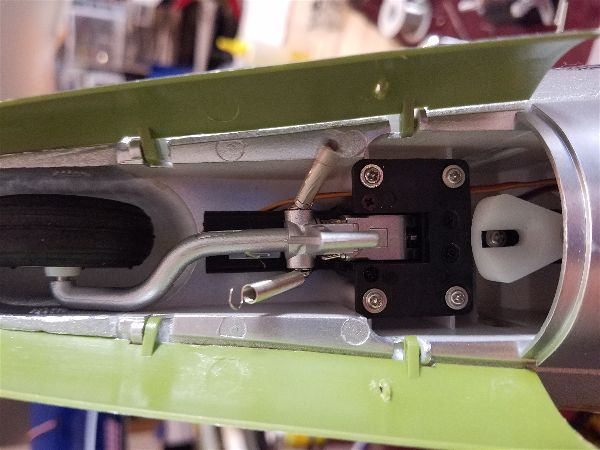
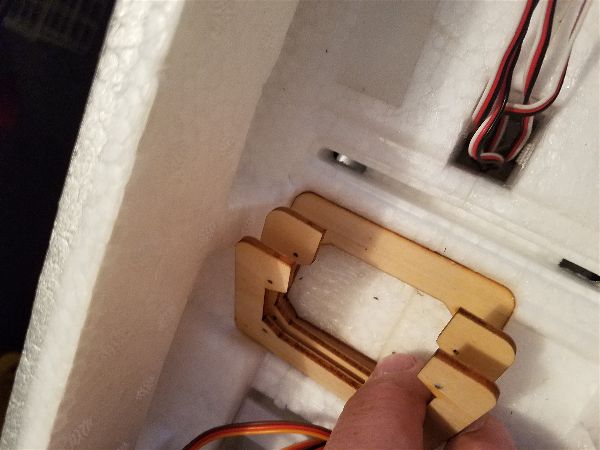
To get this view I had to remove that servo which required removing a couple screws to get the servo unmounted and a few more to remove the plastic faring that covers the bottom of the boom. Also, I disconnected the linkage and finally I had to split the tape with a razor blade (careful not to cut wires) and once removed, open up the servo. Some of that disassembly is shown below.

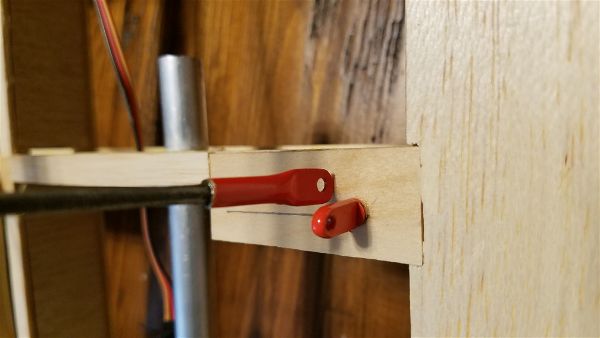
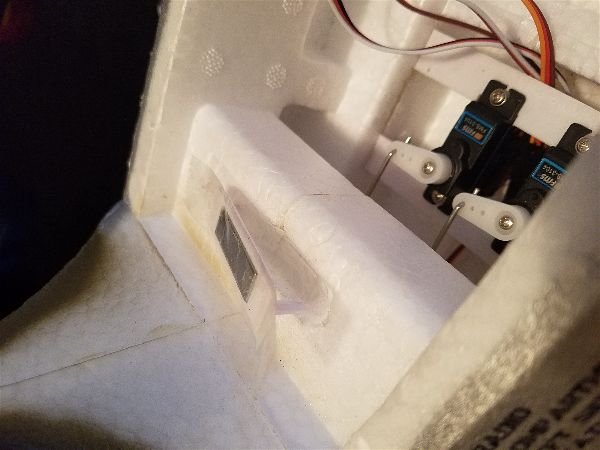
Reassembly had to wait a couple weeks but was not particularly challenging. For once I didn’t lose any screws, linkage, etc. The only real gotcha was to make sure you have taken note of where and what orientation the plug goes into the receiver/main board and be sure to power up the aircraft and allow it to pivot the servo to the starting point so you can line up the servo arm on the new servo so that the two engines are pointed in the same direction for startup.
So, moral of the story. When you read on line that folks have had some issues with the prop nuts loosening up and you should check them before each flight… listen. For my part, I decided to do something to help the nuts stay in place so I put a bit of clear finger nail polish on the threads of all three of the motors before replacing and tightening them down. I find it works pretty well as a thread locker for such things without risking any damage to plastic (like the props). Some thread lock compounds have been known to make plastic brittle over time! It is also fairly easy to muscle the nuts back off with the finger nail polish but in my experience does a fair job of eliminating any loosening due to vibration and the like. IE it can broken free again but won’t generally fail under normal use.
I’ve made one flight since this repair and the aircraft did well. So if you have one of these, do yourself a favor. Go unscrew all three prop nuts and find some non-permanent thread lock (or raid the wife’s nail polish stash) and take out a little insurance.