I bought my cub back in late 2014 and started flying it more as the weather got warmer here in Indiana. It has become my go to flyer and I probably have 100 flights or so on it by now. Unfortunately, yesterday it got put out of action by motor problems.
There have been 5 of the Carbon Cubs in the local club.
- Cub #1 was sold as the pilot and the plane just didn’t get along… he could never get his to fly the way he wanted. Just not his style I suppose. I saw it flying at an event at another club this last weekend. Doing great on floats and seeming to have no issues as all.
- Cub #2 is still in action but doesn’t get much flying as the pilot has other aircraft he flies more often. It had a motor issue within the first 20 flights or so and Horizon took care of it. The new motor has only a few flights on it since being replaced.
- Cub #3 crashed within the first dozen flights or so with smoke issuing from it mid-flight and a burned up ESC and Motor apparent upon inspection after the crash. The airplane was heavily damaged in the crash. That motor was dragging badly and apparently drew so much current it fried the ESC. Owner of Cub #2 heard the engine grinding just before Cub #3 malfunctioned but didn’t even get time to speak up before the smoke started and it was all over.
- Cub #4 had what appears to have been an ESC issue but I have not heard exactly what occurred. I just know it crashed and is out of service for the time being. It was flown pretty hard… this guy is a 3D pilot and he flew it that way. Nothing wrong with that but it may have played a part in its demise.
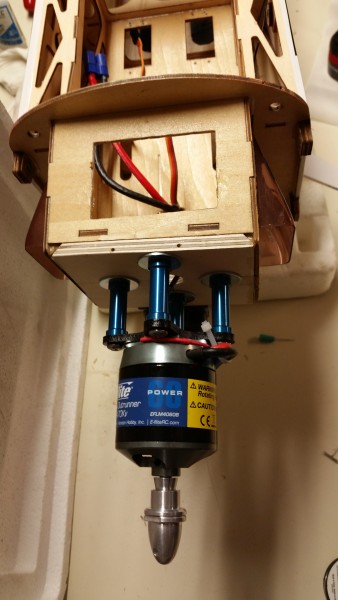
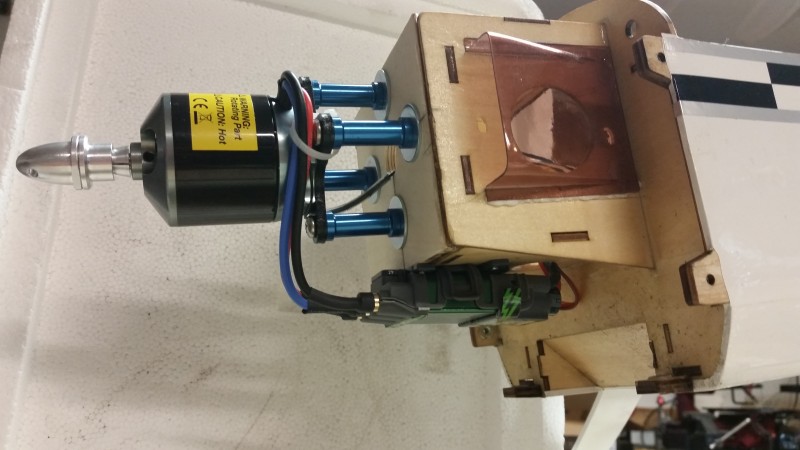
- Cub #5 is mine. It has been flown a lot, but well treated and nothing happened recently that I would have expected to cause motor issues. I have not flown it exceptionally hard, had a nose impact or done much of anything unusual. Flew on floats a few days before, in heavy wind a day before that… Last flight was a long climb at mid-throttle using the wind to climb to near 1500′ AGL then a lazy dive punctuated with some spins down to about 100 feet. Probably not as hard on it as my glider tows to 1000′ or so that I’ve done in the past. When I pulled out to level and throttled up a bit I could hear the grinding and tried to limit throttle usage as I made a quick landing. I can see that several magnets have moved toward the rear of the motor and there is some gray residue inside the battery compartment where the airflow carried the shavings. I will clean that up and hope for the best regarding the rest of the electronics that are in the path of the airflow!
That makes 3 (maybe 4) of the 5 local Carbon Z Cubs that have had a similar issue. Horizon took excellent care of the owner of Cub 2 with a new motor sent out quickly. Cub 3 was replaced after the owner sent it back in for diagnosis. Not sure about the other one. My motor is on the way back to them now. I’m hoping this isn’t a representative sampling of the failure rates for these motors. I have read about a few folks on the discussion groups having these same issues. If Horizon takes care of me the way they have these other guys, I guess I would still recommend the plane to others but I will definitely tell folks to keep an eye on the motor. A failure at the wrong time could certainly ruin your day!
I’ll update when I hear back from Horizon. Hoping for a quick turn around… it’s less than 2 week’s ’till the next float fly!!
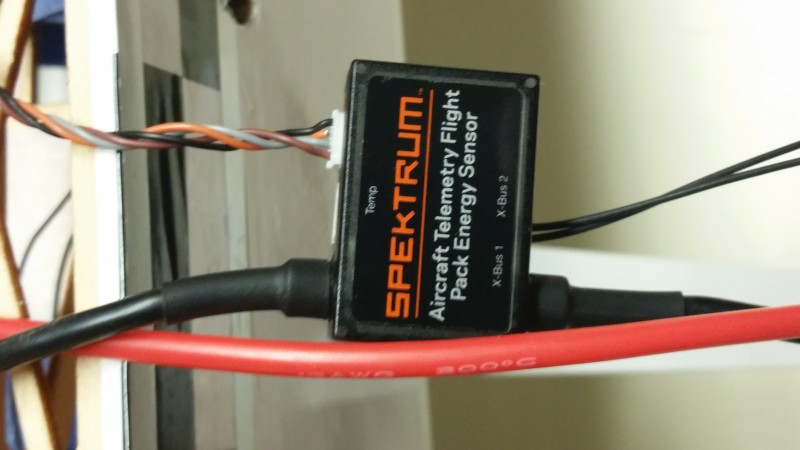
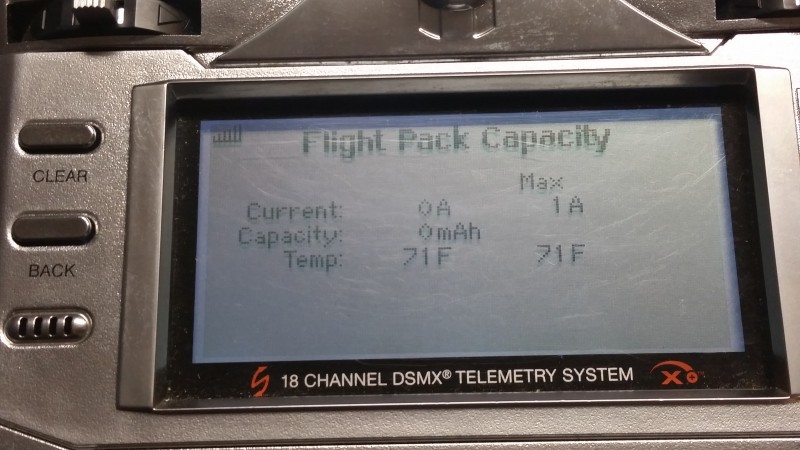 I now look forward to actually flying and testing the capacity measurement capability and am excited that I will no longer endanger my batteries by over discharging them. The closest I could do before was to set a low voltage limit which often meant I would get a warning that would sound at anywhere from 5-35% of capacity remaining depending on throttle setting at the time. I have great hopes that with this new capability I can set the alarm for a calculated 80% of battery capacity used and expect a much more accurate accounting.