Recently my club had a batch of RC gear contributed and much of it was sold off to club members over the course of a few weeks with proceeds going to the club. One of the items that got sold off was a Balsa USA 1/4 scale Cub. The kit had been almost completely framed up and even some covering done. The craftsmanship looked good and the price was right so I decided it would be my next large scale electric project. I have immensely enjoyed flying my 84″ wingspan Carbon Z Cub and I figured 108″ of Cub might mean almost 30% more fun!
It also seems like a great excuse to try something with an even larger electric motor and with it in the 90% framed up state, I figured it was ideal to do some “bashing” and make it into something a bit different than the usual “big yellow cub”.
I searched for a suitable subject and came across several attractive options. I needed to balance the desire for something a bit more unique with a practical eye toward ease of adaptation and availability of covering options etc… I didn’t want to go to the level of scale competition but I wanted something recognizable as “not” an available ARF. I looked at the NE-1, the Grasshopper (complete with Bazookas) and a couple others before I settled on a conversion to a PA-18 Super Cub.
There are a number of color schemes that are close enough to available covering colors to make it unnecessary to resort to painting… and many variations of the Super Cub exist… So many of these aircraft have been modified “in the field” that it would be difficult for anyone to point out a combination of “optional” gear like tire size, window size and shapes, cowl changes to accommodate various motors, etc… etc… that isn’t out there somewhere! The one’s that attract me most are all bush planes with the big tundra style tires! Those things not only add a nice scale touch but they are practical in that they absorb a bit of the abuse that the air frame would normally have to absorb.
Super Cub cowls are available for this kit so that part of the profile is easy to achieve. Bush wheels are also available as are light kits, interiors, articulated landing gears, etc… etc… So a bush variation PA-18 is what I will shoot for. I picked a picture off the internet of an Alaska based aircraft that I thought would be “within reach” to model and started planning, plotting and modifying.
First on the agenda was gathering info on equipment I would have to acquire. Bush tires and a nice shock absorbing landing gear are a necessity and I found PR bush wheels… These guys are out of Alaska and they created scale bush tires and rims for several sized and types of Cubs because no one else really has another really good option that I could find!! You really need to check out their video of a customer doing wheels skims across a pond! They are pricey as one would expect for such custom items but one of my flying buddies stepped up and ordered me a set in return for some RC shop work I had done for him recently. I wasn’t looking for that kind of payback but it is appreciated! Thanks Kelly!
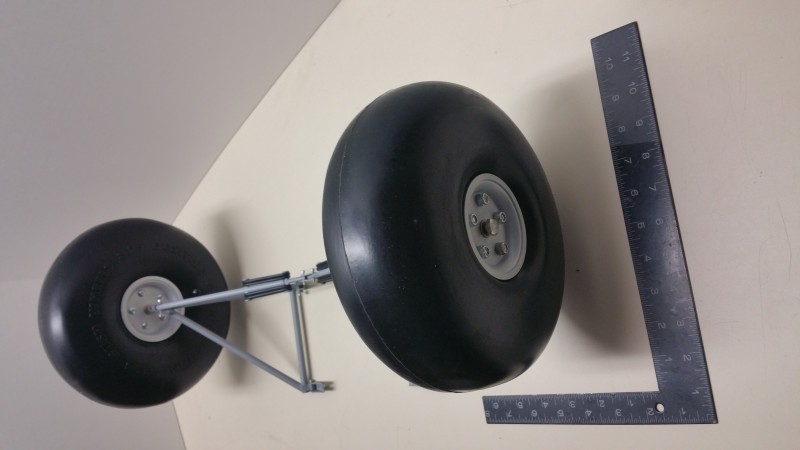
Of course this forced me to order the appropriate Robart 1/4 Scale Cub landing gear! Can’t have those fancy wheels on some old, ugly wire gear can I?? So now I have pretty much all I will need to have an awesome landing gear setup for the PA-18.
Here’s the Robart gear with the wheels attached… These are going to look great!
I also went ahead and order a new cowl from Fiberglass Specialties Inc… They have a stock PA-18 cowl that fits the Balsa USA kit. It looks to be their standard quality workmanship (which is high) that has already survived sever drops from my workbench onto the concrete floor with nary a crack. I really need to quit dropping it!!
The project has since languished a bit as work got busy and I spent some time working on other projects. I also had to spend some time stuffing the piggy bank to purchase a suitable motor, speed controller, etc… I have finally gotten back to doing a bit of work on the Super Cub and I have found a few more things I felt “needed” modifications. There are a number of noticeable differences between the venerable J-3 and the PA-18.
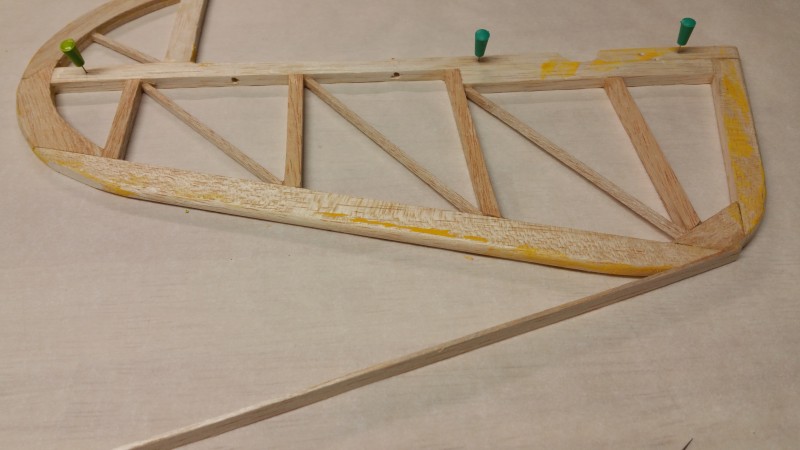
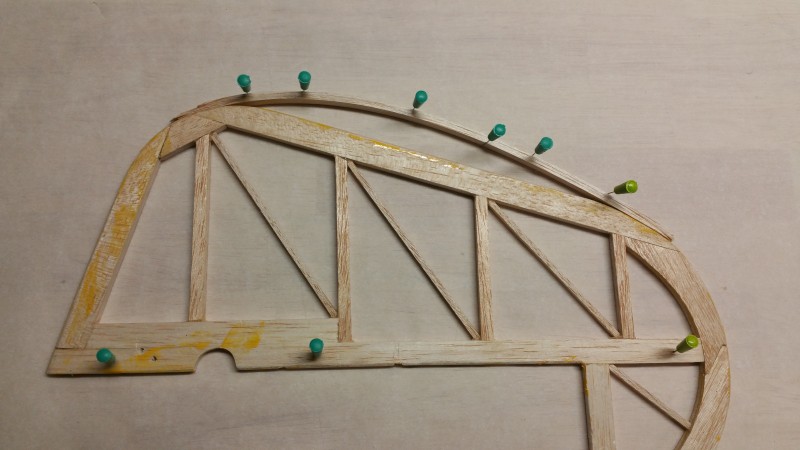
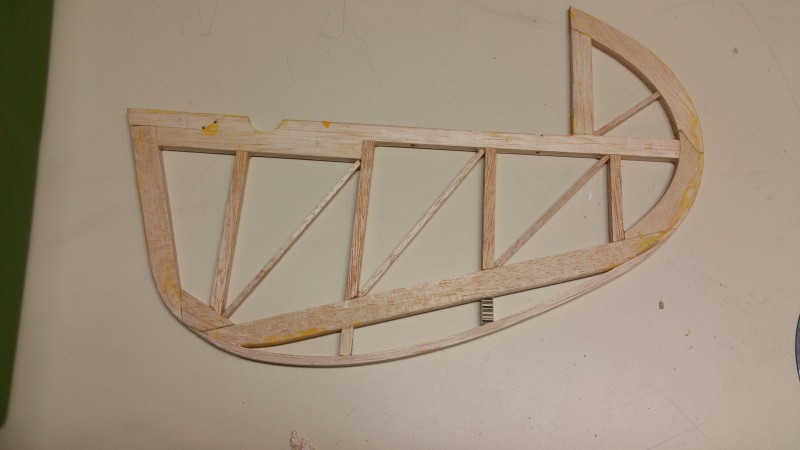
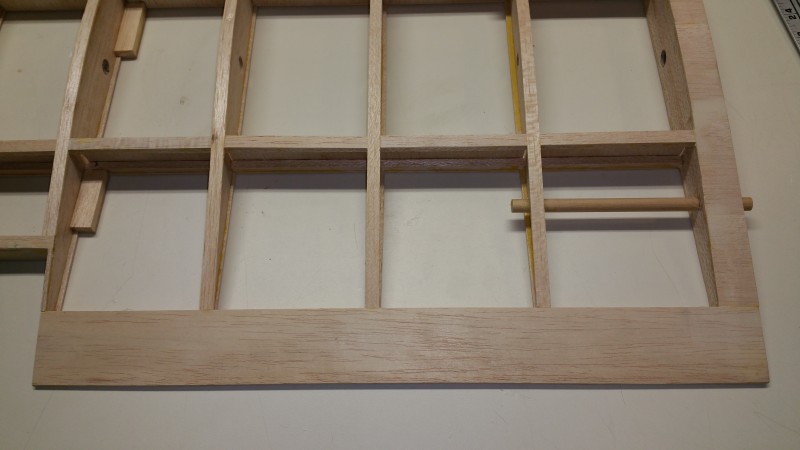
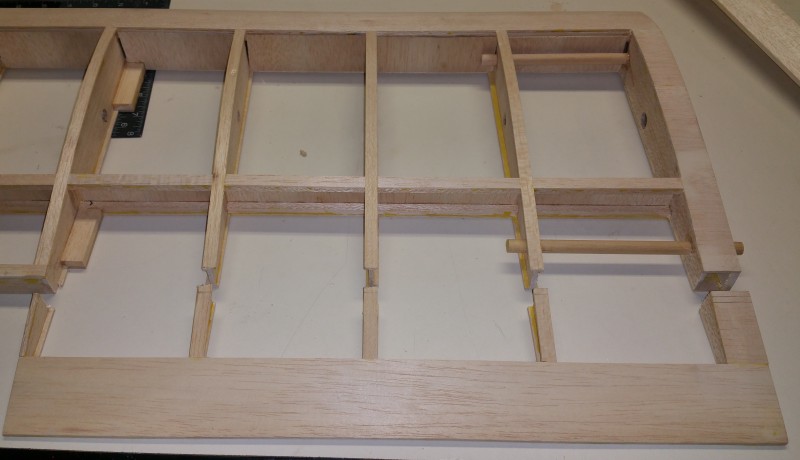
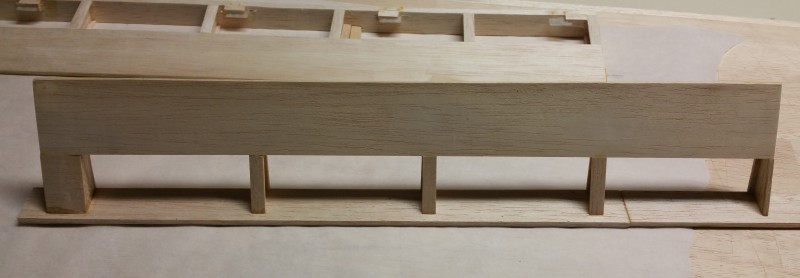
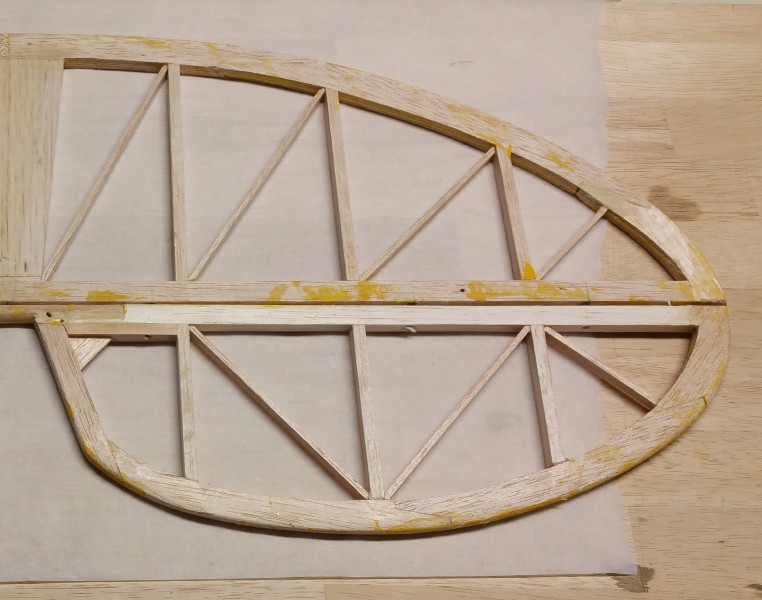
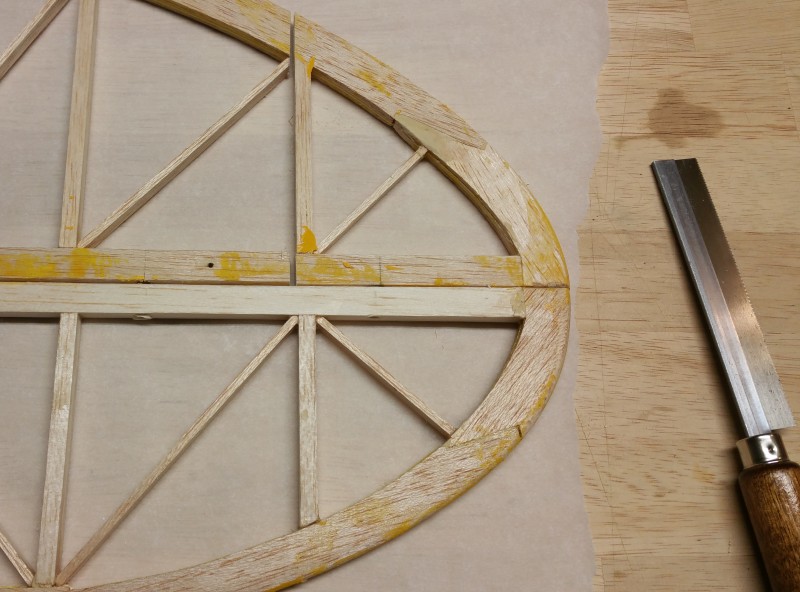
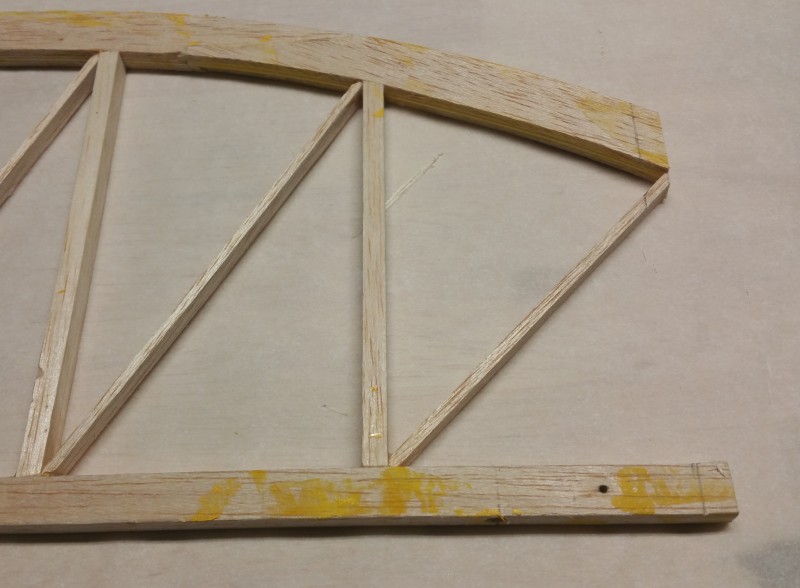
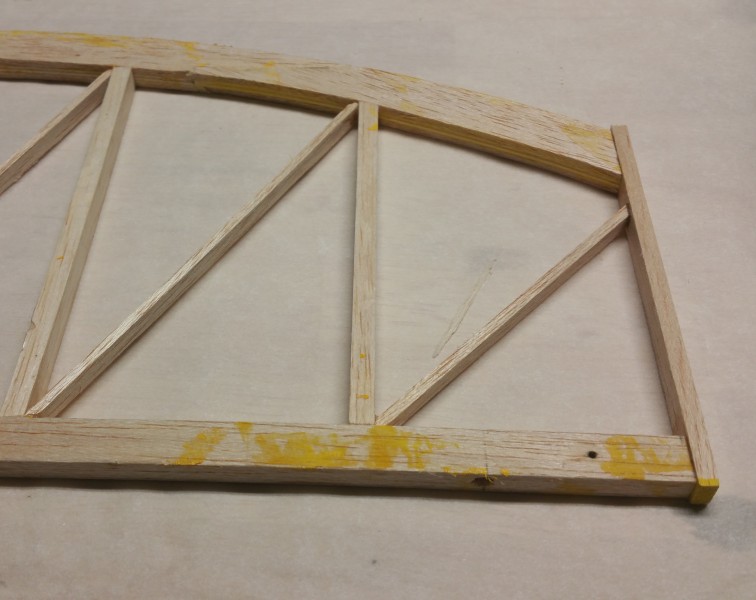
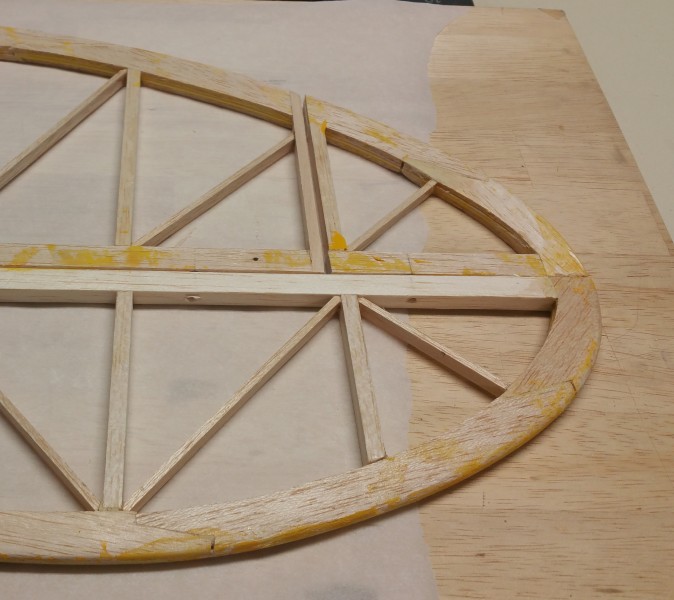
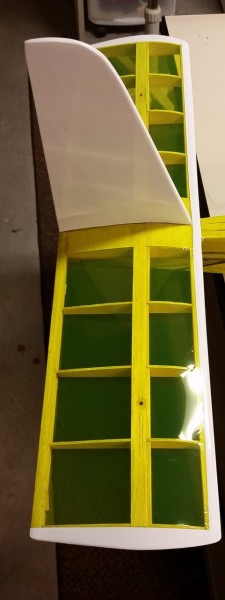
I have the cowl taken care of but the tail feathers are noticeably different with aerodynamic counter balances on the elevator and a more rounded and larger rudder as well as some obvious bracing difference in the cockpit. Also, the vast majority of PA-18s have flaps while the majority of J-3s do NOT. Those items seemed to be high on the list of what makes a PA-18 look different and they all seem to be modifications that are “in reach” since they will require very little but time and effort to accomplish.
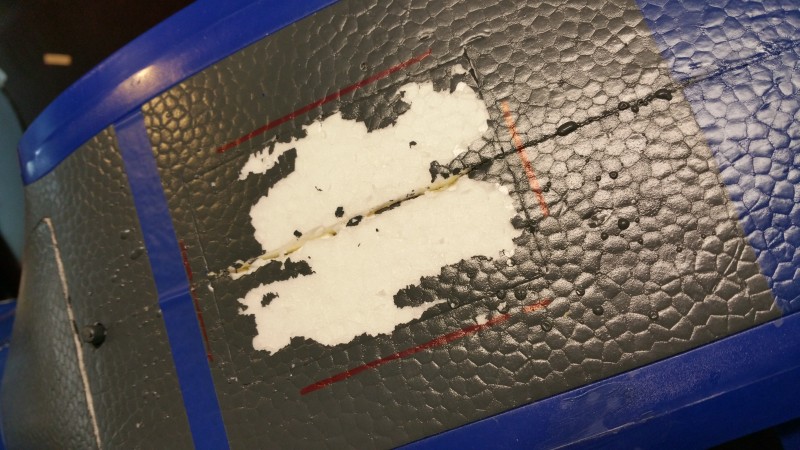
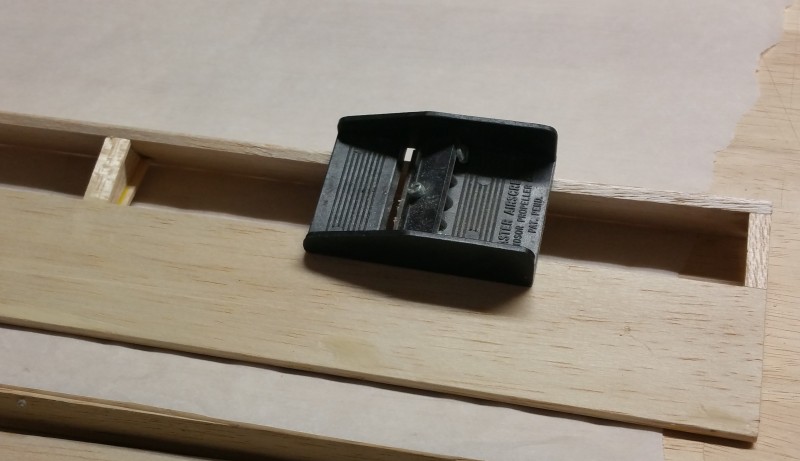
During this busy time I started stripping all of the covering off of the control surfaces and a bit of the tail which was about as much as the gentleman had gotten to. This was mostly accomplished during short windows in the shop after work was finally done and before bedtime.
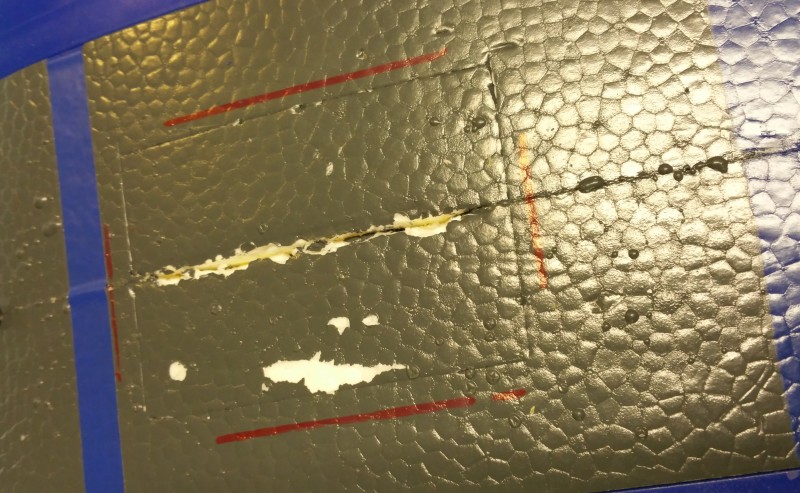
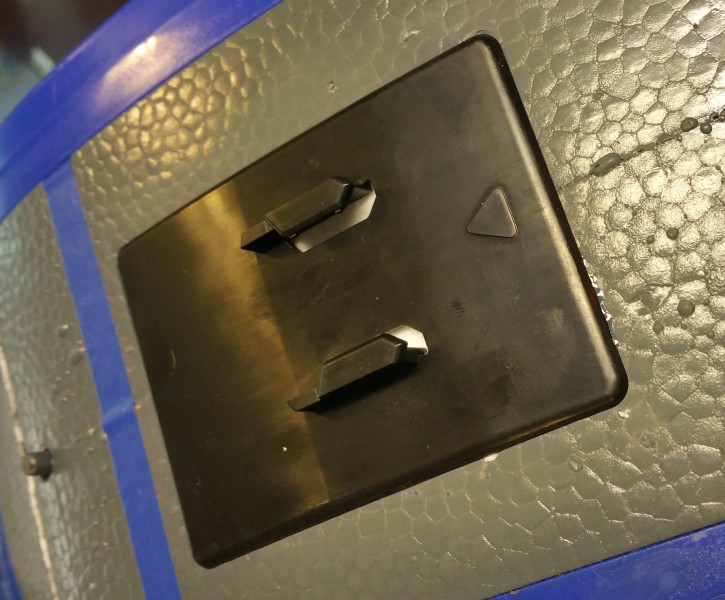
I also removed the glow motor mount that I won’t be needing… The blind nuts I punched out before I realized that the top pair were trapped in an enclosed space and now make a fantastic rattle! I can see some Dremel work is coming to retrieve those!
This promises to be a fun project so I will have more updates soon as I expect to get in the shop a bit over the next 2 weeks around the holidays. I’ve already made some progress on the cockpit area, tail surface shapes and flaps so will try to post on some of that soon.
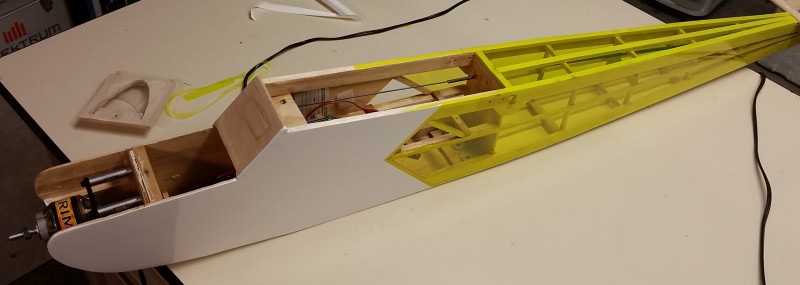
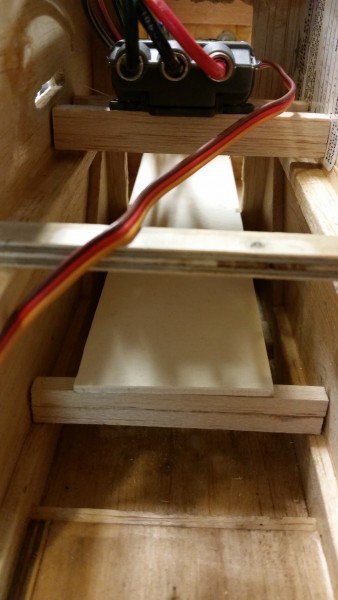
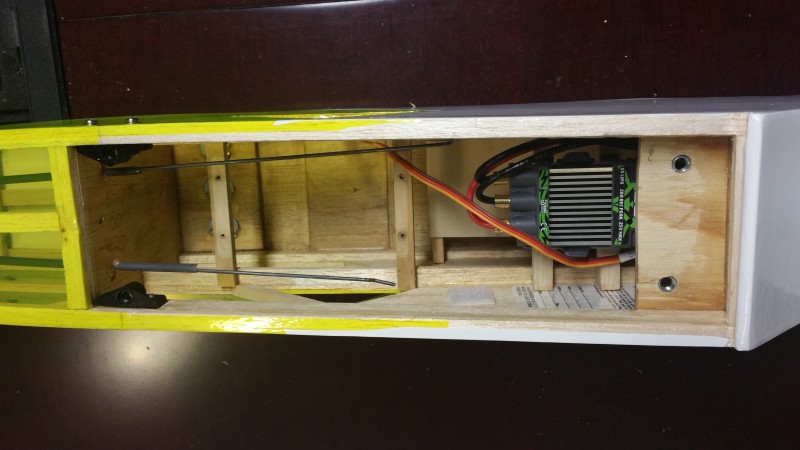
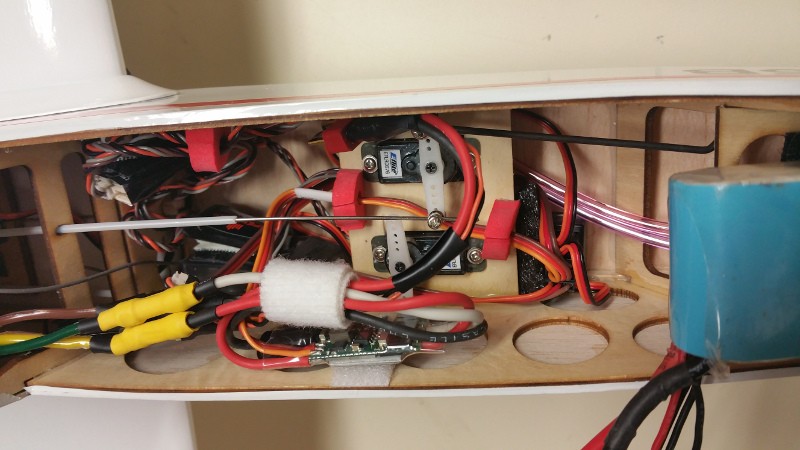 This view shows the interior which is admittedly cramped and messy with all the goodies stuffed in the right places to make the balance come out as specified. You can see the 2200mah 3S LiPo on the right (tucked into the nose). The tubes coming out from underneath it are going to the pitot which feeds pressure to the airspeed sensor which is tucked in the back (left/upper in the picture) part of the area under the canopy. Hidden under the wires in that same area is the Variometer as well. The Castle speed controller is velcro’d on to the sidewall at the bottom center. At the bottom left of the photo just behind and below the speed controller is the telemetry receiver with the g force sensor attached to it. Just in front of the servos, just peaking out from under the servo tray is the Spektrum receiver.