Turbo Timber 2M SWS – Part Four
There were a few things I felt I just needed to change right out of the box with the new Turbo Timber SWS.
My first thought was that I wanted to take advantage of the electronics provided in this newest iteration of the Turbo Timber. To that end, I started down a long list of adjustments I wanted to make.
First, I did a bit of programming on my radio. Starting with a template I created from the program I had based on the Grand Tundra, I checked all the settings were adjusted per the manual. Using the template gave me the voice prompts and standard switch locations I would normally use without having to manually reenter them.
I always like to have my ailerons on separate channels when I have the channels available but in this case I also wanted to do it to allow for a bit of crow mixing. To allow for this, I adjusted my wing type to 2 aileron, 1 flap. I didn’t bother to split the flaps as they are not hinged to deflect upwards anyway so there is not much to gain. One accomplished, I removed thy Y harness and wired the ailerons each to their own channel making sure to get the correct aileron in the appropriately labeled channel.
Next up, I wanted to enable the reversing function of the ESC. I attempted to enable this using the ESC telemetry programming screen that normally is available as the last telemetry screen you will find if you scroll through all the Telemetry screen with the airplane and radio powered up… but to no avail. The screen just wasn’t there! After some troubleshooting, including rebinding, upgrading my radio to the latest software, etc… I realized that the ESC was loaded with very old code. I was a bit iritated with this, as that particular function has been out for a very long time and I would have thought by now, Horizon would have made sure all the shipping product had that code already loaded. But apparently not.
I then pulled out my trusty ESC programmer and connected with my laptop and updated to the latest version. Following a power cycle, “bingo” the programming screen was now available! I adjusted the braking method to allow reverse with the laptop and programming box but inevitably realized after disconnecting and packing it away… that there was another setting or two I wanted to adjust! For one, I wanted to move the reversing function to a higher channel to eliminate conflicts with other radio functions I might want to program on the lower channels.
No problem, I simply went in with the radio and scrolled across to the ESC programming screen and entered the menu via the indicated stick motions… or maybe not. After a couple of attempts, I recalled that you need full channel output to get this to work so I adjuted my switches to max throw and again, things were looking up.
As I was scrolling through the options, I realized there were a few other things I wanted to adjust. So while I was in the screen I adjusted the brake/reversing function to channel 10 as planned, but also disabled the auto cell count function and disabled the voltage cutoff feature. If you think that’s a bit unusual, let me give you the brief logic. First, I like to run the new HV Lipo batteries from SMC and I have seen ESCs that will mistake an HV 6S for a 7S and if the cutoff feature is enabled, this can lead to a cutoff occuring very early in the flight. This can be dangerous, especially to the airplane’s health! Throttle being cut just after takeoff is not ideal.
Second, if I have to make a choice between damaging my batteries due to overdischarging them but managing to eek out enough power to get my airplane down safely… or having the ESC protect my $90 battery at the expense of trashing my $800 airplane… I think you can guess what I pick.
I also set the BEC output to 7.4V instead of the default 6.0V. The servos in this bird are high voltage and the vast majority of Spektrum receivers (including the 8360T provided) are capable of working with a wide range of voltage inputs. With this equipment I would always favor a higher voltage setup. For reference, volts times amps equal watts (which measures power). So you can provide the same amount of power supplying a higher voltage with less current draw and high current often exposes any flaws in the electrical system. For instance, many connectors can easily handle a higher voltage than we require but when they have to pass higher current they begin to heat up and the excess heat causes failures. So as strange as it might sound, if the electronics are designed for it, I believe using higher voltage is easier on the system. High current causes problems that an appropriately high voltage does not. Also pulling less current to do the same work means longer flight times, assuming the extra battery weight to get the higher voltage isn’t prohibitive.
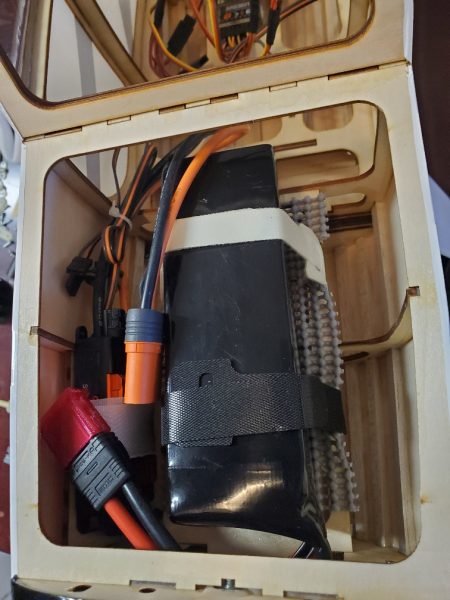
On a related note; I am always torn between using separate flight pack batteries (usually a 2S LiPo) or letting the ESC provide the power on 6S powered aircraft. At the typical size/weight range of a 6S bird, you are approaching airplanes that can typically handle the excess weight of a separate battery pack to provide power to the servos and radio gear without noticable effect on wing loading. Also, separating this function relieves some of the load on the ESC as well as providing a level of fault tolerance if the ESC should fail or the main fligsht pack gets disconnected, etc… That’s the positives of using separate receiver packs. On the downside, it adds weight to the airplane, adds expense to the setup (additional packs, switches, etc…) and adds a bit of complication which weighs in against reliability. Complicated things just fail more often. When I move up to higher cell counts I default to a seperate power pack (or two) but 6S is right on the border for this setup, in my mind anyway. For the TT SWS I do not plan on a separate pack, so setting the ESC to high voltage is what I believe is the best option.
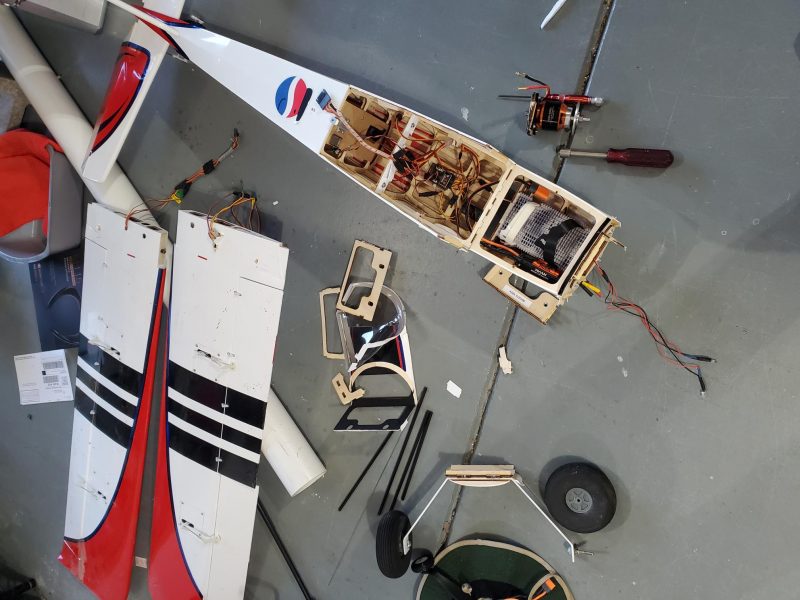
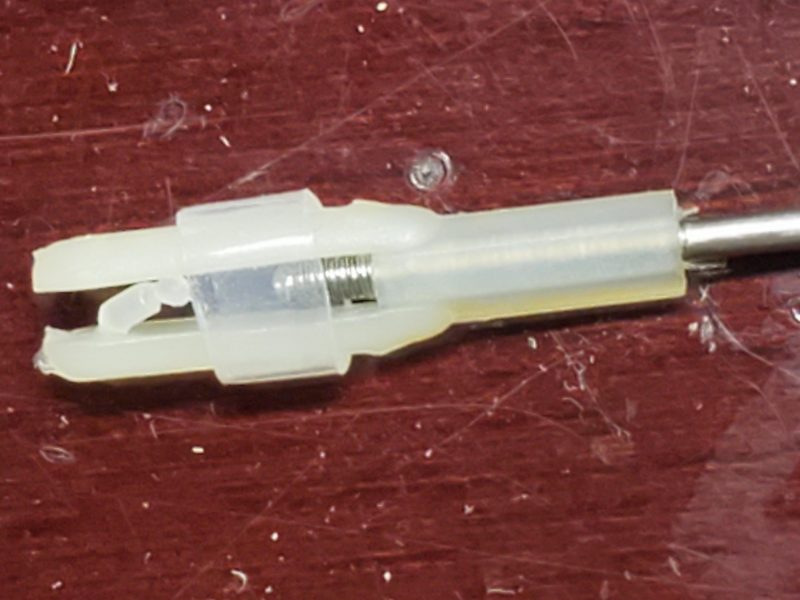
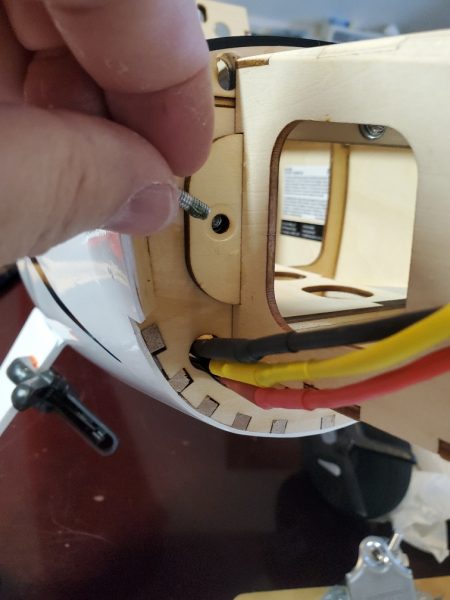
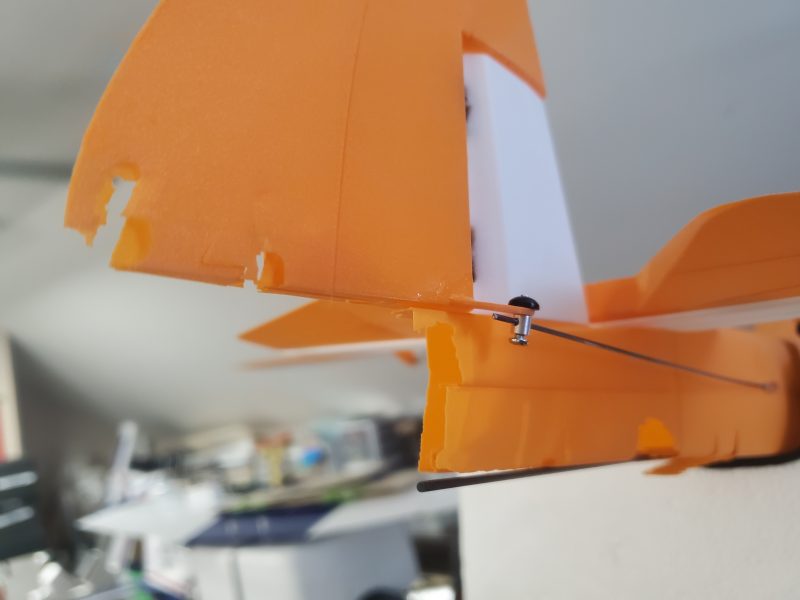
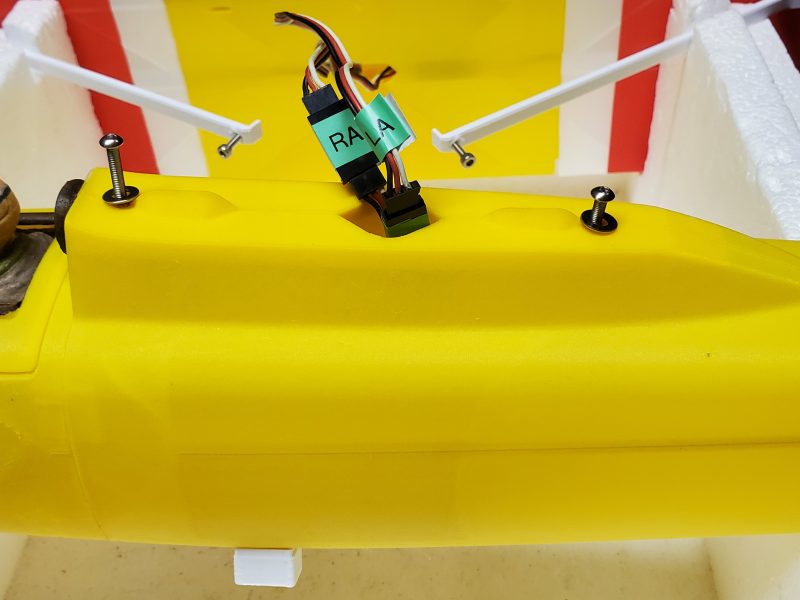
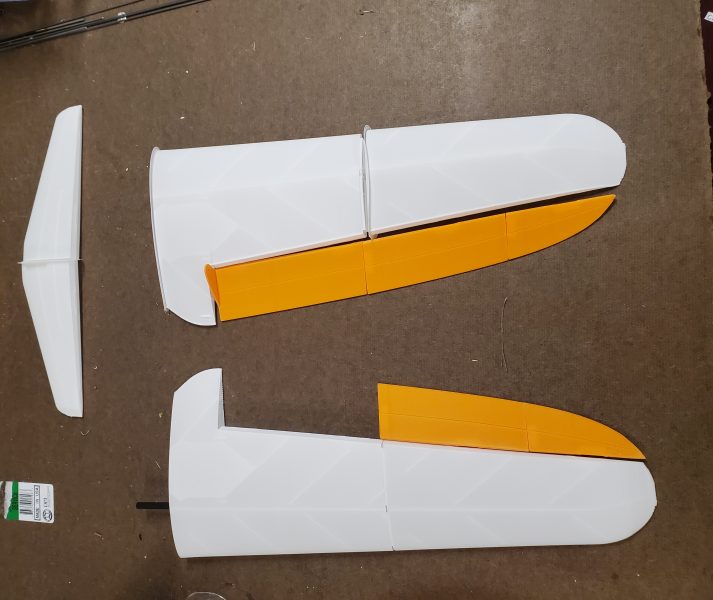
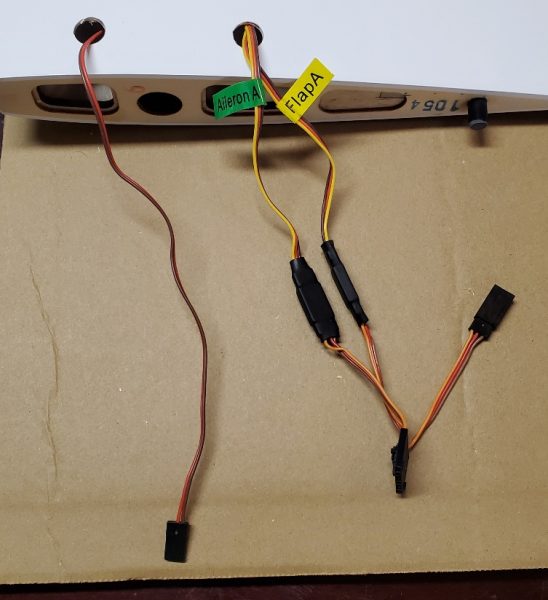
Once finished, I moved on to wiring up my multi-connectors to make the wings easier to attach and detach along with cleaning up a bit of wiring. This presented a bit more of a problem than I anticipated. First, I made the connections between the three servo wires exiting the bottom of the wing and then wired up the other side of the multi-connector to the receiver. Doing a trial fit I realized that there is a bulkhead that touches the bottom of the wing in between the wire for the lighting and the wires for the servos. I thought about notching the bulkhead but I didn’t like that idea so I went to plan B and pulled the lighting wire back up to the flap servo hatch and then fished it down along side the servo wires to make them all emerge at the same exit. Here’s a couple of pics of the process.
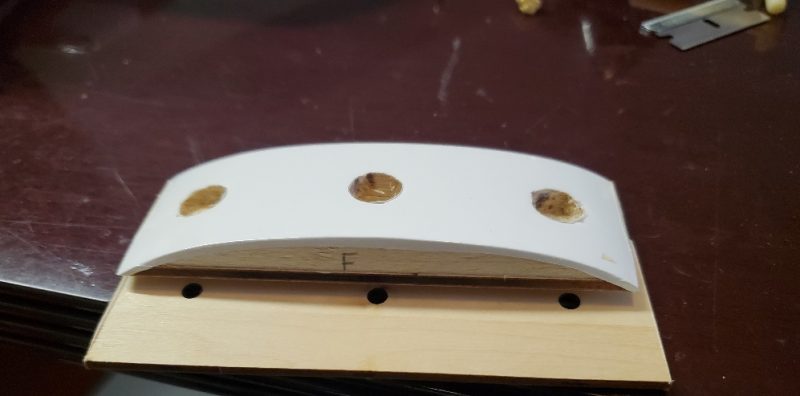
Here’s the original routing with my multiconnect already plugged into the flap and aiileron wires.
I used a wire to snag the lighting wire from the front portion of the wing back into the flap servo pocket. I then pulled the servo connector end of the wire back to this point.

Following that I looped the wire through large nut (a convenient heavy weight to help with the process) and lowered and shook the wing to get the wire to drop down to where I could snag it and bring it out to the wing root.
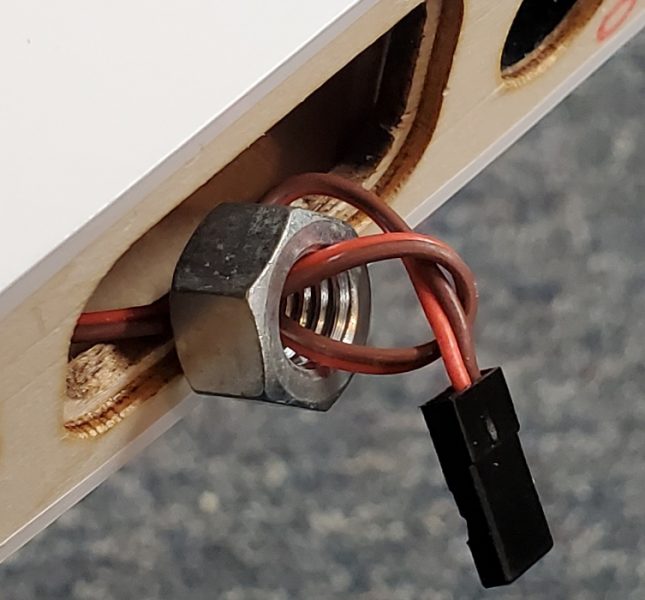
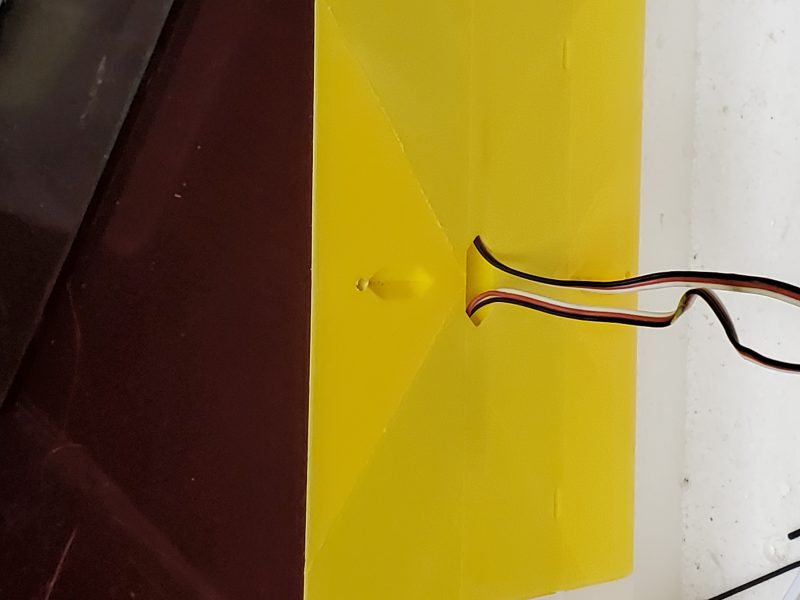
At this point I removed the nut and fed the wire through the same hole in the bottom of the wing that the servo wires emerge from. Problem solved.
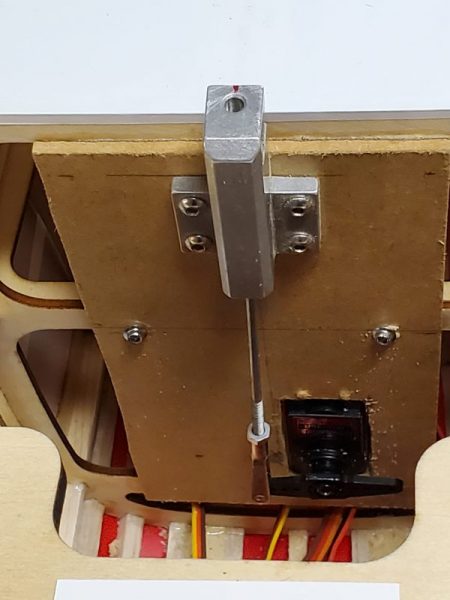
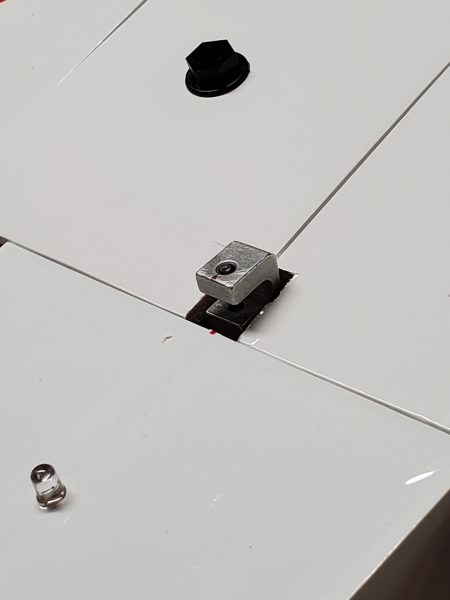
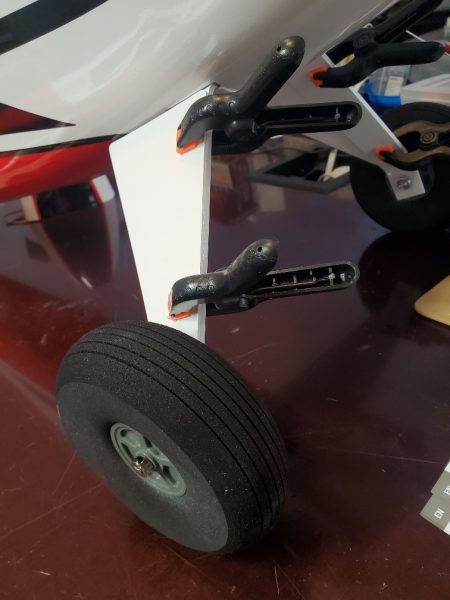
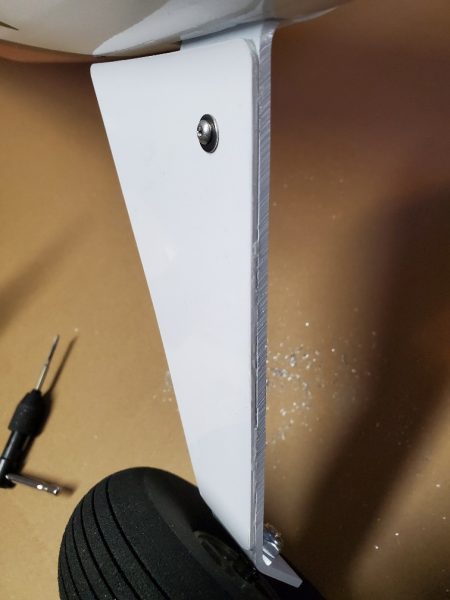
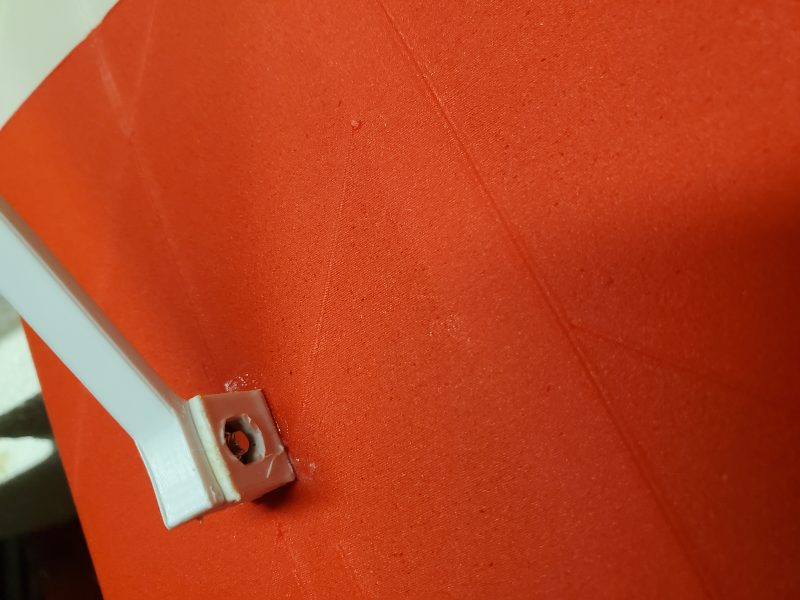
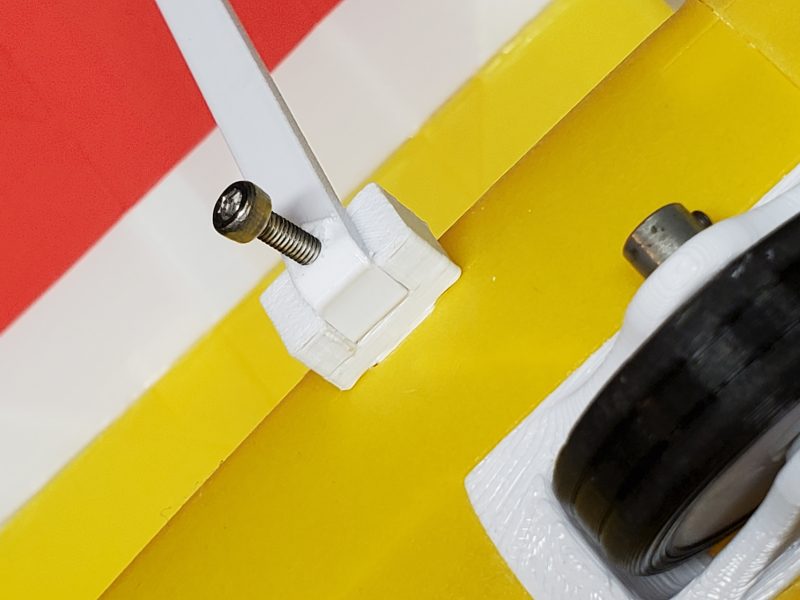
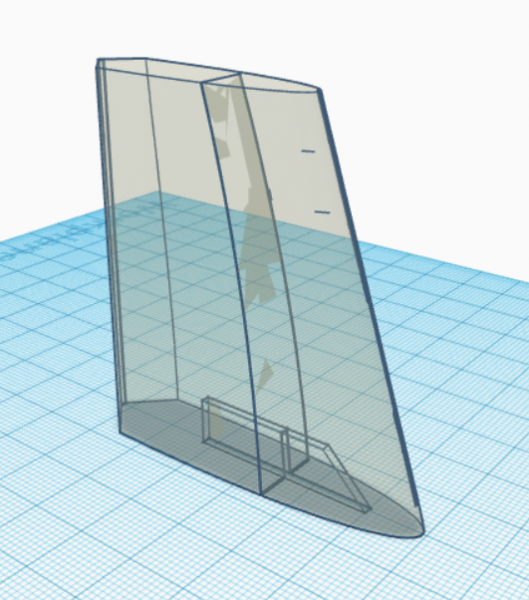
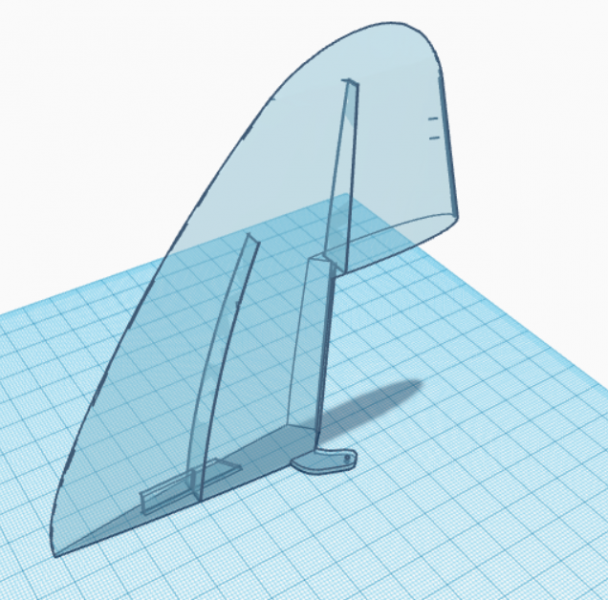
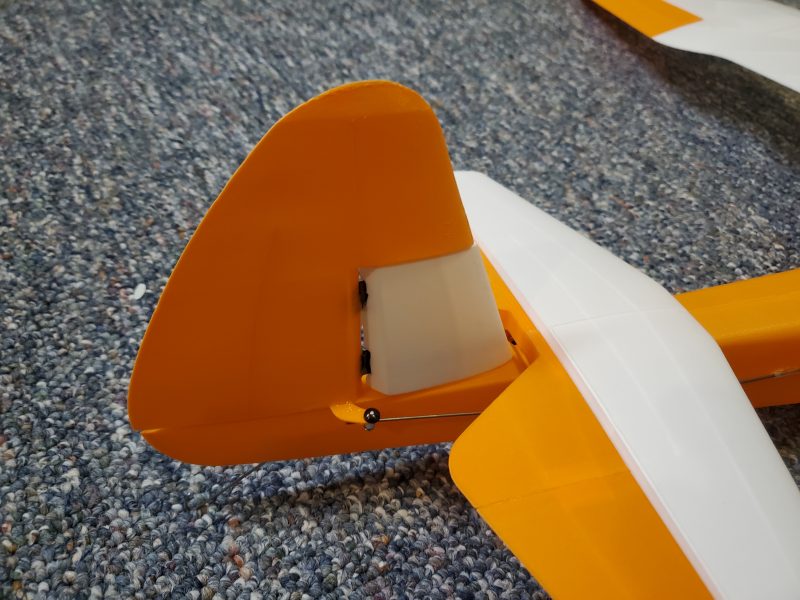
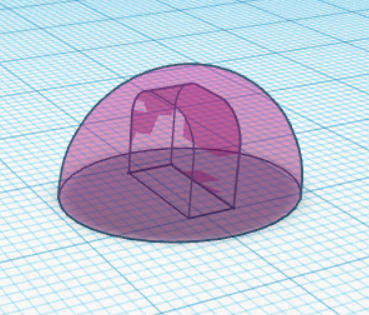
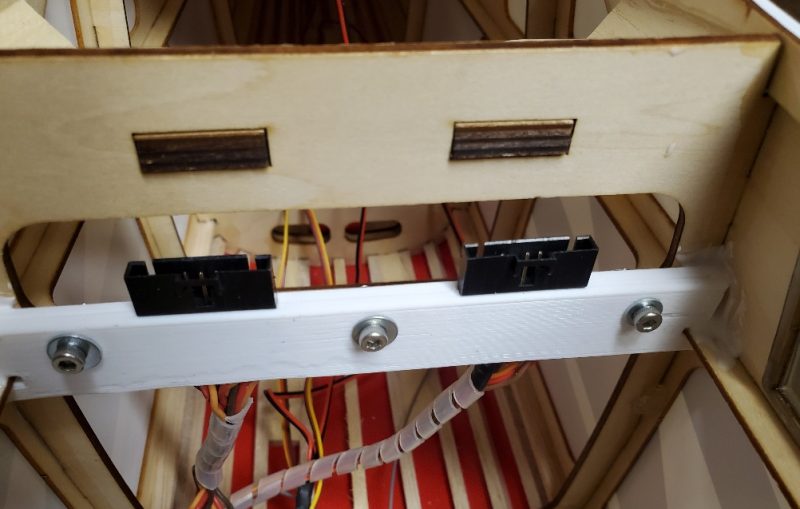
Once I got those connectors in place, I remembered a problem I had with the smaller Tundra’s and which will be amplified by the size in this case. That is, when assembling the wings and plugging in the wiring, you must hold the wing up out of the way and even with only two connections to make, this can be a bit tedious… especially if there is wind trying to grab that big wing and throw it on the ground! I’d seen a few approaches to fix the problem and I liked the idea of attaching the connectors inside the airplane so that I could connect each connector with one hand. After a few measurements, I created a bracket that holds the connectors in place in the airplane and can be disassembled if needed for any sort of repair. I used my trusty 3D printer to create this bracket and used some canopy glue (which can be removed in a pinch but holds plenty tight for my purposes) to help hold it in place. Here’s a pic of the installation.
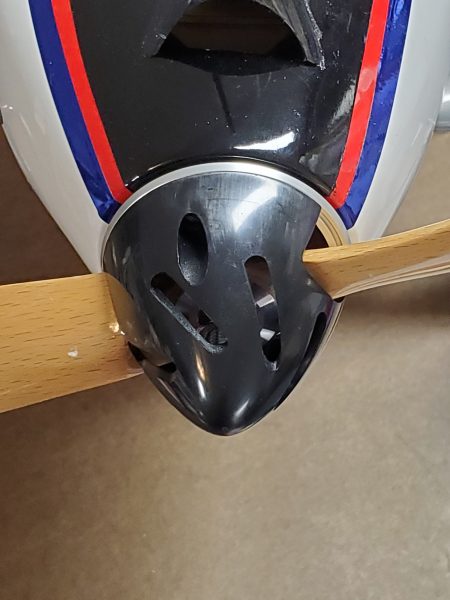
At this point, I recalled that I wanted to have a way to switch the landing lights (these are located in the cowl) off and on. I had this on my Grand Tundra, and enjoyed it. So I moved on to connecting up a small in-line switch (the PERS v2 from Hansen Hobbies) to allow me to switch that output. After inserting the PERS, I noticed the landing lights were flickering and soon one and then the other winked out.
To me that seemed… to use a technical term… BAD! I pulled the PERS back out and connected back to the standard wiring… no go. I then got a separate battery… nope. OK, so what the heck… then I recalled that ESC voltage setting… 7.4V… instead of 6… hmmm. I guess the LED circuit wasn’t designed for the higher voltage… even though every other component of the airplane is! Even though every other LED seems fine! Yes, Horizon Hobby didn’t tell me to do that… or that I even could. But, I still think they could have done better on this one.
It was a bit of a job to replace the LEDs… They were glued in very well. I ended up crushing them with pliers to break them up and then drilled out the remains before gluing in replacements. With an appropriate resistor in line with each to limit current appropriately at the higher voltage, things brightened up nicely and putting the switch in line was easily accomplished without issue.
At this point, I was getting pretty close to finishing up with all of my setup for the TT SWS. Next time, I’ll try to wrap up this series with my final few items before she has to sit in corner and wait for some nice weather.
Here’s a quick “chapter guide” if you want to jump to any of the other posts on this aircraft:
Part 1 – Buying and unboxing
Part 2 – Inspection and possible modifications
Part 3 – Assembly and modifications
Part 4 – Radio setup, modifications, and repairs
Part 5 – Final tweaks
Part 6 – Flying and Analysis