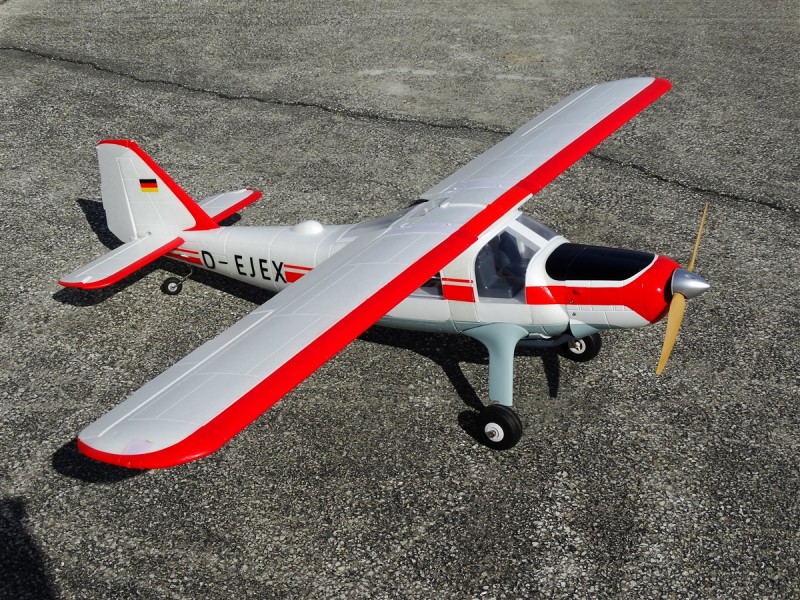
Unfortunately, Steve’s DO-27 didn’t make very many flights between it’s first and last flight. Steve was never thrilled with the flight characteristics, though it seemed to be quite capable. I think he was expecting it to fly a bit slower/lighter and it required just a bit of speed to maintain control authority. In addition the wing mounting method seemed to always need at least 3 hands to accomplish and the servo wire connection into each wing was painful to accomplish. If you get one of these, you should plan on modifying those servo wires to move those connections to a more easily accessed area. I also wonder how long the plastic/spring wing connecting clips would last? I’m not a big fan of those either. Bolts have always worked well so not sure why they decided to use something different here.
Having said all that, the DO-27 is an oddly attractive aircraft and did seem to be fairly capable of some nice rolls and similar basic aerobatic maneuvers. Unfortunately we never got a chance to fully explore its capabilities. On the first flight of our most recent day at the field the plane suddenly lost all power and dove into the ground nose first… rolling slowly while gathering more speed as it fell.
Here is what the crash scene looked like….
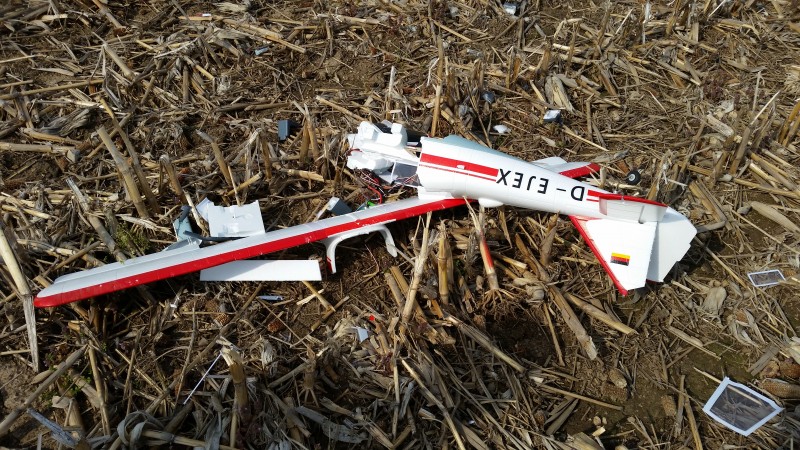
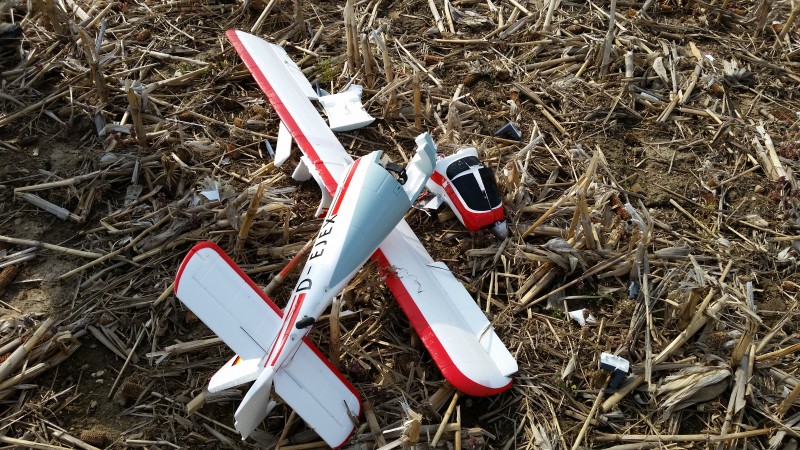
Ugly, I know. The impressive thing is that the wing not only didn’t break in half on impact but wouldn’t even break over Steve’s knee when he tried to do so in order to shove it in the trash bag!! When I picked through the wreckage and sorted out the good stuff, I did a little exploratory surgery and found there were a pair of CF square tubes embedded in each wing half. No wonder this thing is tough!
It also took no time to find the cause of the crash and it was NOT (unusually in my experience) pilot error. Or at least not a case of dumb thumbs. The apparent cause of the crash was a poor solder joint on the positive lead of the battery load wire which had broken off in mid flight! So Steve’s mistake was trusting his mechanic/electrician (that would be me) to make this solder connection. I hate that this happened… sorry Steve… but it does make the case that maybe a separate battery to run the receiver and servos would be a good option… especially for the larger/more expensive electrics. Will have to look into that soon for my 90 size Extra and maybe for the Carbon Cub.
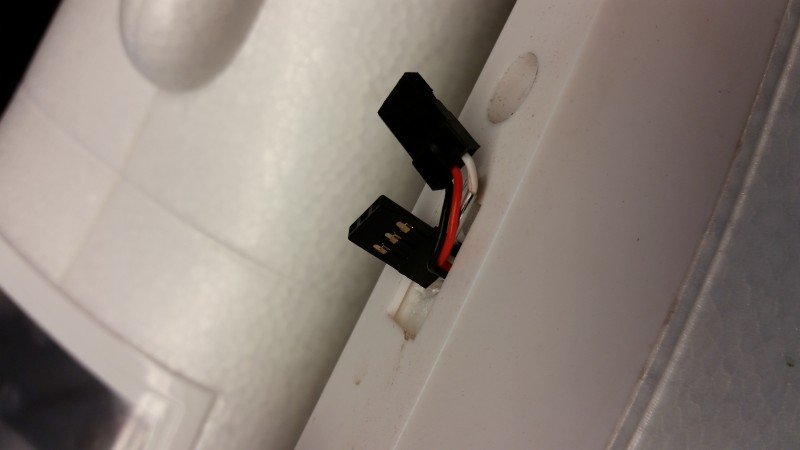
The problem was a combination of several things. One, the battery has 10 gauge stranded wire which is a bit unusual for a battery this small (4c, 3700mah). Second, the supplied speed controller connectors were some smallish bullets which is a bit unusual in my experience and we had nothing to match them and even if we had it would have been tough to get these big wires into the matching bullet connectors. Third, we decided to swap these for Deans Ultra connectors. While I love the Deans for current carrying capability and the snug connection that results, this is another case of having problems connecting the wires to these blades. Easy to do for 14 gauge and smaller but for these 10 gauge I was having a lot of trouble getting things attached without melting the housing. I thought I had pulled it off but in the case of the positive lead the wire had pushed away a bit and the gap between the back of the blade and wire was filled only with solder. Unfortunately solder bends easily but also quickly fractures under a repeated bending as will often occur when installing batteries in our airplanes. Mind, I am not making excuses… I should have done a better job on this solder joint. I just want to point out that getting this right would have been a lot easier if we had picked a more appropriately sized connector considering the wire size involved. I must be slipping.
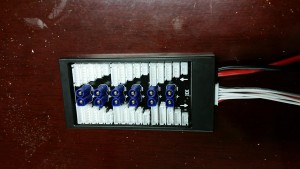
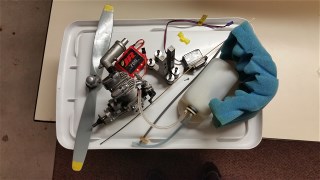
RIP DO-27… it appears all the electronics, including the servos, receiver, speed controller and motor have survived. What can we do with all of this?