One of the first things I’m always concerned about with an RC airplane is just how easy it is to get flying once I get to the field. I really don’t want to be fiddling with 15 bolts and nuts that require special tools to attach, nor do I want to have to crawl around on the ground to assemble the airplane, etc… At least not if I have a choice.
With the H9 Carbon Cub I felt like it was going to just be to “fiddly” to assemble as designed from H9. The wing attachment method with screws that would have to be put in from the bottom of the wing, up in a hole and then adding in the wing strut bolt attachments, the battery placement and mounting method which was going to have to be done reaching under the wing and into the cockpit area and then a screw inserted to hold it in place?? Did they really think I was going to do that for every flight? I found it frustrating to do with no windows in place and the cowl off! I certainly didn’t want to try this reaching in only through the door on the side of the cockpit.
All of this screamed out for some modifications so here is what I went with. First, I decided that I wanted to reverse the wing mount tabs. IE. I decided to permanently mount them in the wing and make the body end be the area where any attachment task was done. To accomplish this I needed to remove the tabs from the body. This was fairly quick and easy with the proper application of a ball peen hammer. Here is one still mounted in the fuselage.
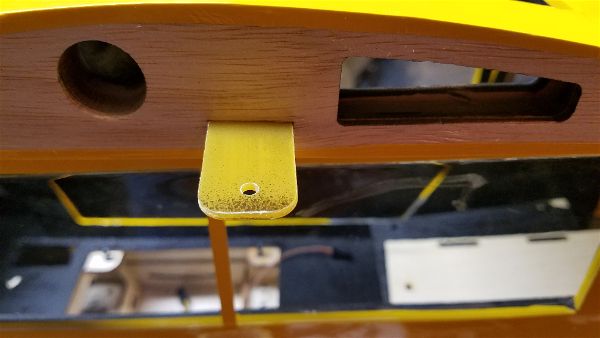
They have a shoulder on the inside of the fuselage so you need to push them into the plane body if you want to remove them. A few raps and they pushed into the body and were easily removed.
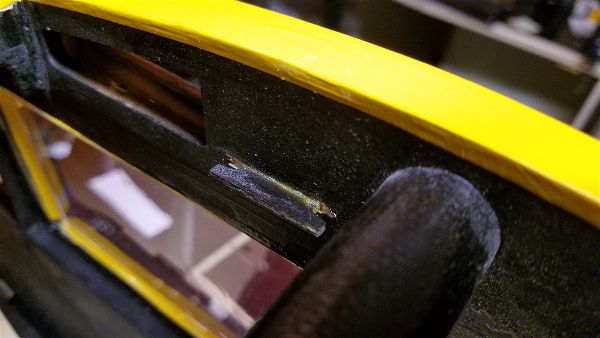
A tiny bit of wood came off with them but not enough to cause any concern. I then used the phenolic tab material as a pattern to make replacement pieces out of similar thickness aluminum. Since I want them to extend a bit further into the fuselage so I can attach them on that end, each of mine are about 1/2″ longer than the originals and don’t have a tab. I did drill the hole so I could attach them to the wing (I just intend to only do this once)!
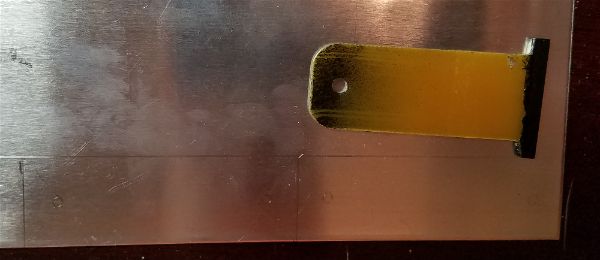
Once all cut out and the hole drilled in each I did some sanding to round the corner and cut some slots into them so I would have a way to pull them together to keep the wings from sliding on the wing tube and opening up a gap between the wing root and the fuselage.
Even with this mod, I didn’t want to have to reach up into the cockpit through the door and put screws in, rubber bands on or attach a tie wrap or whatever. Between this and the need to swap out batteries I decided I wanted to have a removable top window.
This meant I needed to build some sort of frame to mount the window in and create a hatch assembly. This sounds easy until you realize that the top of the cub is a curved surface AND the opening narrows as it goes toward the rear of the airplane! So first step was to make some custom shaped window frames for each side. I began by tracing the shape onto some light card stock (sometimes having a greeting card crafter across the shop comes in handy!). I then proceeded to attach the template to some wood and then cut and sand to shape.
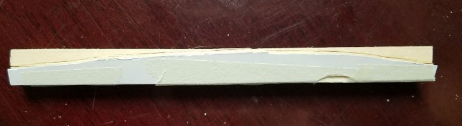
I then used some of my finer TLAR engineering skills (That Looks About Right) to make a rounded cutout in the bottom of these pieces in order to provide clearance around the wing tube. After that I cut a couple of appropriate length 1/4″ square sticks to use as the front and back. Each of these is custom of course due the aforementioned narrowing of the opening.
Once that was all completed and some careful fitting done, the frame was assembled (I laid all the pieces in the place in the top of the fuse and used CA to tack glue them together then removed them from the airplane and finished the gluing process).
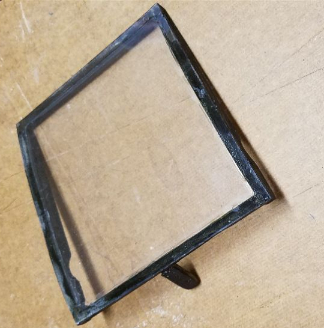
After a test fit of the full (one piece) window, I carefully marked and cut off the material for the top window. Before attaching it, I colored the frame with a black permanent marker and then glued and clamped the window material to the frame with canopy glue.
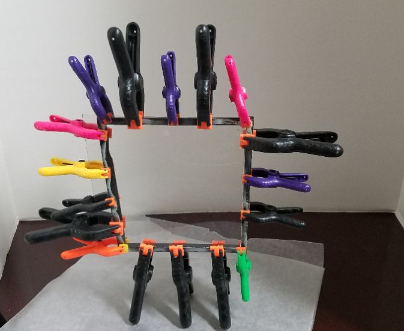
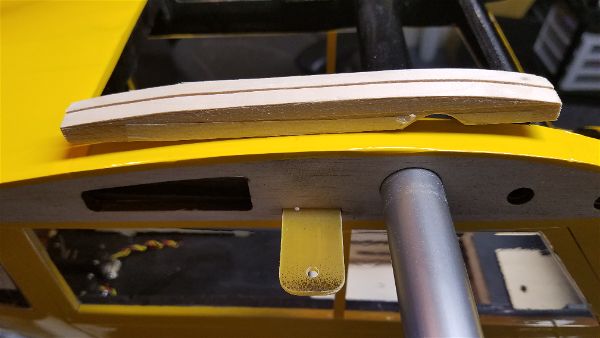
This was allowed to dry for a few hours and then the clamps came off and I added a bit more glue around the inside edges to make sure it was not coming off anytime soon. From there I started working on ways to mount the frame to the top of the airplane. First I made a tab out of a couple pieces of popsicle stick and glued it to the front bottom edge of the frame at an angle so it would catch the front of the fuselage. This prevents the front from lifting. You can see this here.
I had to just do a bit of adding a layer of popsicle stick and then sanding a bit off to make it have a close enough fit. More black marker to cover up the wood grain took care of hiding it.
The final stage involved another stick of wood on the back edge of the frame to add some “meat” to the frame (my original 1/4″ frame I felt was just to small) and allow for the attachment of a “handle/antenna” for easy removal of the top hatch when needed, along with a block of wood to house a magnet to hold down the trailing edge. Adding some black pin striping around the edges to give it a truly finished look was the final step in building the top window/hatch.
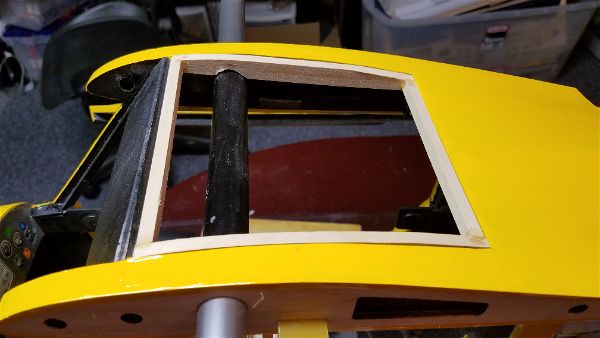
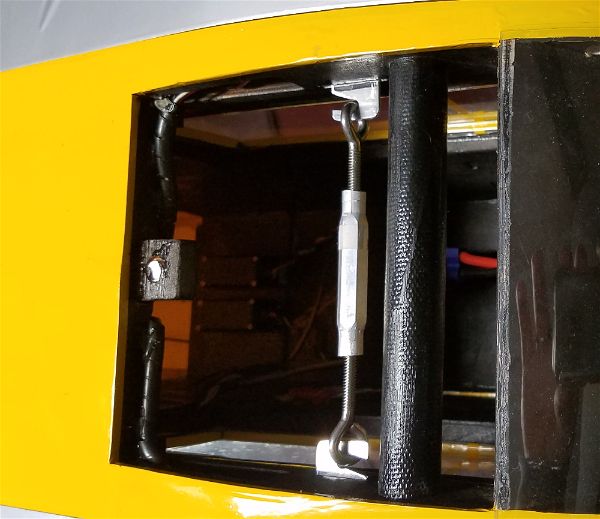
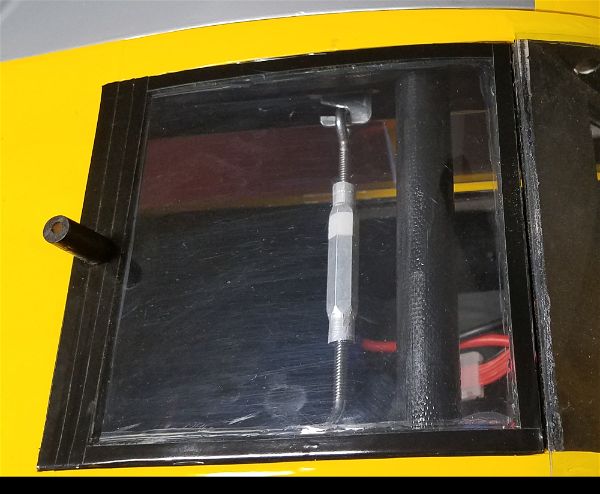
After all this was said and done I decided with this easy access I could use a turnbuckle to hold the wing panels together. Its very quick and easy to put in place and because of some fitting issues at the wing root of the port wing, I needed something to put a fair amount of pressure on to hold the wings where they belong.
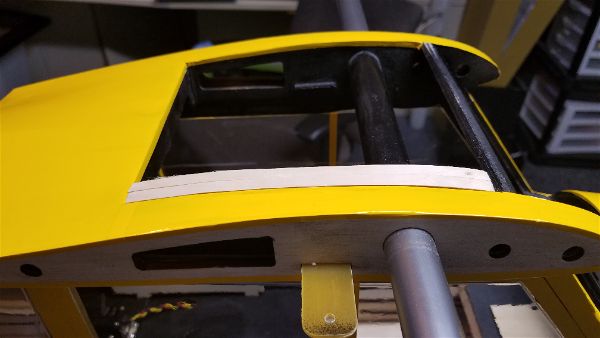
Here are a couple shots showing the final product. I feel like it came out pretty decent and I wouldn’t have been happy with the original setup.
Next time, I will discuss the bottom air vent I decide to add and a couple of other minor adaptations I made.