Even with temps staying unseasonably warm for several weeks now, the weather is starting to severely limit any opportunities to fly outdoors here in the Indianapolis, Indiana area. At least for those of us who don’t enjoy the cold.
Luckily we have a local high school club that, during the cooler months, hosts indoor events at their palatial indoor facility. The place is 4 basketball courts surrounded by a 200M multi-lane track AND an upper level walking track. All the goals, nets and such lift out of the way to create a cavernous ~300′ x 150′ indoor flying site.
So with indoor season looming, I decided to do a bit of check up and maintenance on the indoor fleet. Here’s a quick rundown of the fleet and things I found and corrected on each:
This is my F22… Most people wouldn’t fly this indoors, but most don’t have the indoor stadium we do! I’ve actually flown it both indoors and outside. Its actually capable and actually much more comfortable to fly at lower speeds. It runs on a 2S 300-500mah LiPo and uses a 3 blade 5×3 prop. I picked it up as part of an estate sale a couple years back and have no way to know but guessing it was a scratch built or simple kit… It was a grime covered mess from being stored in a barn when I got it and had a bit of nose damage but otherwise came complete with electronics and just needed a battery to be ready to fly.
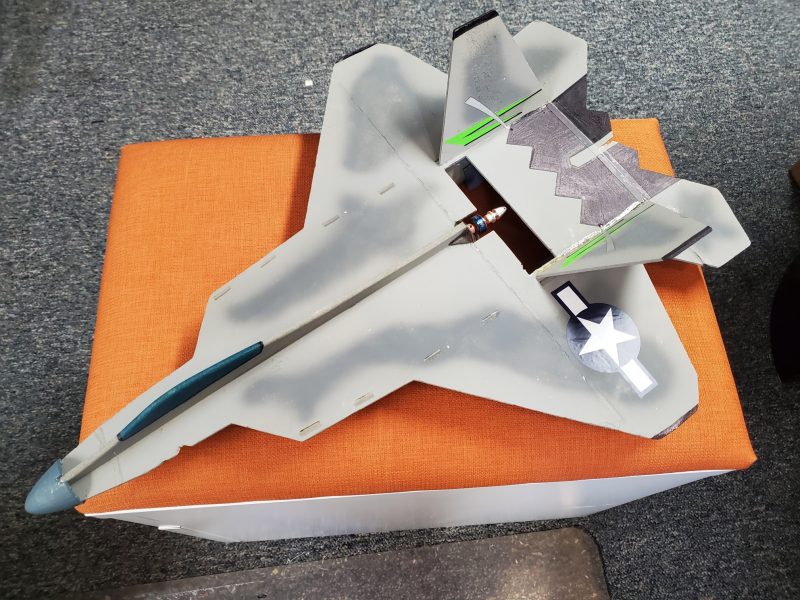
After a good cleanup and some minor repair it turned out to be a fun to fly 3 channel (no rudder) that flies light on the wing! I’ve 3d printed some skids and a nose cone to protect the flat/somewhat brittle foam used in its construction and added a couple decals to give it some color. It rolls pretty nicely, loops very tightly and does some impressive high alpha. Definitely the best $20 airplane I’ve ever had!
To get her ready this year, I needed a prop replacement. There was a small bit missing from one prop tip that I’d forgotten I’d lost on a slightly harsher than normal landing on the gym floor late last winter season. It looks like a pretty common 5×3 3 blade size so I ordered a couple. All else seems in order so should be ready for this coming weekend.
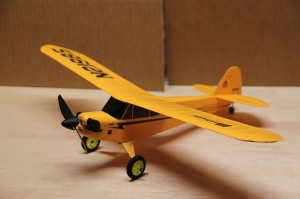
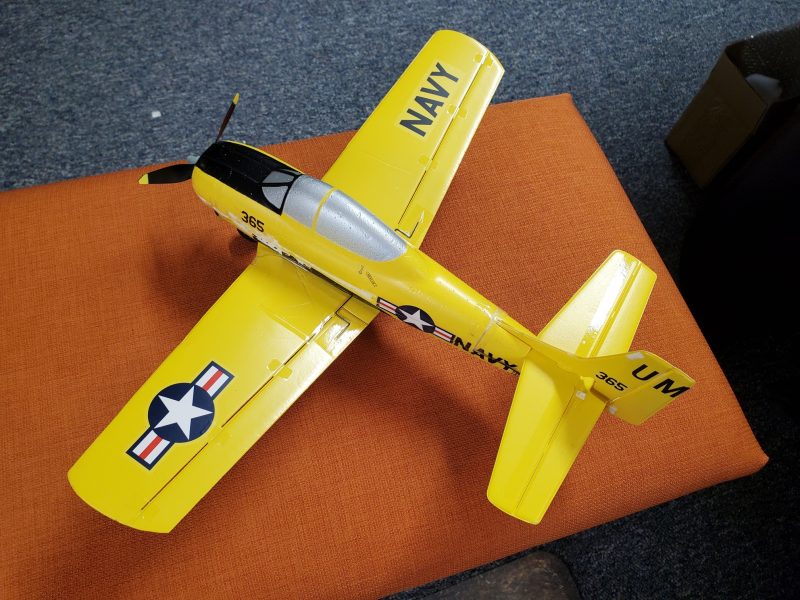
Next in the fleet is the T-28. This is a newer version with built in stability. It has a cracked wing that has been taped over and a bit of minor foam compression in the nose but it still flies OK and didn’t need any real work. At first, the elevator seemed a bit sticky but after opening it up and checking things out and binding to the radio I’m using for all my indoor stuff this year it seemed to sort itself out so she is ready to go again!
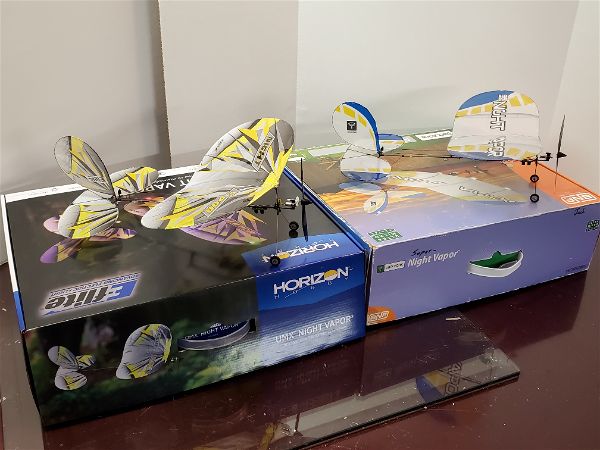
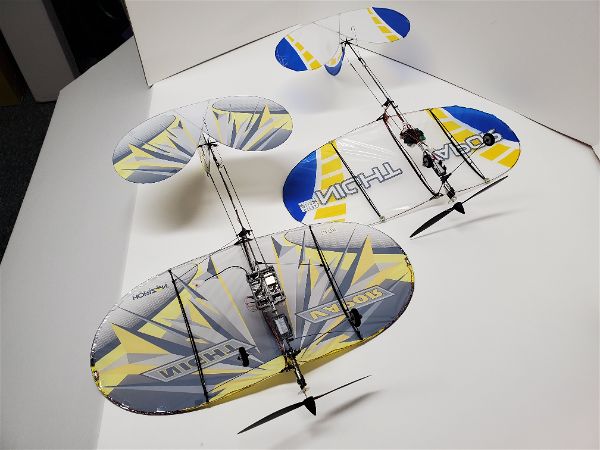
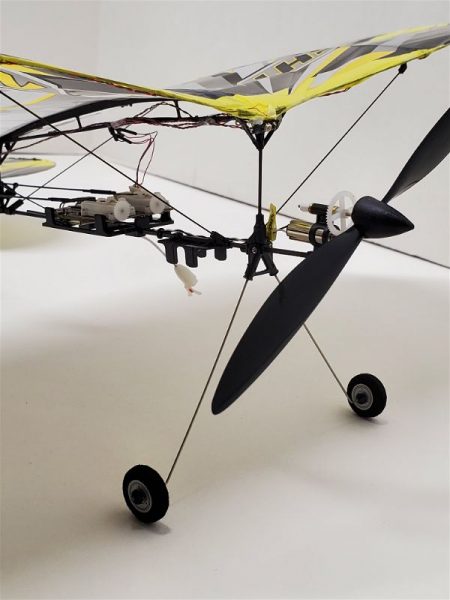
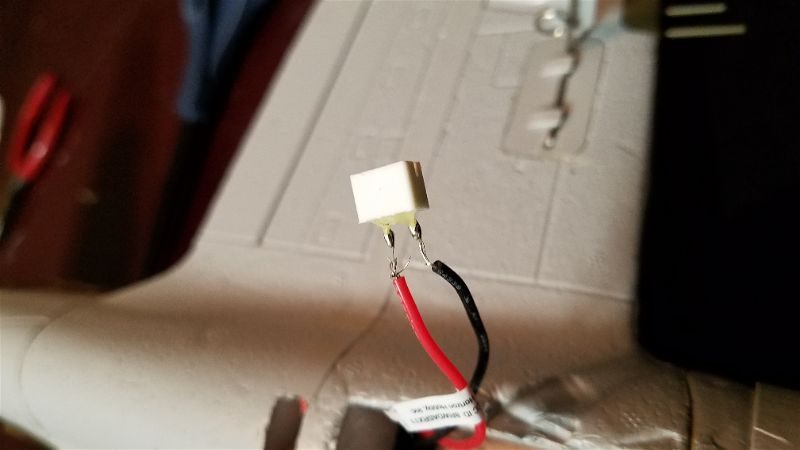
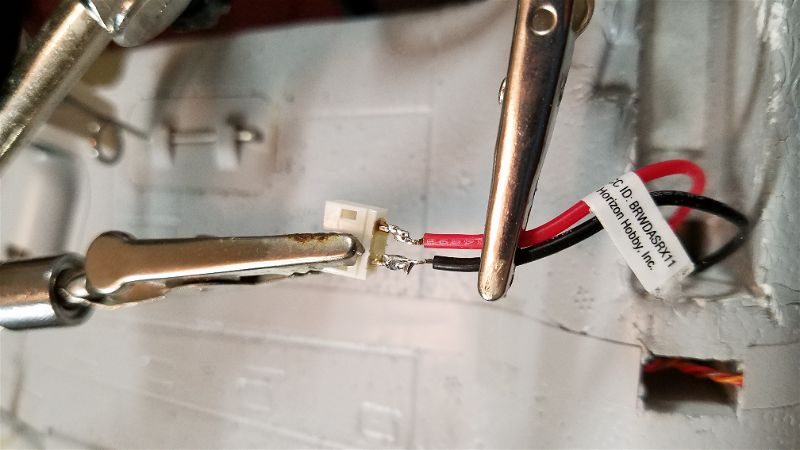
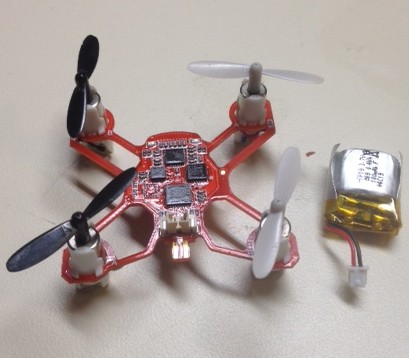
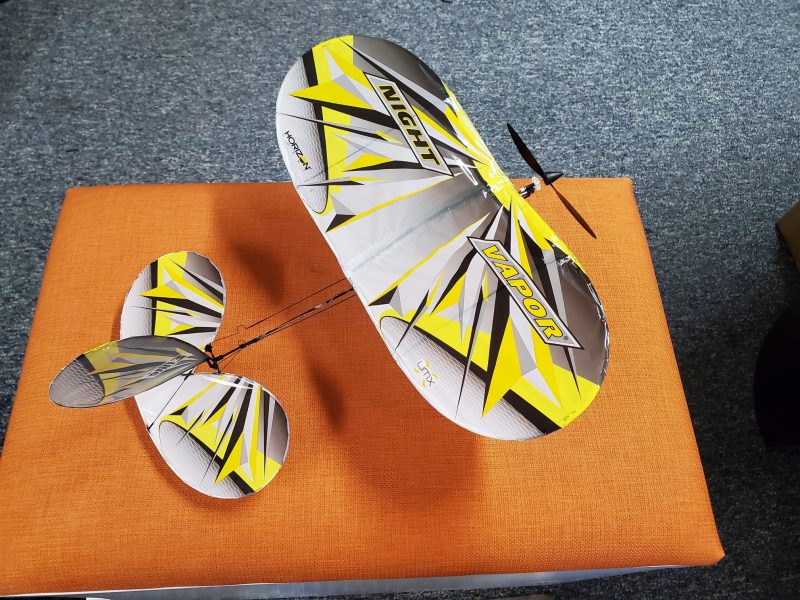
Next in line is my Night Vapor. This one I actually purchased new a few years ago and it is still in pretty good shape. I vaguely recalled there being a problem with the motor and it turns out that recollection was correct. On occaision the motor would slide back and disengage the gear train. The motor is held in place by a couple little spots of glue and I think those broke loose after a prop strike and replacement late last year. A couple spots of glue to hold that tightly and it appears she is good to go.
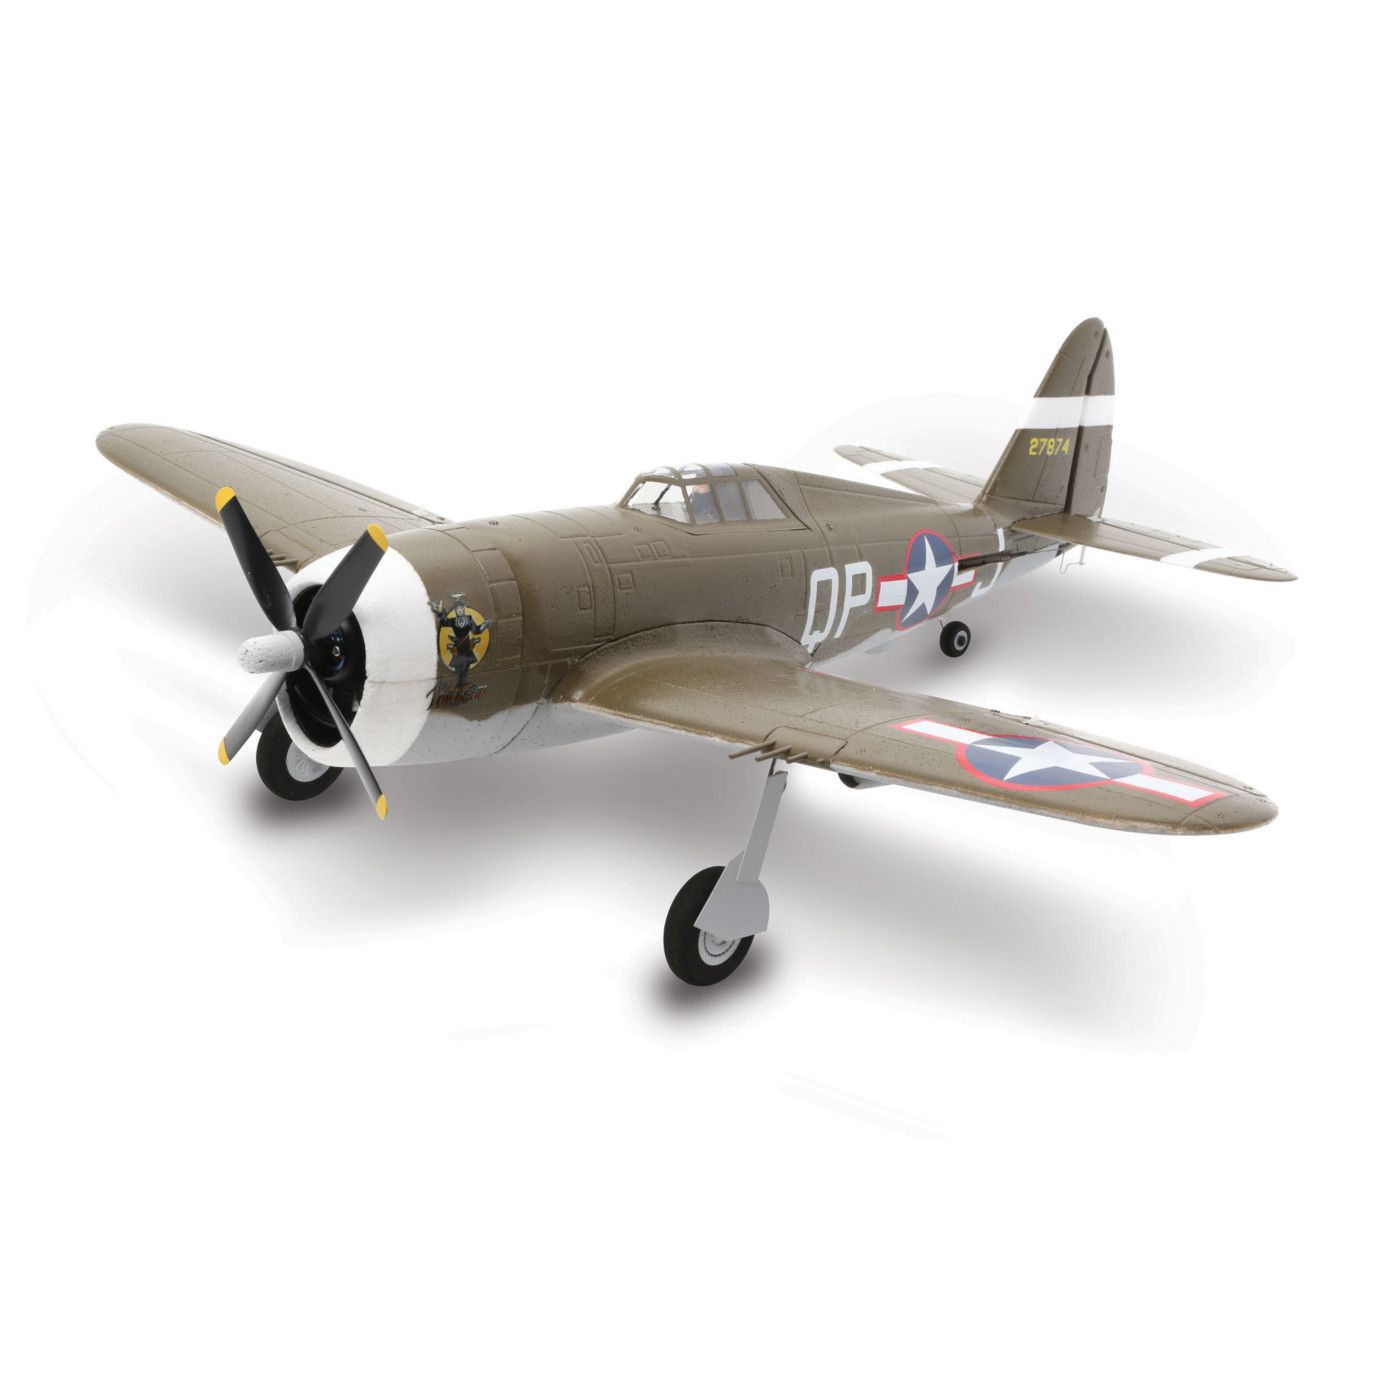
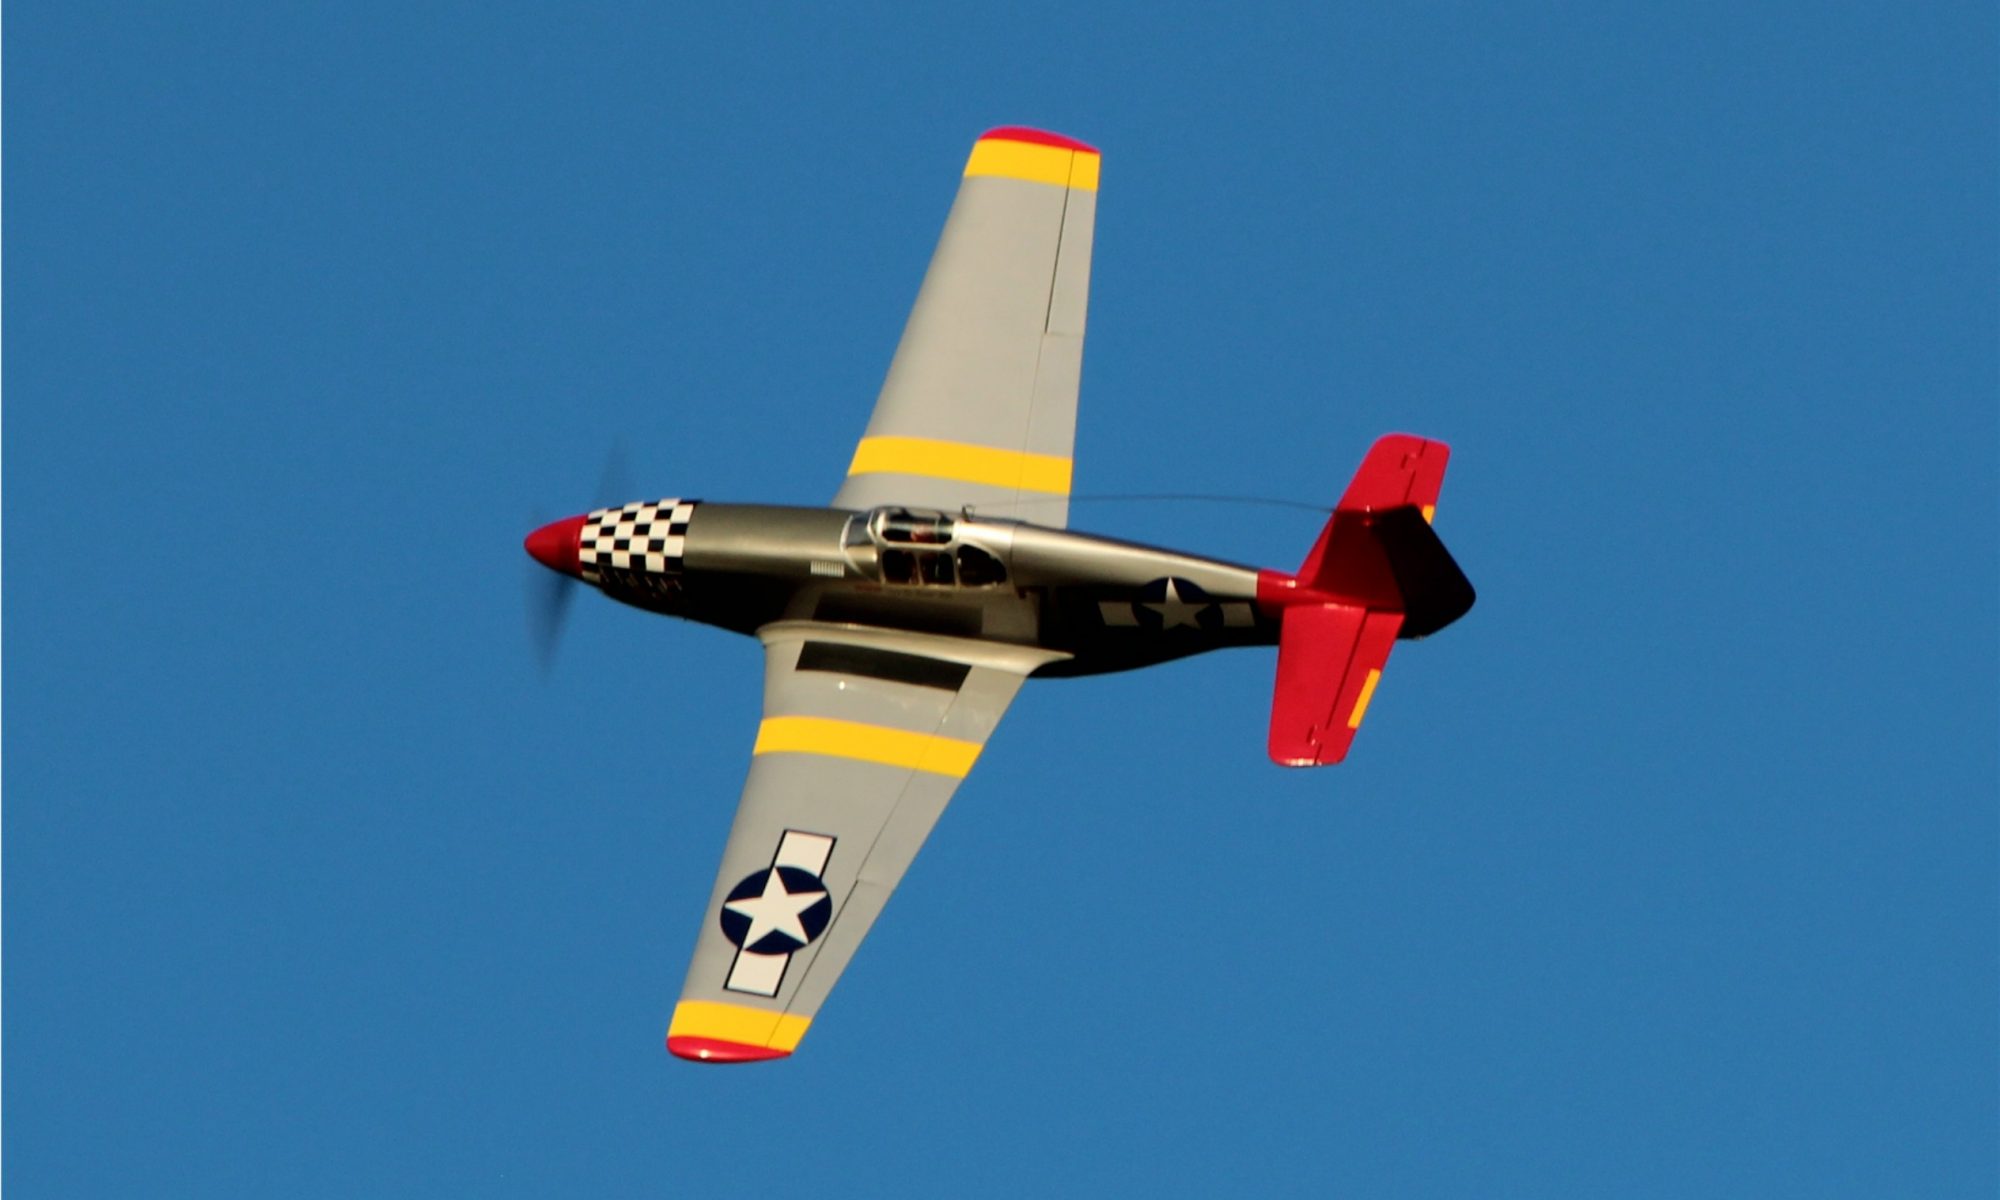
Next in the stable is my P-47. I currently fly 3 P-47s; this 2S version, the 1.2M 3-4S and an 8S and I love them all. P-47s are considered family since my grandfather helped build many of them in Evansville, IN during WWII.
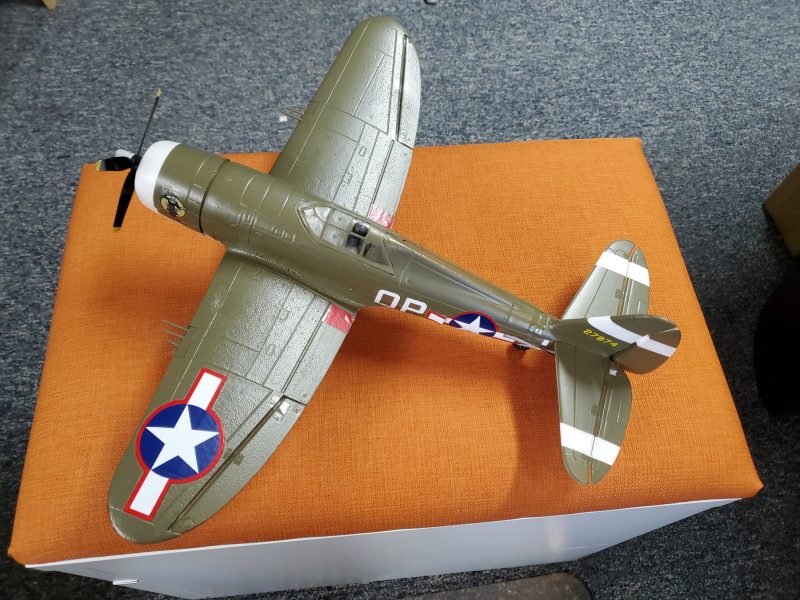
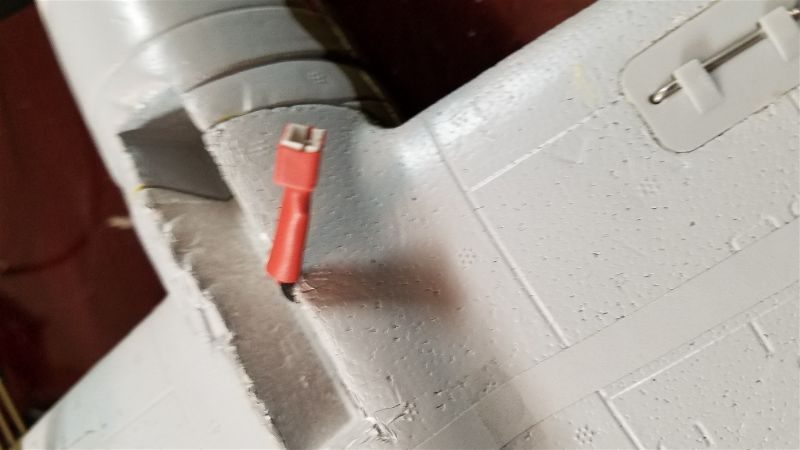
This little P-47 was a gift from my eldest sister and her husband at Christmas several years ago and I’ve enjoyed it ever since. There have been some issues with landing gear attachment but everything seems to be in order at the moment… at least once I straightened out one of the main gear wires a bit to adjust alignment.
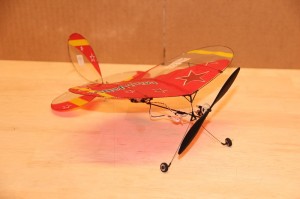
Last up is my Rare Bear “Mini Slow Flyer Reno Racer”… or so said the box! This was a Hobby Lobby kit I picked up at a swap meet just 2 or 3 years back. I don’t think the kit has been available for at least 10 years and probably more. It was meant to fly on one of the old GWS IPS geared/brushed power systems with NIHM or NiCD packs with about half of the power I have with my brushless system. I reinforced the wing leading edge with some carbon fiber (the manual even says to do so if you build it with excess power). It still flies moderately slow, which looks a bit strange. I had to 3D print a replacement cowl after a near mid-air in the gym resulted in some nose damage so she’s not quite as pretty as she used to be but still servicable.
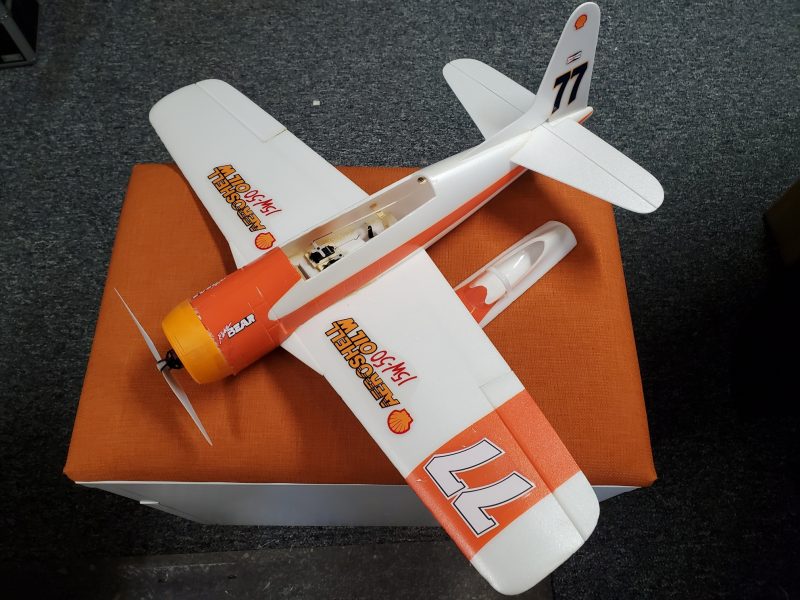
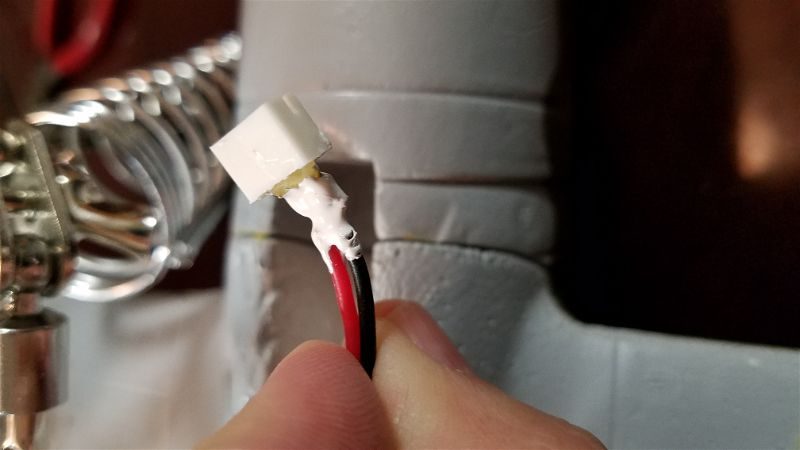
To get ready for this season I pulled the cowl and did a bit of re-gluing to solidify the motor mount. I then had to order some new O-rings to hold the prop in place. The old one had rotted and snapped over the winter and I had only one left and it was of a similar age. With that she is ready for another season.
I also started going through all my batteries and chargers and found some issues there but I’ll save that for another post.
![ParkZone Night Vapor RTF [PKZU1100] | Airplanes - AMain ...](https://external-content.duckduckgo.com/iu/?u=https%3A%2F%2Fimages.amain.com%2Fimages%2Flarge%2Fpkz%2Fpkzu1100.jpg%3Fwidth%3D475&f=1&nofb=1)