
For Part 1 of this article, click here.
It was the wee hours of the morning before I really made the firm commitment in my mind that the P47 had to make the conversion to Electric. At the next opportunity I started the process.
First order of business was to pull all the gas accoutrements from the airplane. First, I pulled the prop and cowl and started stripping out the gas motor mount, ignition and the supporting switch, battery etc… I knew a guy who was looking for a DLE-20 so I made him a deal on the engine to help finance the needed items to complete the conversion. I had the motor but needed a speed controller and maybe some additional lipo packs.
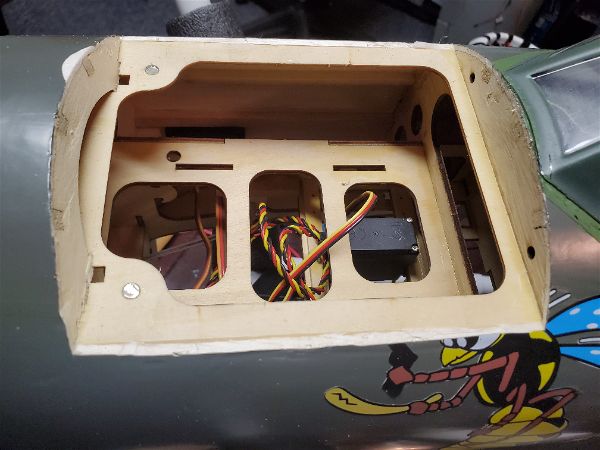
As soon as all that was out of the way it was time to explore the “hidden hatch”. For reasons that are beyond my comprehension, Top Flite built a hatch into the top of the P47 (and other models in this line of ARF warbirds). They framed it out in ply, put magnets in place along with pins to hold it in place… and then put a solid balsa sheet skin over the entire nose (including the hatch) and covered it with no markings or indication that it existed. Nor is it documented in any way in the manual!
With no guidance it became quite the task to figure out how to outline and cut the hatch free. What I eventually settled on was to take a pair of forceps with an extremely sharp needle locked in it’s jaws and reach down into the wing saddle and force it up between the two plywood plates at each end and side of the hatch until it emerged through the covering. By doing this repeatedly, working my way around the hatch perimeter I outlined the hatch on the covering. Then while holding my breath, holding my head at just the right angle and sending up prayers to the modeling gods (a more fickle lot I have yet to meet) I took an Xacto knife and inserted it into one of the pin holes and slid it by feel between the plywood plates. Working my way around the perimeter of the hatch, I managed to slice my way through the vast majority of the sheeting. With the judicious use of my razor saw, I got the hatch loose with only one problem… I managed to cut through the pins at the aft most part of the hatch!
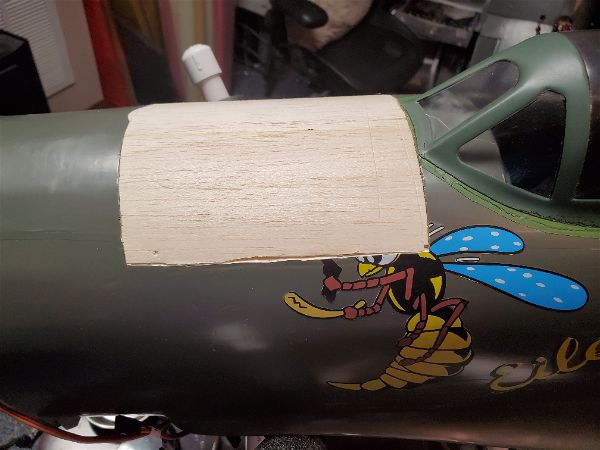
Don’t worry about the wasp decal… I was planning on ordering replacement graphics anyway!
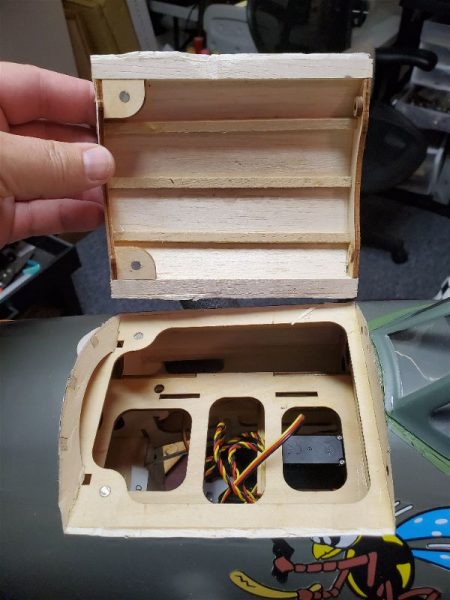
As you can see it wasn’t a perfect cut but it came out well enough!
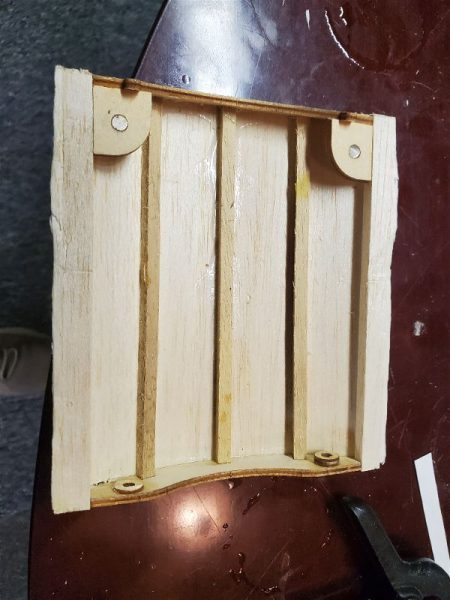
Luckily, I had on hand an appropriate sized dowel and replacement of the pins proved to be a fairly minor task. I would later go on to add a hatch latch on the leading edge of the hatch… or at least on the new one I had to build after I found out the hard way that those magnets just aren’t strong enough!
Next time I’ll discuss the power system choices I made and how that is working out.
To see the next post on this topic click here.