After an email exchange with Motion about the sheared screw in the back plate of one of the spinners, they shipped me replacement spinners and screws. While I still dislike this setup, I’m going to give it a try for at least a few flights. To replace these with something more appropriate in a two blade, as discussed in an earlier post, is just more than I want to spend at this point on this airplane.
Moving forward with replacing the screw led to applying the wire covers on the bottom of the plane. I deviated a bit here and just used some clear packing tape to hold these in place. I’m not entirely sure how well that will hold up but we shall see. I hesitate to glue those in case I need to get back in there and rerun any wires or the like. This was followed by adding the antenna on the nose as well as the counterbalances on the elevator and the “decals”.
The decals seem to be a mixed bag on this bird. First, the good news. Many of the decals seem to be vinyl or something very similar and they seem to adhere well and look fairly good. If you haven’t dealt with vinyl before, these are not peal and stick decals. You do not float them off the backing like the plastic models of old. Nor are they applied by just peeling them off the backing and rubbing them on. You do that, but then you peel the top, clear plastic looking material back off the plane and leave the vinyl behind. This can be a bit tricky at first. My tip is to use something like a pencil eraser of the round screwdriver handle end to rub with a bit of force in order to get the vinyl adhered to the airplane and then be careful how you peal the carrier off. Watch for the vinyl to lift back off. If it starts to do that you need to rub some more!
The vinyl parts are the majority but there are some of each of the others as well. This is very odd. The decals for the props seem to be the old water float decals and in my opinion they are the worst of the group. The props are not perfectly smooth with a fine grained surface and this makes it that much harder to get a good adherence with these water slide type decals. These are the worst of the group and I really don’t understand this choice as these are the most likely to fall off I would think.
Finally the stars and bars seem to be just a peel and stick type. I would much have preferred vinyl for these as well but they look decent. I just question their longevity.
There is a full page diagram included that shows where to put all the small vinyl decals and the opposite side shows the relevant parts of the aircraft from various angles in order to allow for positioning of the nose art, kill marks etc… It has been noted that there are some minor errors with the placement of the small decals for things like hatch cover markings, no step and similar items. I don’t plan on applying all of them as most are invisible at more than 3 paces anyway. If we get a lot of snow and I’m stuck at home for a full day in the next month or so I may go back and apply a few more but in my opinion they don’t add much. I did the nose art and fuel cap markings, kill marks and few other larger markings and stopped at that. The rest seem to be diminishing returns in my book.
I also had the displeasure of applying the slide on decals to the props. I hate that these hardly seem to stick at all and appear to be the lowest quality of the markings as they are also some of the most visible when the plane is sitting idle and add a nice look to the props. Unfortunately one of mine has already fallen off and I’ll be surprised if they last past flight 3. Oh well, as we say at the field: “50 feet and 50 miles an hour” If you can’t see it in that condition it isn’t worth worrying about!
After a batch of other sundry tiding up, labeling the wires etc… I’m pretty close to flight worthy. Here’s what she looks like sitting in the new “up stairs” shop.
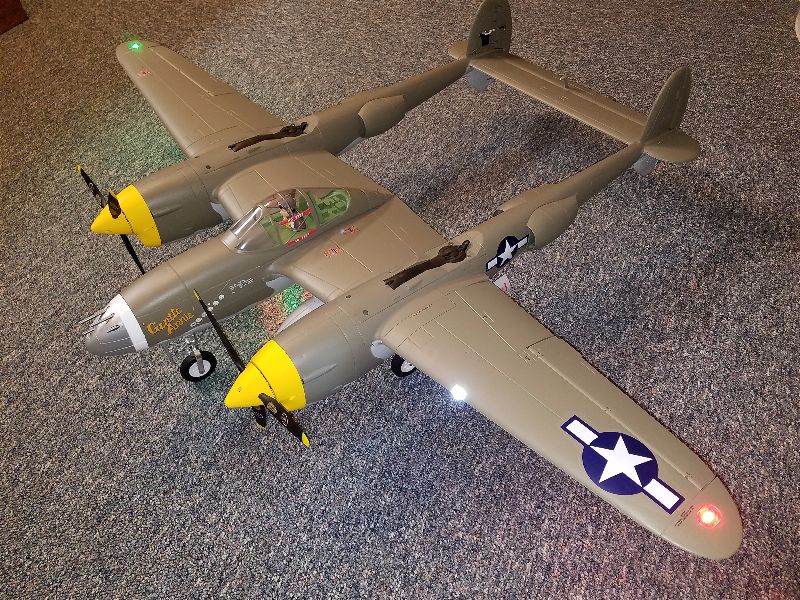
She’s looking pretty good. Still not sure what to do about adding some invasion stripes on the wing and booms… I think it will need it for better visibility but I hope to get a few flights in before I get involved in that. I’ve never been much of a painter so not looking forward to applying those but it may become a necessity. Unfortunately there are no decals or vinyl for those included with the plane.
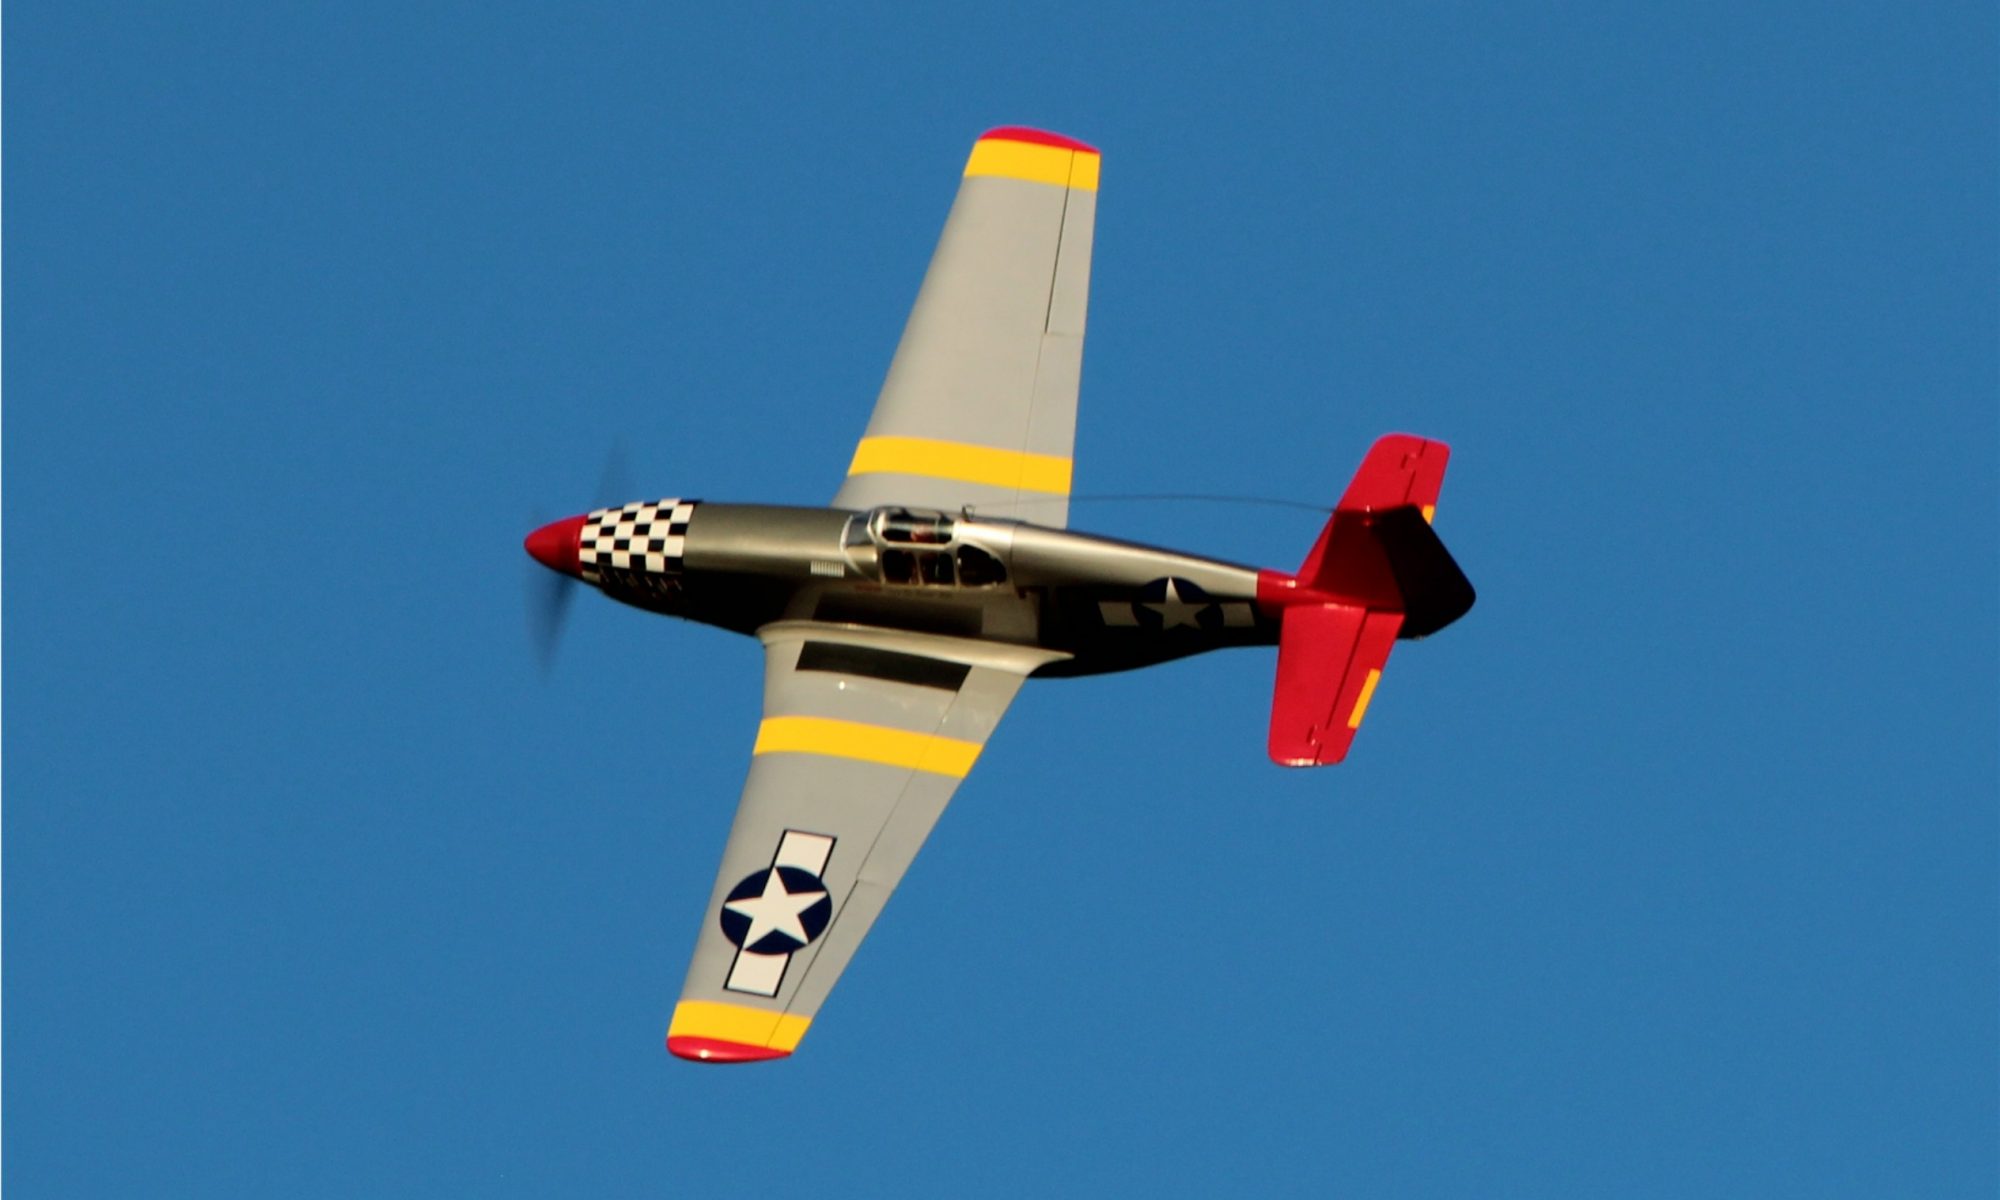
I think about all that is necessary before the first flight is possible is to set and double check the throws on the primary flight surfaces and check the speed controllers are calibrated/coordinated. Beyond that there might be a few tweaks toward getting the telemetry set up the way I would prefer and checking balance with various battery options and it will be as ready as I know how to make it. With a pair of 3300mah batteries on board it weighs in at 8lb 6ozs… I’m expecting very war bird like performance but hoping (maybe wishing) for a bit lighter feel than my 24lb Mustang! 🙂
I’m taking a break from this one for a bit and working on getting the Pacific Silver version ready for Kelly. We are having some issues getting his Graupner radio to do what we need and I keep missing out on making contact with Graupner support to iron it out so it has (pardon the unintended pun) stalled out for the moment.