Recently, My flying buddy Martin has decided to branch out into some ducted fan electric craft and one of his first is the Freewing 80m Super Scorpion from Motion RC. Martin had the new aircraft shipped to my shop and today he came by and we did most of the assembly.
The first observation I would make is that we spent about 4 hours today doing assembly and we got to the point where all we need to do is plug in the receiver and set the throws and it will be ready to roll. Maybe we could have cut it back a bit but don’t believe the place on the website that says assembly time is 30 minutes! Just scroll on down where it says 3 hours and you are in the ballpark. The other specs listed on the site seem to be accurate, even down to the ready to fly weight. Measured with a 4500 6S on board, we measured Martin’s aircraft as just a couple of ounces over 5 lbs just as the web site reports.
Similar to the manual for the P-38s that I recently got from Motion RC, there is a lot of “stuff” in this document that describes assembly that is already done out of the box. This is distracting and it sometimes makes it hard to figure out what the next “required” step is in the assembly process. Unlike the P-38 this model however does not have a full assembly video on the web site and luckily it isn’t needed as there just aren’t that many pieces and assembly is not all that complicated. Just walk through the manual and keep skipping forward when you read the parts that are unneeded and you’ll have little trouble.
There are only a couple of places where I can give you some advice that might not be obvious.
- When you put the screws in to attach the wings to the body, be careful to route the wires appropriately then be very careful that the screws are actually going into the holes in the plastic. The best way to avoid this is to just start each before you fully tighten any. A simple thing, but easily overlooked.
- When you attach the vertical fin, insert the front screw first but only a couple turns. Then do the side screw and tighten both down before installing the screw from the top. Otherwise it is very difficult to get the top screw to hit the pre-drilled hole in the wood plate that it attaches to.
And a critique or two for the manufacturer and distributor.
- Somehow there were only 2 of the 2:1 servo connectors and 1 3:1 servo connector included in the kit, even though the manual clearly indicates there should be 3 of the 2:1 connectors.
- On the website it is implied that you can remove the wings and elevators and the vertical stabs (presumably) in order to carry it to/from the flying field. “Removable wings and vertical stabilizers for convenient transport”. Perhaps this could be done a few times in order to ship the aircraft from place to place, but these self tapping screws and plastic and wood into which they are screwed are not what I would expect if this were actually the case. I would expect most folks are only going to take these screws back out if a repair is needed. Anyone who needs to take this aircraft apart in order to get it to and from their flying field should look for a better alternative.
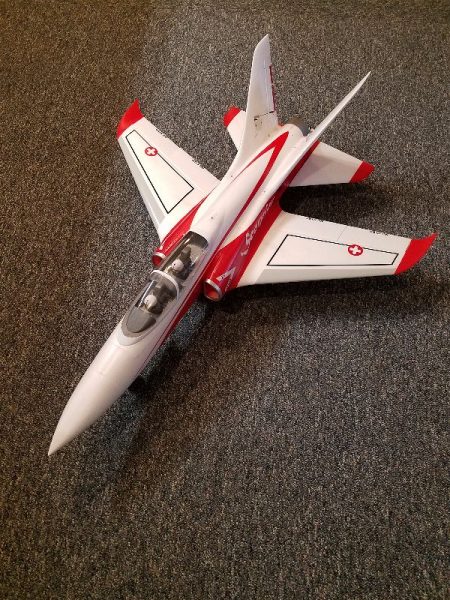
Since the high today in our area was 38 degrees (about 20 degrees below my minimum standard for comfortable flying) we don’t yet know how it flies but here are some pictures of how it looks. Some highlights I would point out are the nice shock absorbing struts, the cockpit detail and the attractive and hopefully easy to see color scheme. Though the aircraft is not quite as large as Martin had assumed, I think he is still fairly happy with the overall look and build quality of the aircraft.
Here is the nose gear showing the nice shock absorbing strut

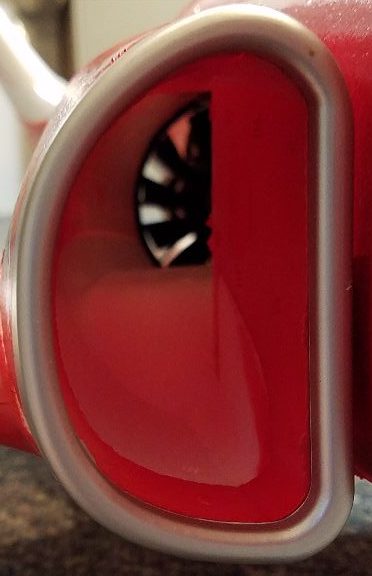
Here’s a shot of the actual functioning inlet that feeds air to the ducted fan
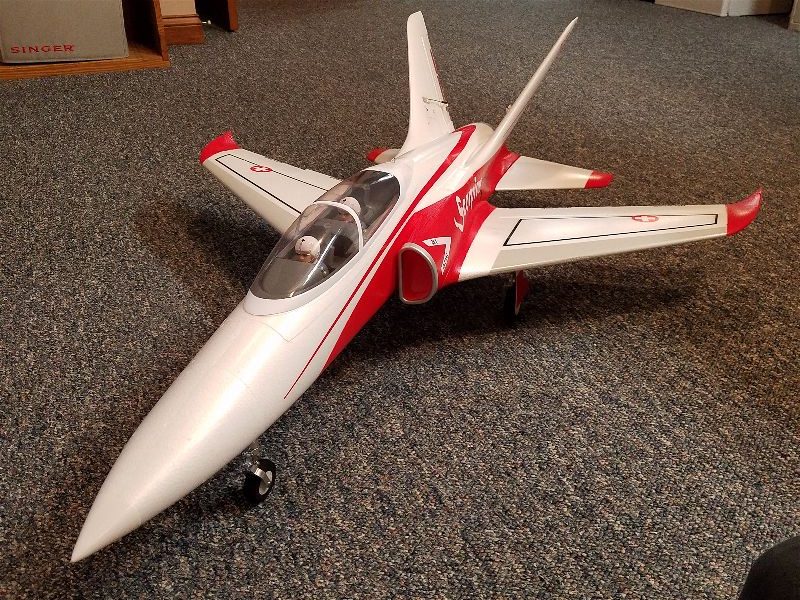
And the finished product.
Looking forward to see how it flies.