After a few trips to the field with my buddy Kelly and his new Carbon Z T-28 we quickly became aware that assembly was a bit painful because of the number of servo wires that must be connected when attaching the wing and the shortness of the wires supplied in the T-28. The length of the wires can be easily fixed but just connecting the 6 wires correctly and reliably time after time seemed an unnecessary annoyance to get to what the Carbon-Z does great… fly!
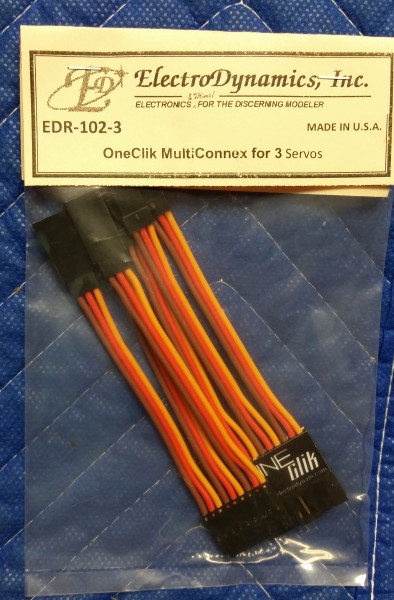
Another club member pointed out some multi-pin connectors often used in jets and after some quick searches we located the ElectroDynamics OneClik Multi-Connex. Made for 2,3,4 and 5 servos connections these seemed to fit the bill so we placed an order. Very shortly (even though we chose the most economical shipping method) we had two of these packs on the bench.
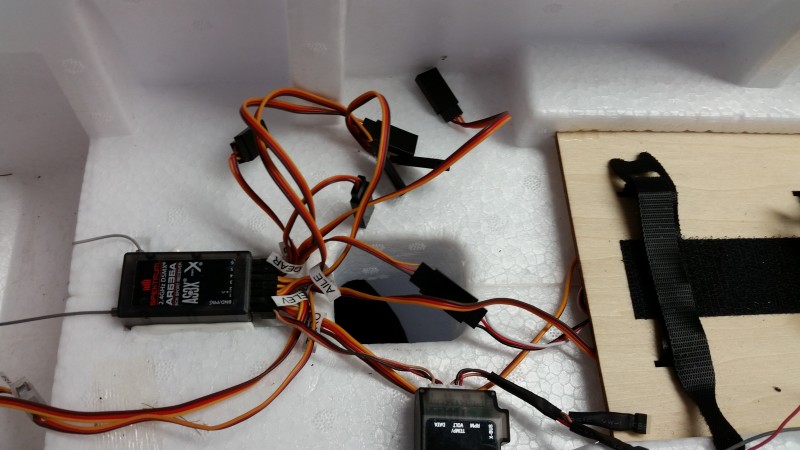
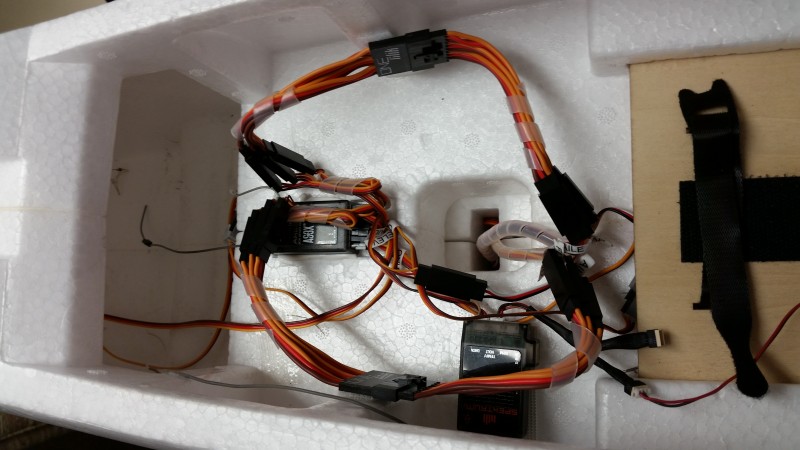
Here’s the interior of the T-28 before we applied the OneClik solution.
and likewise here is the wing root before the installation.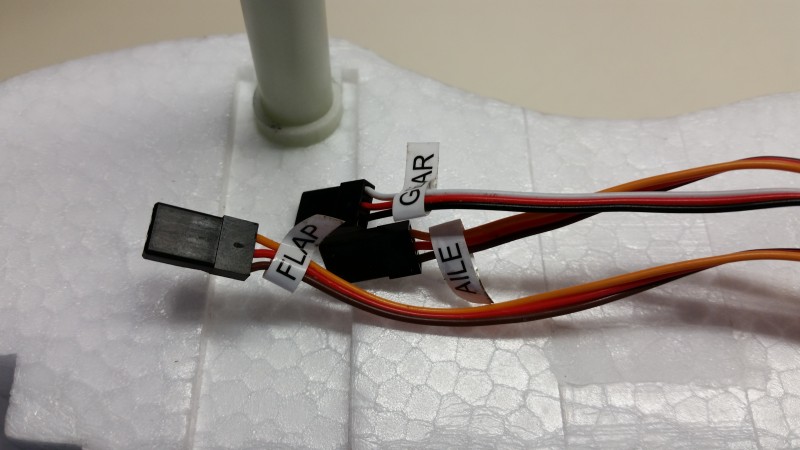
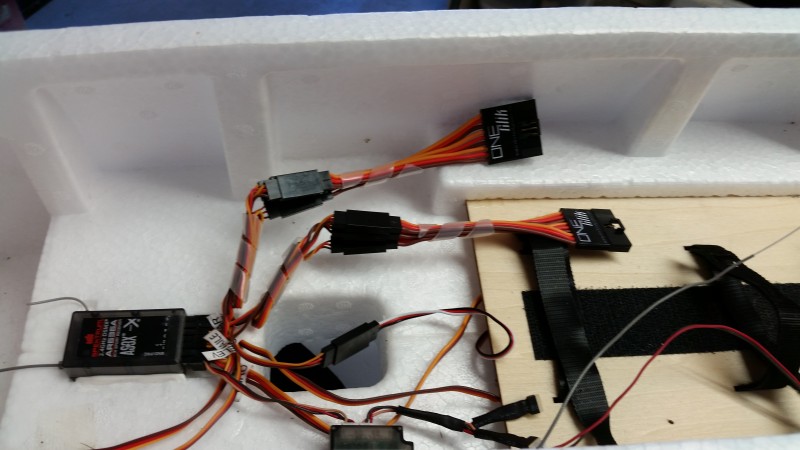
Here is the wing root after just sorting out the wires and plugging them in (in alphabetical order just for ease of remembering!) to the new One-Clik wiring harness.
Similarly the interior of the fuselage (with a little wire combing to really clean things up as well).
I applied a bit of combing to the wing wires as well and then with only two connectors to feed through the bottom of the fuselage it is suddenly very easy to assemble the T-28! A bit of Velcro (just a 1/4″ square of so on the connector and a small strip on the sidewalls) makes a nice “keeper” for the new connectors and completes the transformation!
Admittedly, it helps that the T28 uses all “Y” connectors so there is no right or wrong for left or right sides so you can’t connect it wrong but for those that don’t… at least you’d only have to label right and left!!
The product has a nice snug fit, a great positive click connection and appears to be of a very high quality. The pricing seems very reasonable and my only regret is that I didn’t order some of these for my Mustang! Oh well, even with shipping these seem to be a bargain.
Since installing these, we have made a couple trips to the field and unlike previous trips, the setup time is less and we have not had a miss-connect (pretty much impossible now). In the past this was a tedious task which has occasionally resulted in having to pull the wing and find an errant wire. I think that is likely in the past.
This system will likely become one of my go to upgrades for all future multi-servo wing aircraft. The ease of use and added security of the connection is a huge plus in my opinion and I highly recommend you give these a shot especially in those larger and more complicated craft like warbirds and the like with flaps, lights, and etc…


so I think I see how you did it? so for the wires coming out of the receiver u put a y on each of the flap, ail, and gear and put one of each into a conn? yes im just trying to figure that part out I understand that each wing half gets a muti connector, I was just wondering how to hook up the conn from the receiver to the 2 connectors thanks glenn, whish ones should I get the website only shows jr or futaba?
Glenn – yes there is a Y connector directly into the receiver… on this aircraft it was already in place but you might have to purchase those for others. The big T28 uses the standard Z type connector, also known as the JR.
How many y connection you had to buy in fact what all did you buy I have the t28 2.0
Don, It has been quite some time so I can’t say for sure I recall but I believe all the Y connectors that were needed were already in place so I believe all we bought were the two packs (matching mail/female pair) of the multiconnectors. These days I have the ability to build my own as I eventually bought a nice crimp tool and the correct pins and housings to make my own. You can get a variety of pin counts and the pins (while different from standard servo pins) are common for any of multiconnectors so i have built 2,3 and 4 servo connectors for a number of airplanes. I get all those supplies through Hansen Hobbies.