Over the past couple weeks I’ve been working on several projects in the shop as the weather in Indiana has not been especially hospitable for flying. It has been quite a bit warmer than in most years past for the time of year but still not up to my standards for comfortable flying. Sometimes the temperature tempted me but those mild temps usually came with gusty strong winds so no flying lately for me. The good side of that is it gives me some time to work on some projects in the shop!
The latest is the Aeroworks BD-5B I just finished putting together. Mine is pretty close to stock with only a couple small exceptions. On mine there is a pitot tube sticking right out of the front of the nose… which is about the only visible difference. I actually like the look of it on this air frame. Other things that are not exactly per the directions are:
- E-Flite DS76 servos instead of the specified Hitec 55s… I like the 55s just fine but as speedy as this thing is likely to be I like having extra precision and torque of a digital.
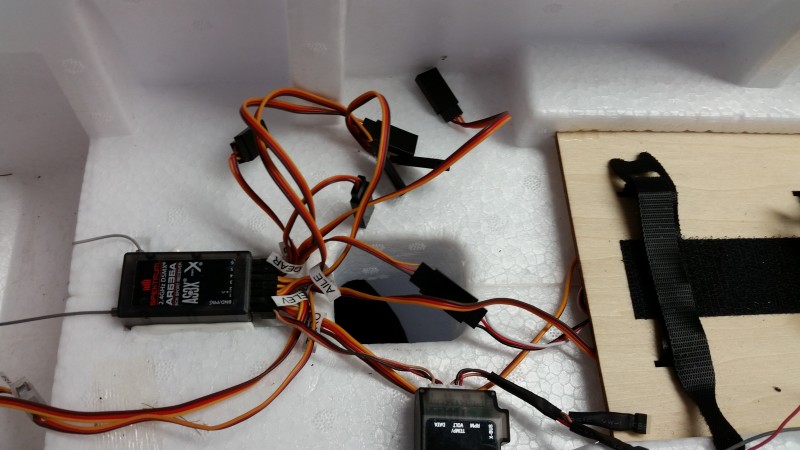
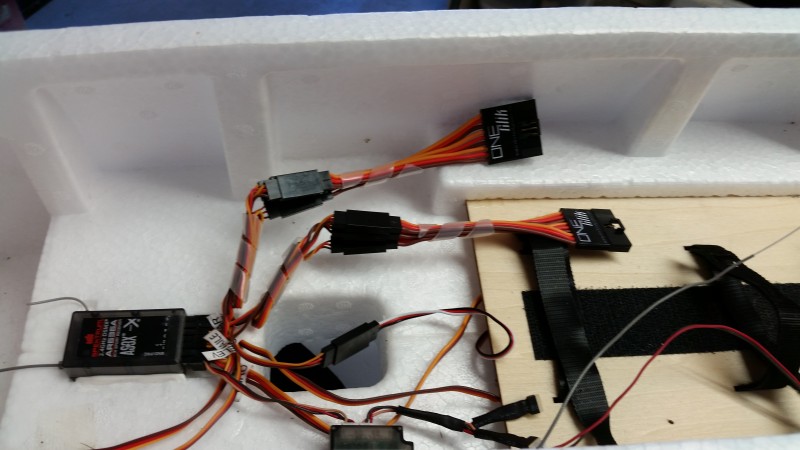
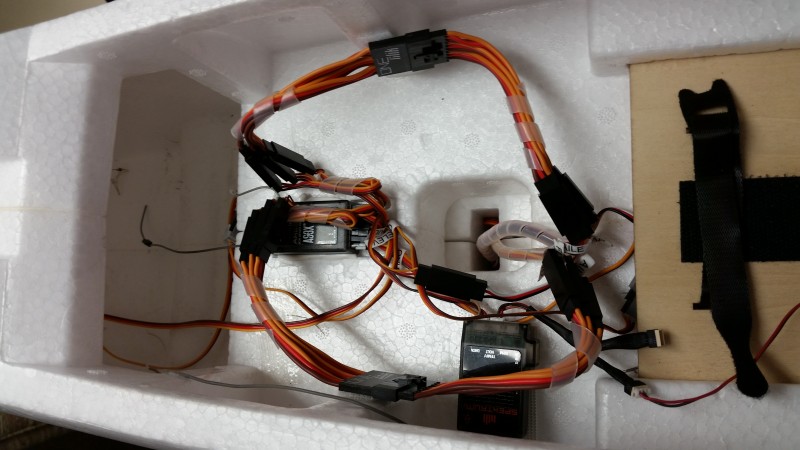
- In addition to the pitot for airspeed, I also have a g force sensor, variometer (altitude and altitude rate of change), temp sensor around the HiMax motor body, and voltage monitor at the pack as well as from the receiver bus.
- I chose the Himax 2815-1400 per the written instructions which seems to be rated for quite a bit less power than the E-flite motor now recommended on the Aeroworks web page… I hope it will be sufficient.
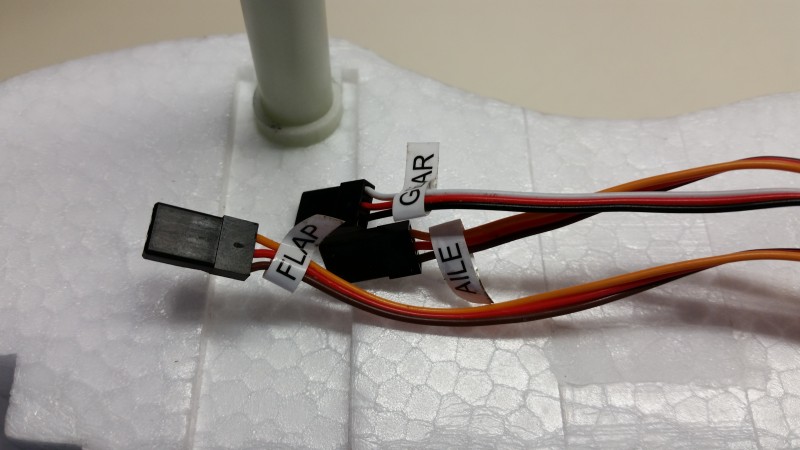
I still have to setup the control surface throws and exponential settings but everything else is pretty much buttoned up at this point. Centering and direction of surfaces has been set. I need to apply the decals and any other final cosmetics I want to add and I haven’t picked up the propeller yet, but that is about all that is keeping it from graduating from static model to aircraft at this point.
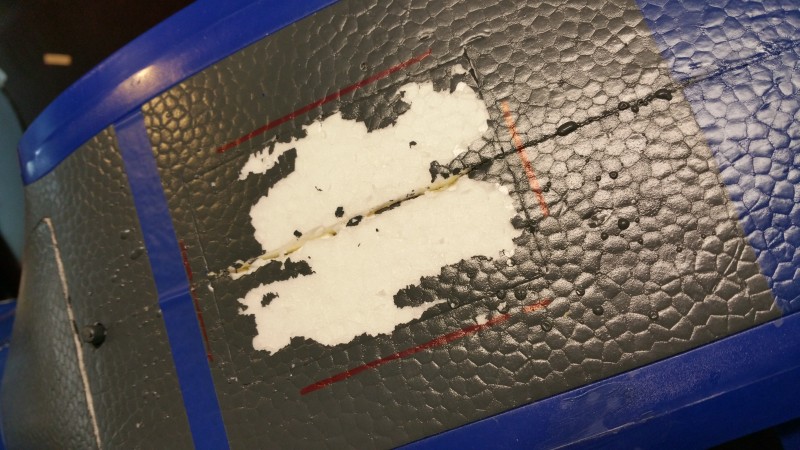
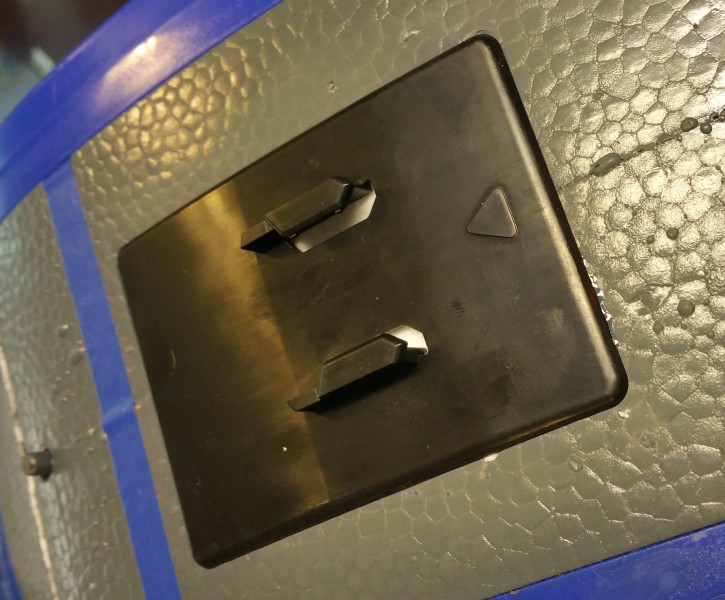
There were a few minor annoyances when assembling… Belly pan fit could have been better, Canopy could extend down just a bit more or maybe have a structural frame added to help it fit better/keep its shape. Also, I am not a huge fan of the extensive use of the EZ type connectors where only set screws are keeping the control rods from slipping… Much prefer ball joints, standard pin clevises, Z-bends… really most other connection types! I may think about replacing some of those either before the first flight or shortly after if all seems to go well. Just seems a bit “under” designed for a plane that is going to (I presume) move along briskly as I expect this to.
My bird is 29 ounces with a 3 cell 2200mah on board. With the Himax 2815-1400 and an APC 7x5E or similar, I expect about 150 watts which should give me decent performance… 85mph? more? We’ll see soon. I am a little concerned if this will be enough, plus I have never flown a pusher and the lack of airflow over the surfaces at lower speeds (no propwash) has me thinking that landing this might be a bit more interesting. Only one way to know for sure!
I have had this ARF sitting on my shelf for a couple years but until we got a geo-textile runway recently, it just would have been impossible to take off or land without risking damage. Now, with a place to fly, it is finally going to get its chance to soar! Once I dot the last i and cross the last t and get a flight or two I will take some actual pictures and do another post on how it actually flew.. or didn’t!!


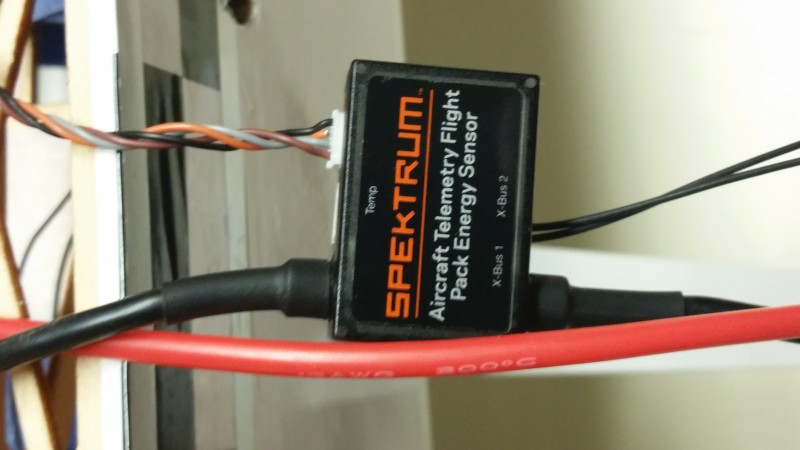
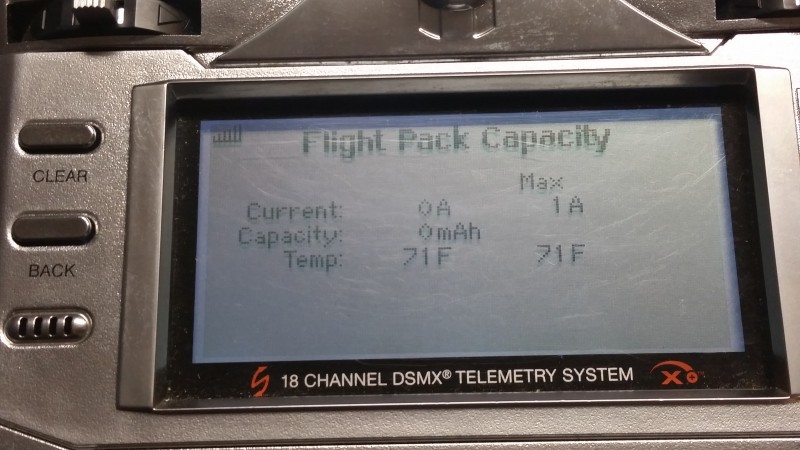 I now look forward to actually flying and testing the capacity measurement capability and am excited that I will no longer endanger my batteries by over discharging them. The closest I could do before was to set a low voltage limit which often meant I would get a warning that would sound at anywhere from 5-35% of capacity remaining depending on throttle setting at the time. I have great hopes that with this new capability I can set the alarm for a calculated 80% of battery capacity used and expect a much more accurate accounting.