Servo Linkage changes – follow up

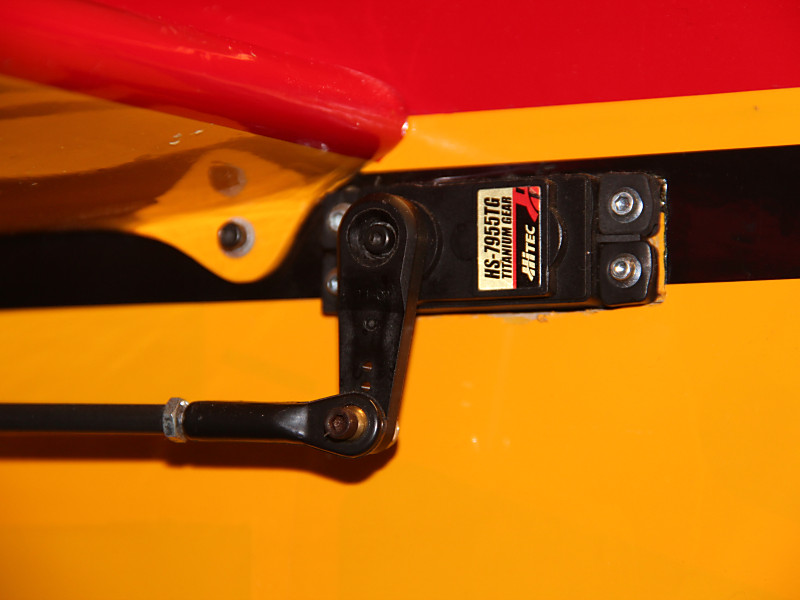
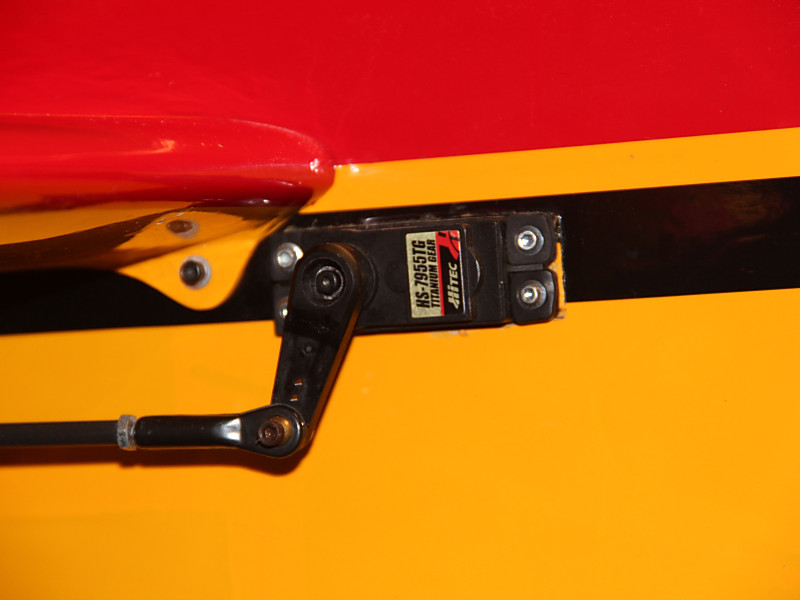
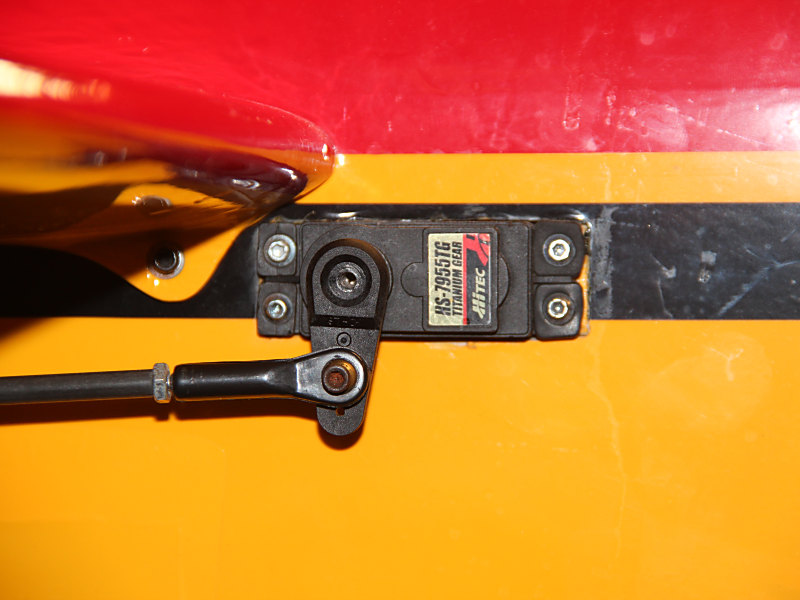
During my recent posting about making servo linkage adjustments on my Slick, I found I had set the standard rate on the elevator to 33.  This accomplished what I needed to do at the time, limiting my throw so that the Slick wouldn’t snap without full or nearly full application of elevator stick input but I wanted to get more out of my servo so I shortened the arm and managed to get the setting up to 66.

(you can read about that here: WH Slick Linkage Changes)

That was all to the good, but should I try to get more?  How much of my precision am I giving up?  If I did want to get more throw in the future, how much more could I get without reversing these changes?

First of all I’ll look at precision.  Here’s how the math works out.  If my servo is capable of 2048 steps and I only get all of those steps when I have maximum throw (60 degrees in each direction) then my setting of 33 in my Rates combined with my Travel setting defaulted to 100 was really limiting the precision that both the servo and radio are capable of!  I was limiting my commands to a maximum of 2/3rds (45 degrees versus 60) of the original steps because of my Travel setting and then limiting it to use only 1/3rd of that possible throw.  If my math is any good, I was using maybe 22% or 450 of the available 2048 steps.  With my new configuration I still have the 100 Travel setting but I’m now using 2/3rds of those available steps which doubles the available steps to about 900.  Hopefully this allows for more precision and less “slop” in the system.  I am covering the same distance with twice the precision and that should result in more precise control and more exact centering.  Even more of these changes (shorter servo arms and/or longer control horns) may be in the future but I’d like to do a bit of test flying before making more changes.  For now I think this will be more than adequate.  I hadn’t really noticed any elevator slop or lack of precision during past flights, but with many of these adjustments it can often be a case of not realizing what you were missing!

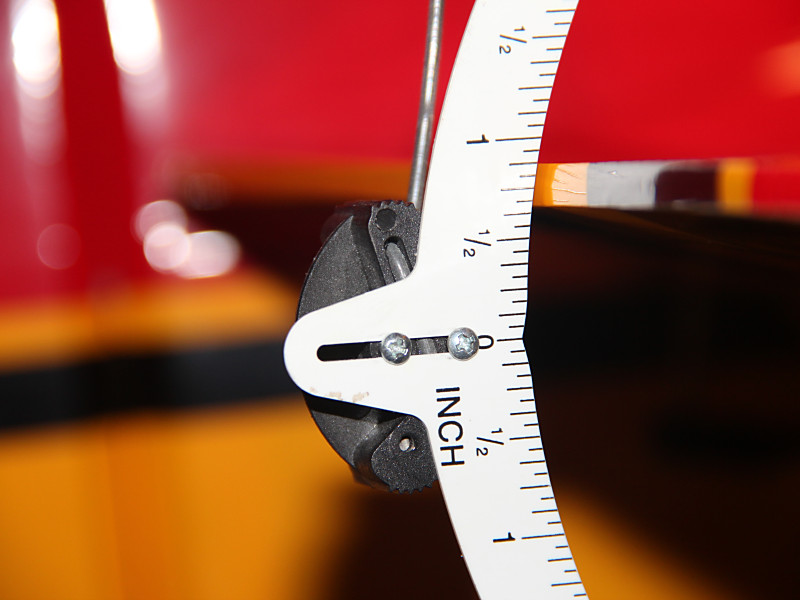
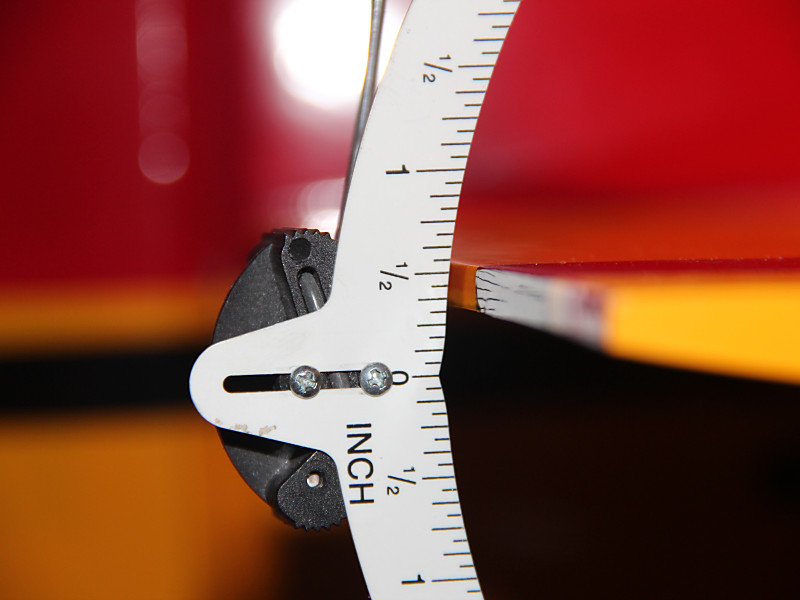
Finally, let’s look at travel.  I know that my new setup gets me about 27 degrees of rotation at the servo and a little over 10 degrees or 3/4″ of motion at the elevator itself.  This is slightly less than half of the available 60 degrees of rotation so I should be able to slightly more than double the existing throw if I should ever decide to do so.  While 20 degrees or 1.5″ of travel isn’t what most 3D guys would consider huge, it’s far more than I will likely need for flying IMAC style precision aerobatics.

Based on these observations I certainly can continue down this path a bit farther but that decision will be based largely on actual flight testing.  At this point that means waiting on some favorable weather.


Servo Linkage changes on my 88″ Wild Hare Slick

Starting to get my Slick ready for the flying season here in the Midwest and realized I had never really revisited my radio setup since I originally finished the bird and got the basic trim in the ballpark.  After writing articles for my club newsletter on the topic of servo linkage geometry it occurred to me to start with that before getting into advanced mixes and the like.

(To read those articles visit the article link on this webpage or click here: http://flyrc.info/articles/)

My Slick has a split elevator… i.e. each side of the elevator is a separate surface with each half driven by a servo.  Both are setup identically so I will only discuss and show one example.  Of course, once this one was finished I setup the other half with the exact same configuration.  Here is what the original servo arm looked like.

IMG_3027_800x600

It’s about 1 and 1/8th inch from output shaft to the ball link.  On the other end of the linkage it’s 1 and 5/8ths inches from the hinge line to the ball link.  That ratio results in a ~1.4x multiplier of the available torque (which per the specs for this servo is 333oz/in.) so 480 oz/in of torque.  That’s awesome, so no concerns about stalling or blow back with these surfaces. Where I did get concerned was that when I checked the radio, my standard rate was set for 33% of travel!!

Here is my servo arm at full throw:

IMG_3030_800x600

With that setting, I was only getting about 1/3rd of my 2048 possible steps from this servo.  I would like to see a lot more of the available throw being used so that I’m not throwing away the precision of this servo.  To get more servo travel in use without changing my overall travel at the surface I need to shorten the servo arm then increase my standard rate setting until the surface deflection is back to the current maximum.  When finished I will have even more force applied to the surface (not needed here but it won’t hurt) and using more of the available travel on the radio will give me back more of the precision I’m looking for.

To start with I got out my deflection meter and measured the existing throws.  I had two rates configured so I measured each.  This shows the original measurement.

IMG_3028_800x600

Once that was done I replaced the servo arm with a shorter arm resulting in a distance of around 5/8ths of an inch from servo output shaft to ball link on the new arm.  Now it looks like this:

IMG_3035_800x600

Now remeasuring the throw at full deflection (without changing the radio settings yet) results in this:

IMG_3036_800x600

.

In order to get back to the original 3/4ths+ of an inch I ended up increasing my standard rate to about 66% which gets me double the precision I had before.  Maybe my loops and partial loops will get smoother this season with all my newly acquired precision!

Of course I should point out that this whole process means I cannot dial in a large increase in throw just by adjusting my radio.  It also means the speed of movement of my surfaces is slightly decreased.  Neither of these are important to me as my constant goal with this airplane is to make it fly precision aerobatics.  No 3D for this bird.  She is all about smooth.

I’ll post more if I find other significant changes to make and try to update as I get into flying season and let you all know how the changes have affected its flight characteristics.