This is my Wildhare Slick 540. The basic stats are as follows:
Wing Span 88″
Length ~82″
Weight ~18 lbs
Powered with a DLE-55 and Pro-Flow Cannister and turning a Falcon 23×9 (or sometimes a Xoar 23×8 laminate). Here’s what it looks like at the moment.

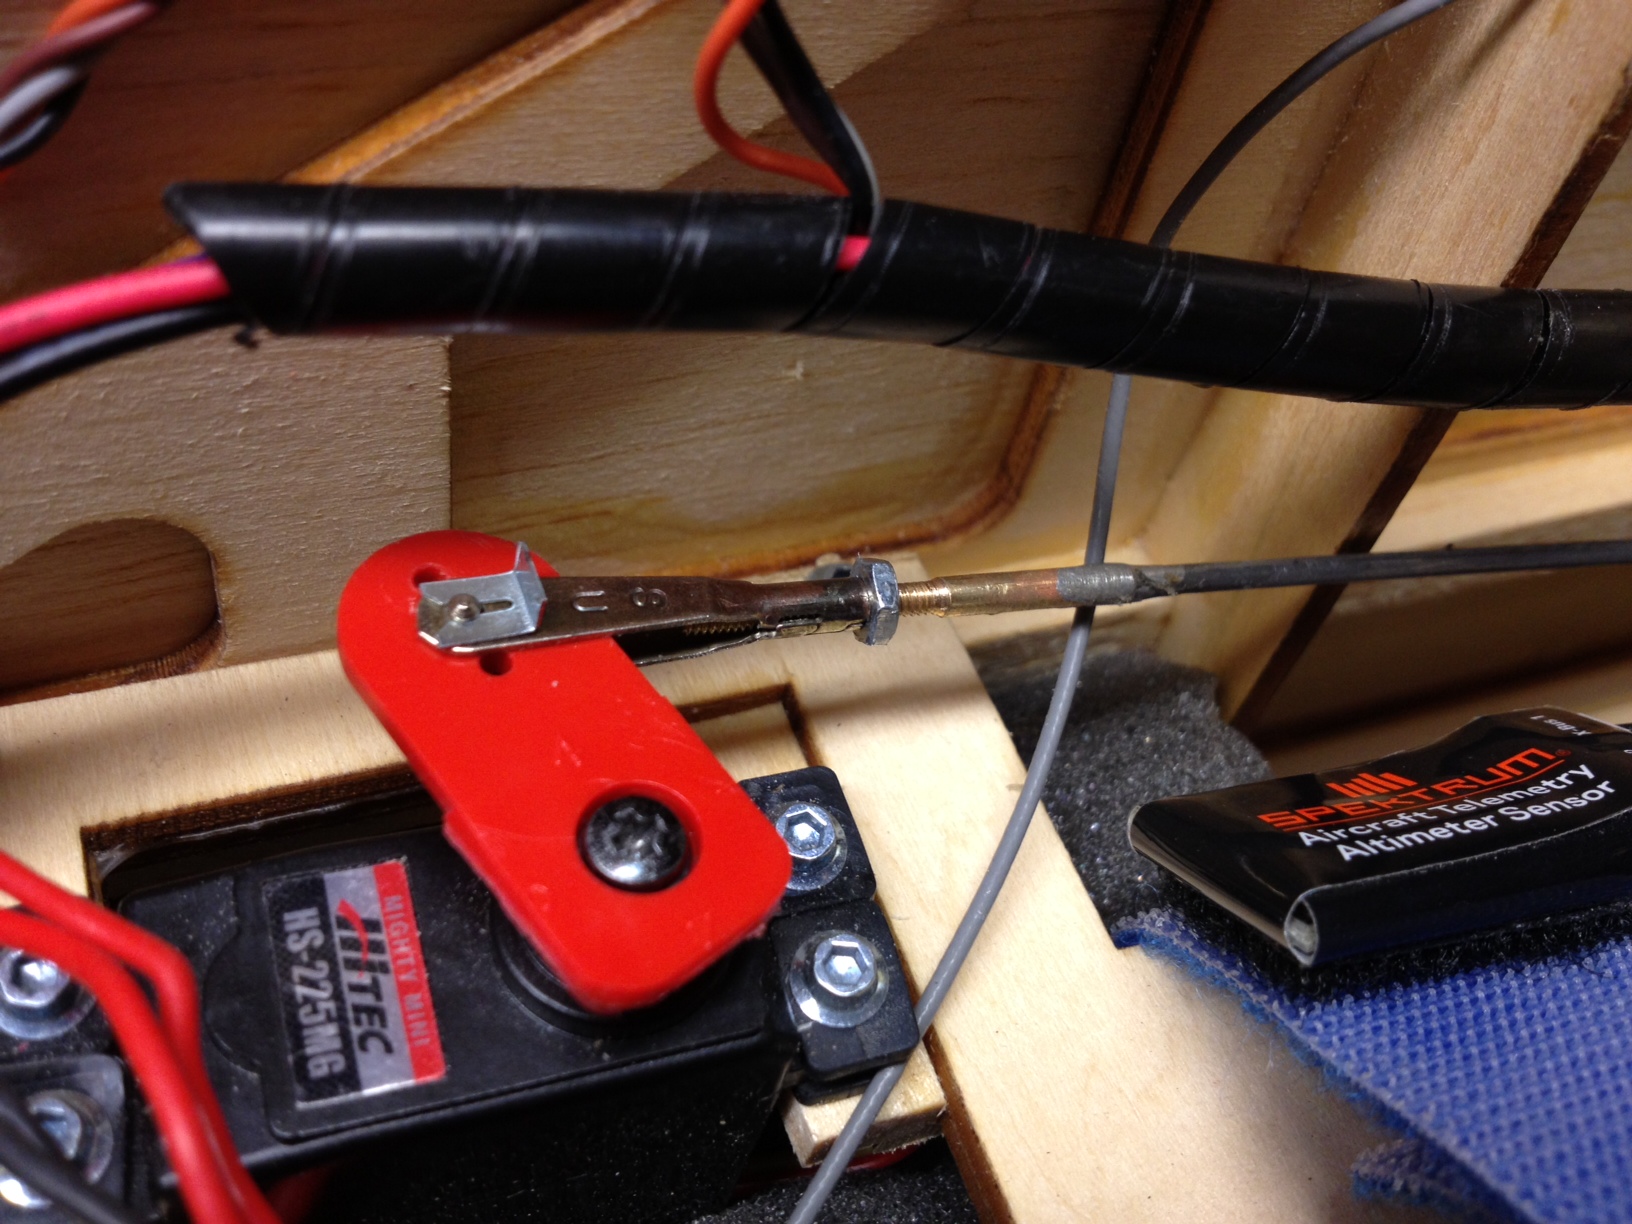
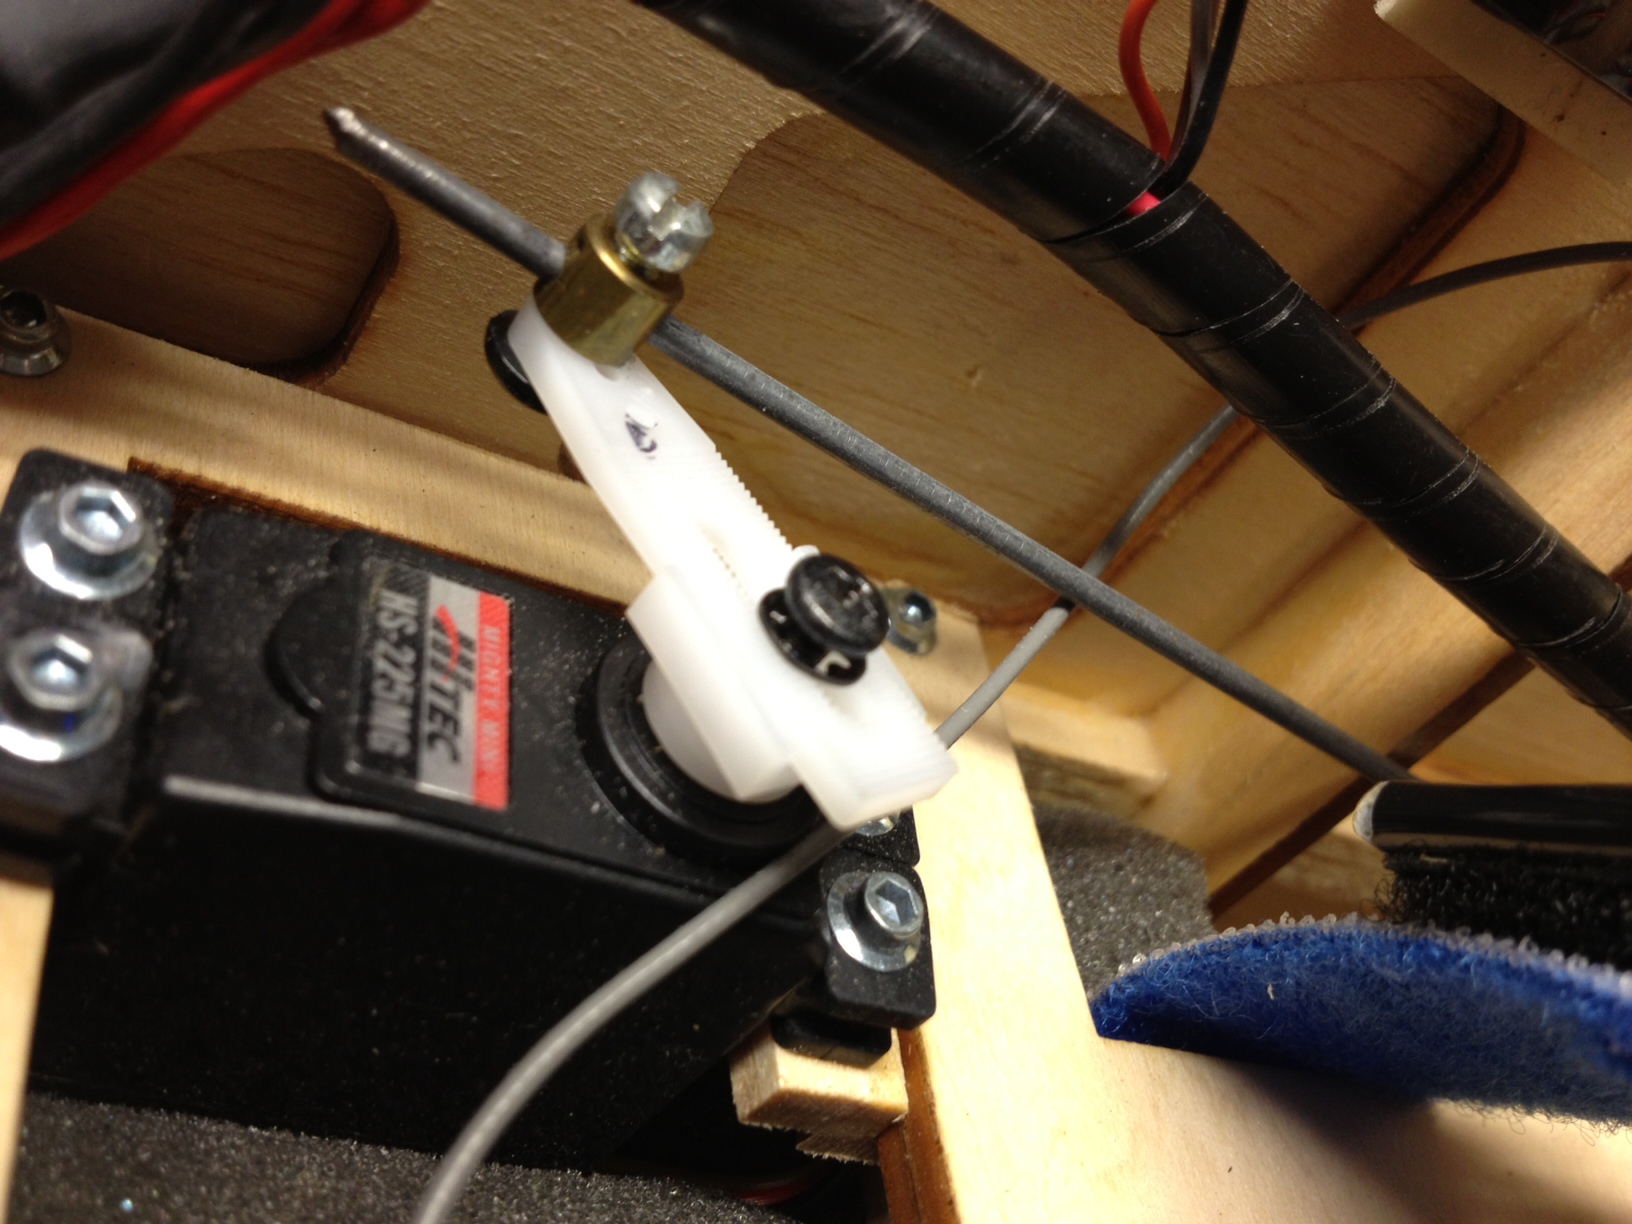
Here’s a shot of the inside which has a few interesting features as well. As you can see I’m running one of the water bottle type tanks. This one is manufactured and pre-assembled by B & E Graphix. So far it has been a great tank. It’s significantly lighter than the standard type tank and the (I think felt) clunk does a great job of sucking up every drop available. Moving back behind the wing tube there are two A123 2300mah 2S packs for extremely stable power. On top of them at the top of the photo is my ultra IBEC from Tech-Aero and nearer the bottom is my TM1000 Telemetry module. Hooked to that and velcro’d to the top of the wing tube is the attached GPS sensor (there are other sensors including temp, ignition voltage, and 3 Axis G Force). Further back is my Spektrum 9110 PowerSafe receiver with all 4 remotes scattered about. Behind that you can see the pull-pull system for the rudder which is handled with authority by the Hitec 7955TG

This is without question the best flying plane I own or have ever owned. It’s completely honest with no bad habits and is as close to a “go where you point it” flyer as anything I’ve ever seen. The combo is reasonably quiet and has plenty of power thanks to the engine, prop and canister combo. It will climb straight up forever and fly at least sportsman level IMAC on 100 plus degree heat index Indiana summer days… It may be able to do more but it needs a better pilot for that. 😉
Like every aerobatic airplane I’ve ever seen or heard about, it benefits from a few of the standard mixes to perfect it’s capabilities but unlike some I’ve flown, it can fly quite well without any of them.
Unfortunately Wildhare like others in the market, quit ordering and stocking the big planes due to the slow economy in the past few years. That downturn appears to be reversing, so hopefully they will get back in the market soon before the market moves on to other folks who are already shipping new competing products.