
I’ve spent a fair amount of time just sitting and staring at… by which I of course mean meticulously planning modifications for… the Balsa USA Cub. I have been comparing the J-3 Cub and the PA-18 Super Cub from a visual appearance perspective and one of the first things I realized is that the Super has a slightly different shape to both vertical and horizontal components of the tail surfaces. Looking at the horizontal feathers first, there is a bit of a difference in shape, especially in that the PA-18 has what I refer to as aerodynamic load balancing. In the case of the Super there is a section of the elevator that is in front of the hinge line located at the most outer section of the elevator on each side. This design not only give you increased surface but also decreased load on the servo as the air flow on that part of the elevator will aid in moving the surface in the desired direction. I.E. When you pull elevator the rearmost part of the surface goes up relative to the hinge line and the airflow is fighting this motion which your servo must overcome. The part forward of the hinge line however is moving downward and the air pushing on it is helping to rotate the surface and therefore is assisting the desired motion! This is not only a very noticeable difference visually in the control surface shape and design but it is one that will help to keep the servo(s) on the elevator from having to work so hard! I like that so I immediately decided to incorporate this change. Another nice part of this modification is that it is simple since there is a rib at approximately the correct spot where surgery will need to be performed to make this change!
Of course the horizontal surface is also a bit different shape on the Super versus the standard cub. I haven’t decided if I will do anything to correct that as it would be purely cosmetic… adding very little surface area to the elevator… We shall see. So here is what I did for this first control surface change.
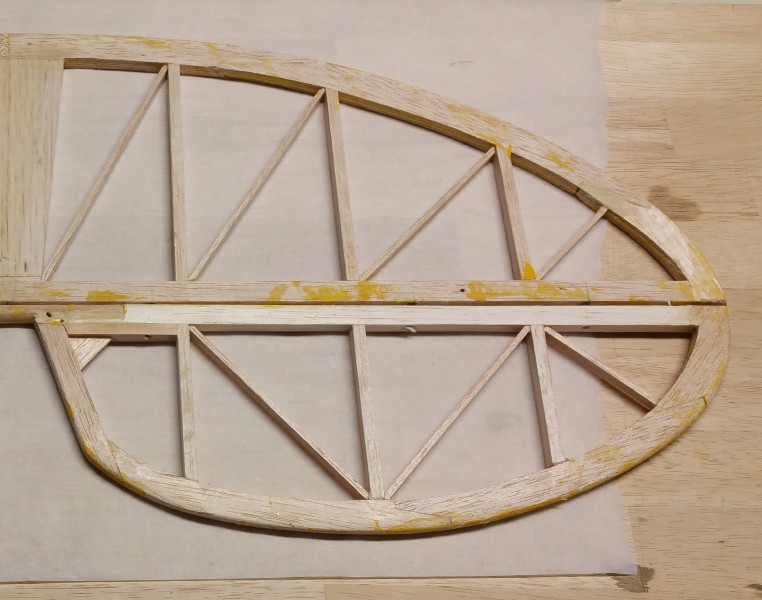
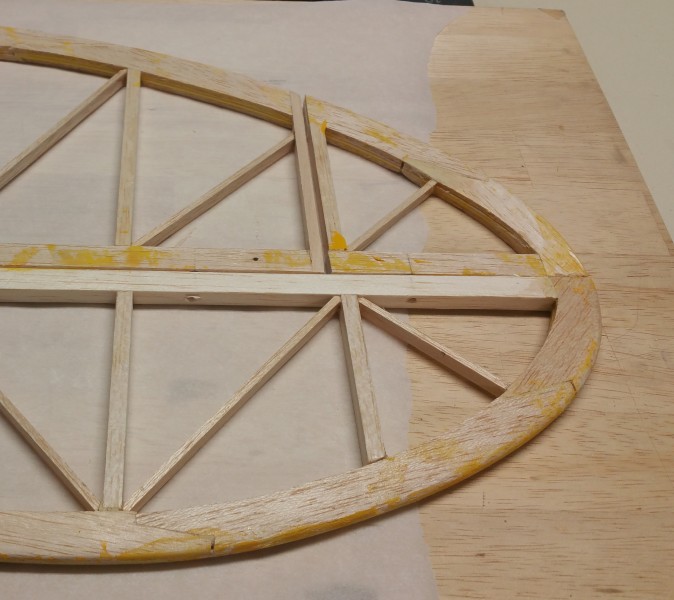
Here is the starboard horizontal surface.
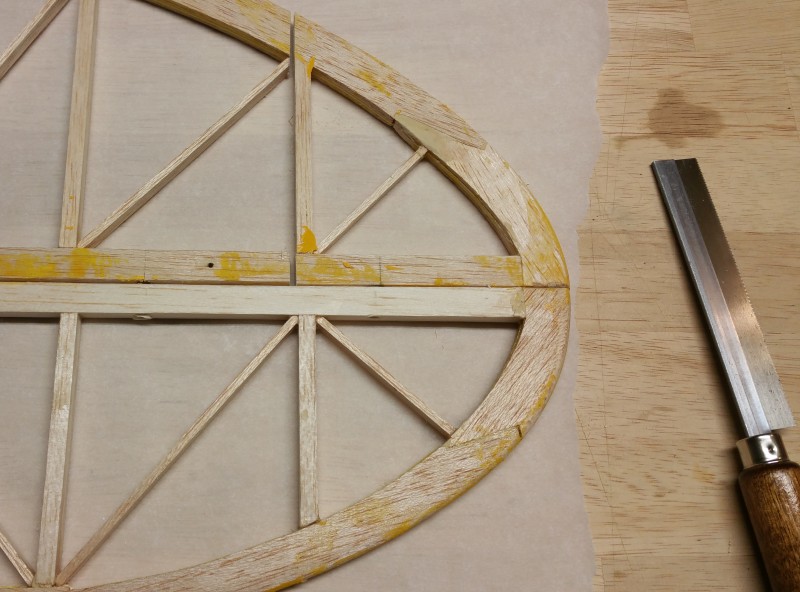
That first rib looks to be in approximately the correct spot so below you can see the first cut has been made right against that rib. Plenty of TLAR involved in this project!
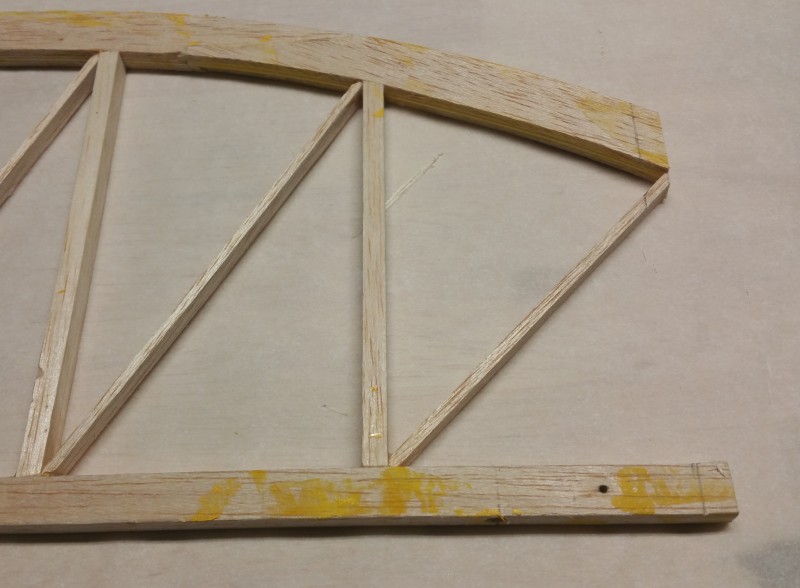
After making this “incision” I then needed to add a rib to the tip of the fixed surface. If I just capped them with a piece of balsa I’d end up with a fixed surface that would be to wide for my elevator to wrap around so I then had to cut off about 5/16ths worth of balsa in order allow for insertion of a new 1/4″ rib (1/4″ x 3/8″ was used as the thickness of the trailing edge is more than 1/4″).
I then installed my new end cap as seen below
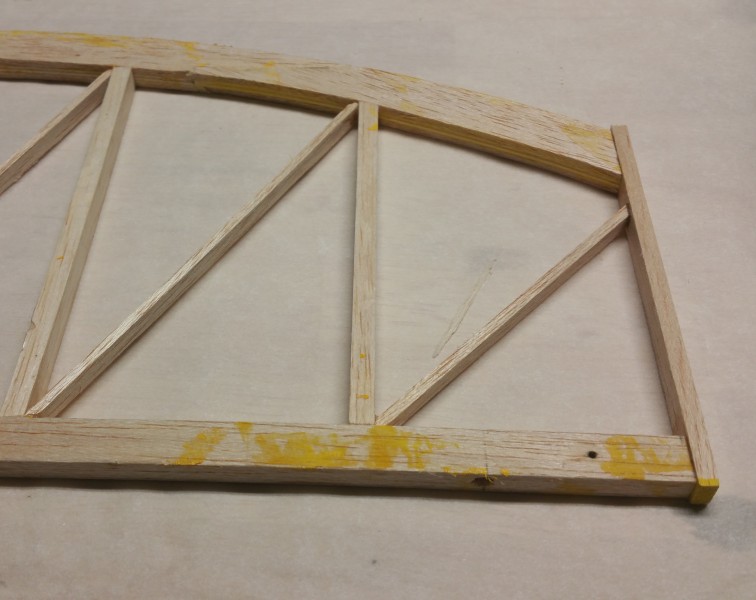
And after a bit of sanding to size I ended up with this
Rinse and repeat for the other end and I am ready to glue the removed part to the moving elevator surface. The builder has done very little shaping of the leading edge surface of the elevator so I think I can glue the removed portion of the fixed surface to the front edge of the moving portion and with just a bit of filling and sanding I should be all set.
I will probably leave the tail surfaces for a bit and work on the wings next as I am in the mood to tackle that project. I’ve been getting nervous about cutting into the wing surfaces for a bit and I think I have my courage screwed up now since this task came off fairly painlessly. I’ll get back to the tail surfaces again and see what can be done to shape up the rudder a bit later.
I have yet to decide if I’m going to do anything else on the elevator before I call that part good and move on but for now I am pleased with my progress. There is at least one big “mistake” that the original builder made that will prohibit me from making this plane truly scale looking… at least it’s a big enough discrepancy that I don’t think I will tackle it. Once I decided that it made me start considering what the limits are going to be in terms of how much effort I am willing to put into this thing. I feel his pain as I have problems when building sometimes telling my left from my right as well but I’m not going to point it out yet. Maybe you can try to spot it someday when the project is finished and I get it ready to fly and take a few photos to post here. It’s nothing that will effect the flight performance of the airplane but there’s no way this thing will ever be in a scale contest! As a result, there is a fuzzy line in the sand in regards to how far I’ll go to make it scale. I want it to be recognizable as a super cub and even as a particular airplane but I’m not going to get to crazy making it perfect. I’m especially leaning toward anything that not only makes it look more Super and less J-3… especially when that affects it’s flying characteristics as well. I guess it’s just going to be Goldilocks scale. Not to much. Not to little. Just right!