
While walking the aisles at the Weak Signals show in Toledo I ran across the Xion Wing Lock System. These little gadgets are an interesting alternative to 1/4-20 or 6mm wing bolts that screw into the wing root to hold the wings in place on your favorite aerobatic aircraft. After watching the demo a couple times and recalling the times I’ve found a wing bolt rolling around in the bottom of the plane or struggled to get a socket wrench or screwdriver onto the wing bolts… I thought these might be an interesting alternative. So wallet a bit lighter, I pocketed two sets of these and moved on with high hopes. Here’s a stock image of the Wing Lock system from the Redwing RC website.

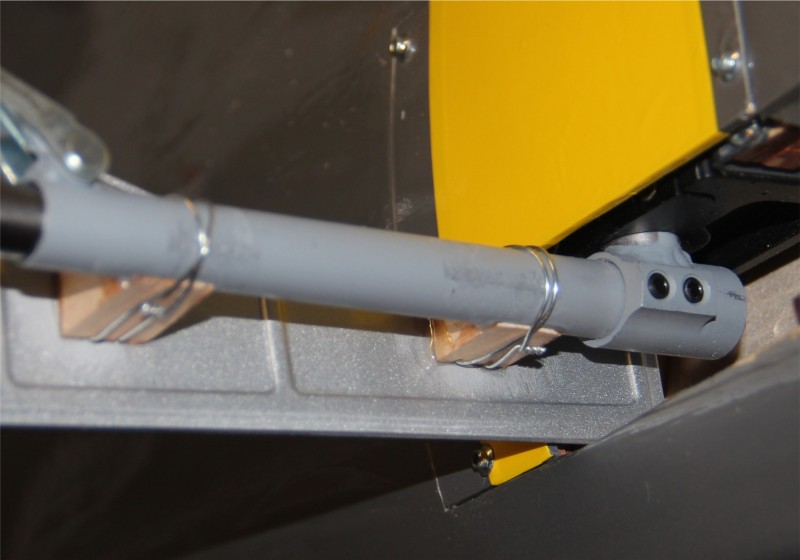
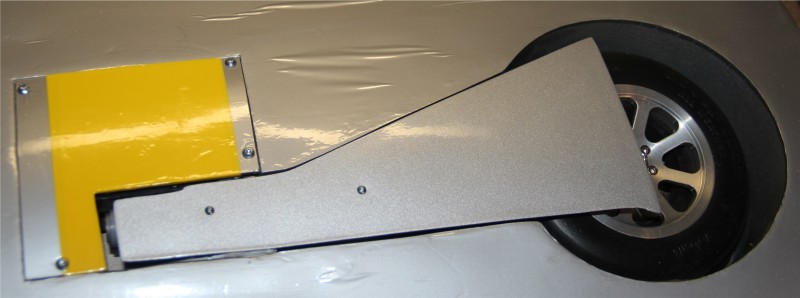
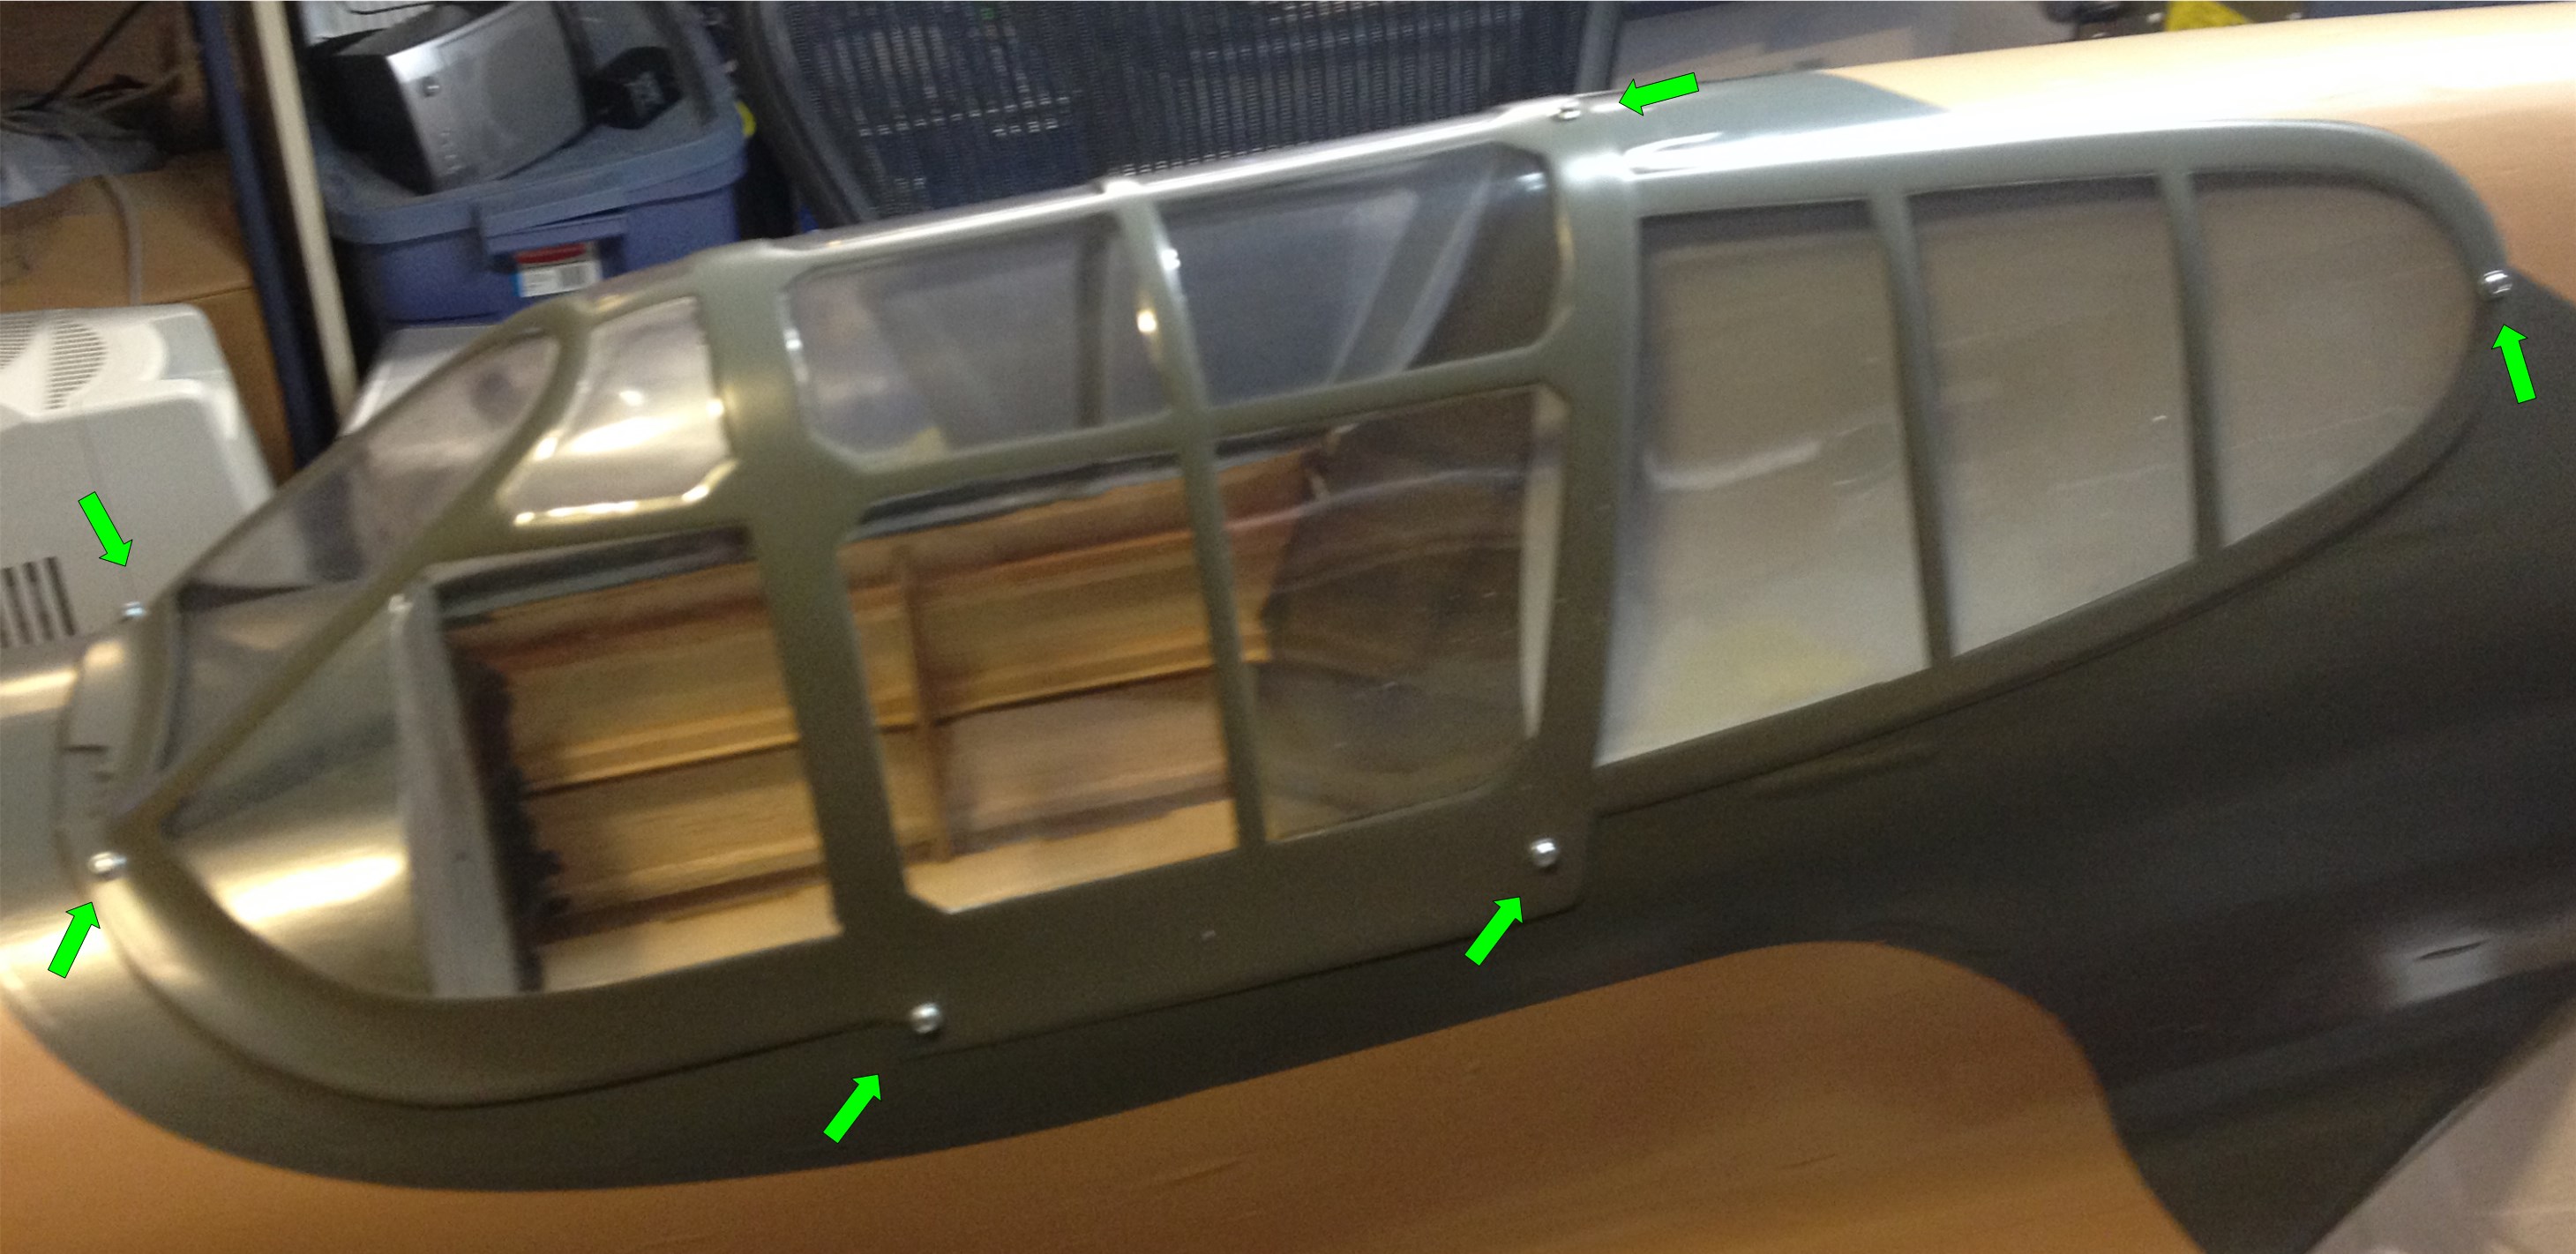
As you can see, the wing lock system consists of a stud that threads into the wing root, a rubber washer that installs onto the stud inside your aircraft body and the lever/cam lock that slots into the stud and, when rotated 90 degrees to flat against the body of the aircraft, tightens the connection. Here is an example installed in my aircraft.

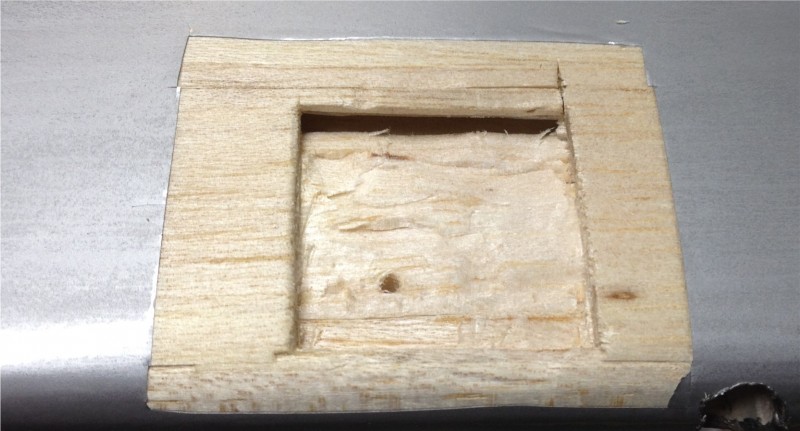
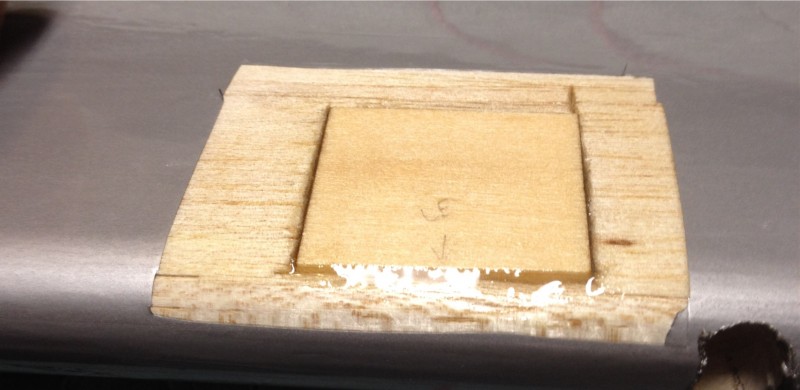
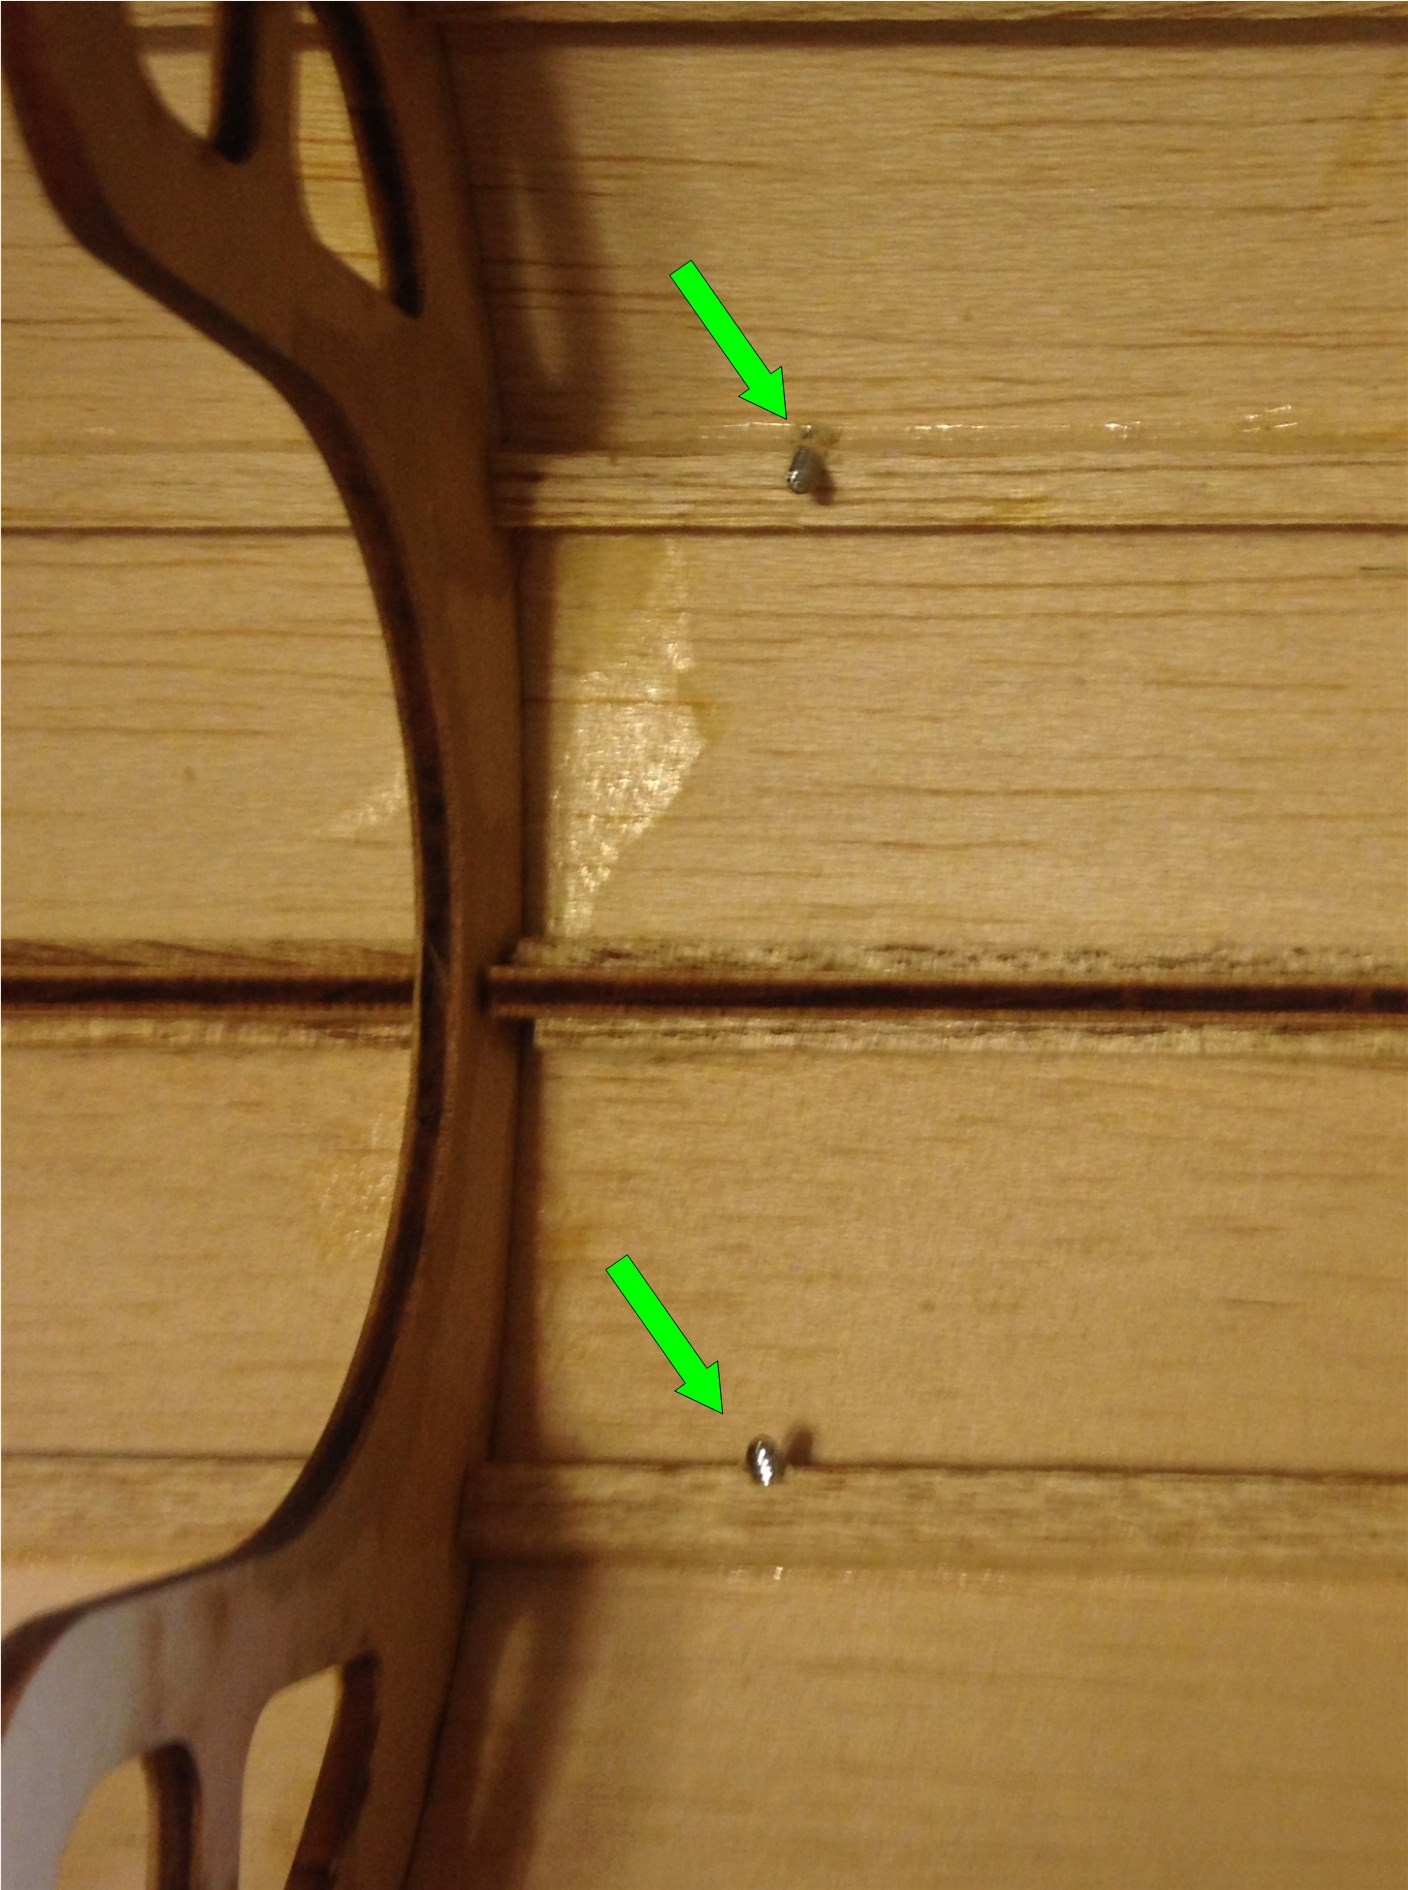
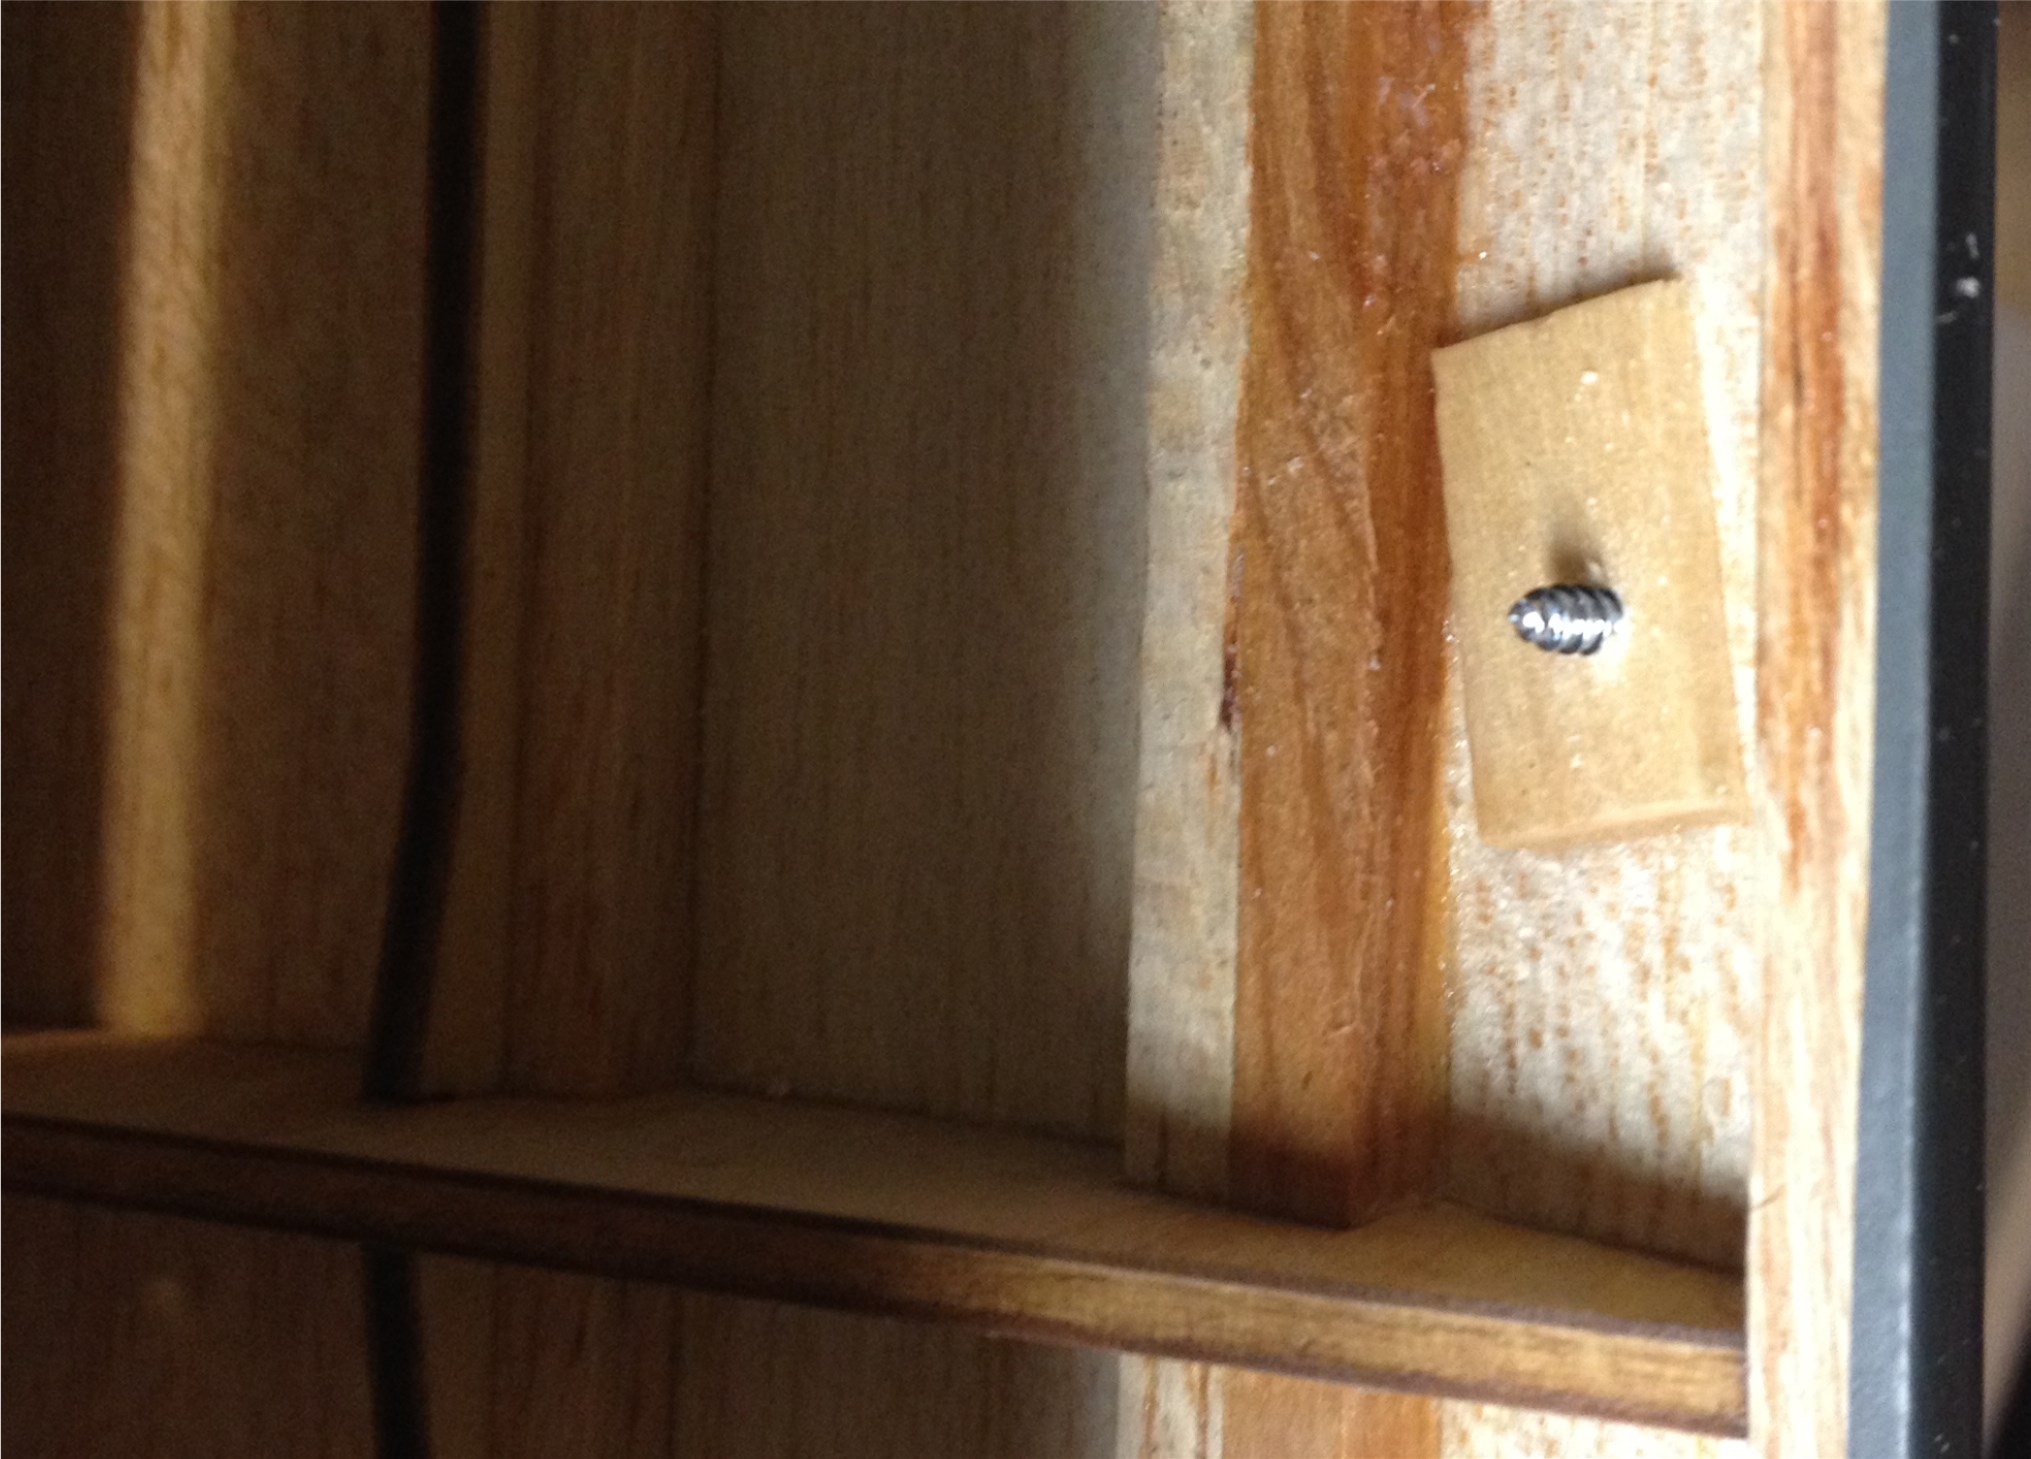
To get to this point you have to drill out the wing bolt holes a bit and screw the studs into the wings. (The enlarged hole is only 1/8″ or less larger so going back to 1/4″ bolts is not a problem if you later decide these are not for you.)
Now I will be the first to admit that I’m a bit of a gadget fan when it comes to RC. I like trying out the new doodads and these are no exception. I must also say that my current system of nylon bolts backed up by clips in the anti-rotation pins works excellently… So why the new system?
In addition to the allure of getting to play with a new gadget, I have always had trouble reaching the wing bolts inside my airframe. The bolts are close up behind the main wing tube and with my large hands it requires a screwdriver to get the bolts inserted and tightened. I was hoping that these wing locks would resolve that issue. They looked very easy to connect at the show…
So are these the ultimate RC gadget? Will they keep your wings firmly in place? Are they the solution to my wing bolt woes? Here’s my experience so far.
I flew 3 times today after installing the Wing Lock system. The wings stayed firmly in place and the wing locks didn’t seem to have budged… Not the slightest movement or loosening was apparent. There’s seems to be a lot of questions out there on the web about whether these things will hold. I’d have to say I’m no longer concerned about that. Based on my experience, I’d have to say that they do work as advertised in this regard. In addition the craftsmanship seems to be excellent and they are very light, which is always a plus.
The major selling point on these seems to be that they make wing assembly quicker and easier. In my particular application it’s a bit difficult to reach the assembly point inside the aircraft body and at first blush this system didn’t make that any easier. My fingers still don’t reach there easily and I can drop these into the bowels of the airframe just as I did the wing bolts! I must say they are significantly faster (no 15 turns of a screwdriver in a tight area) so in that regard the system works as claimed. I do appreciate this because it can be a back breaker at times to reach the wing bolts. Using the wing locks doesn’t change how hard it is to reach this part of the airplane but I can’t blame the Xion folks for how my airframe is laid out and they do go together faster than my old wing bolts so less time spent hunched over is an improvement.
Not much can be done about where I have to reach to attach my wings and where things land when you drop them inside this airframe…. so I’m going to try tethering the cam locks to help limit the number of times I have to fish out the parts! Maybe by doing that and with a bit more practice installing the cam levers I can maximize the benefit of the system.
Overall I like the Xion system and they certainly make assembly of my aircraft a bit quicker. It’s always difficult to justify spending $15-20 when you have something that works already in place but I don’t regret spending the money for the Wing Locks. I think I’ll keep using them and will update with any new revelations or changes I make. So far I’m still thinking these are pretty cool.
(Don’t recommend these anymore… see Part 3)

![IMG_0931[1]](http://flyrc.info/wp-content/uploads/2014/01/IMG_09311.jpg)
![IMG_0933[1]](http://flyrc.info/wp-content/uploads/2014/01/IMG_09331.jpg)
![IMG_0934[1]](http://flyrc.info/wp-content/uploads/2014/01/IMG_09341.jpg)

![IMG_0870[1]](http://flyrc.info/wp-content/uploads/2013/12/IMG_08701.jpg)
![IMG_0882[1]](http://flyrc.info/wp-content/uploads/2013/12/IMG_08821.jpg)
![IMG_0891[1]](http://flyrc.info/wp-content/uploads/2013/12/IMG_08911.jpg)