
Ever since I picked up my Carbon Z Cub and read the part in the manual about a GoPro camera mount… well I knew that was going to cost me a bunch of money… and I’m not talking about just the cost of the GoPro mount! When I saw that the GoPro Session had dropped to under $200… well there goes my RC budget!!
You can see the mount and camera at the following links if you now suddenly “need” one like I did!
So over the holidays, with the help of some gift money I got all the goodies and by the time our annual freeze fly came around I was ready. Here is a compilation of my first two flights of 2016. One with the camera perched on the top mount and one with it hanging from the bottom.
By the time I got a chance to go up again the wind was a bit higher and I was less worried about the camera falling off… which it showed no signs of doing in spite of the 25 degree weather and the several loops, rolls, etc…
I used a peel and stick type of mount on the bottom of the airplane (on the plastic belly pan area) and the aforementioned mount from E-Flite for the top mount. I don’t think a tape on type would adhere to this foam well enough and it would certainly come lose if applied to a painted area as the paint on this airplane just isn’t that securely adhered! One of it’s few faults.
Here are a couple pics showing the mounting process for the top mount. in case you are interested in how that was done… First I sliced the foam so that the “fin” on the bottom of the mount could easily insert into the foam at the desired mount location. Placing the mount in place I outlined the area for it with red dry erase marker so that I could easily wipe it away later.
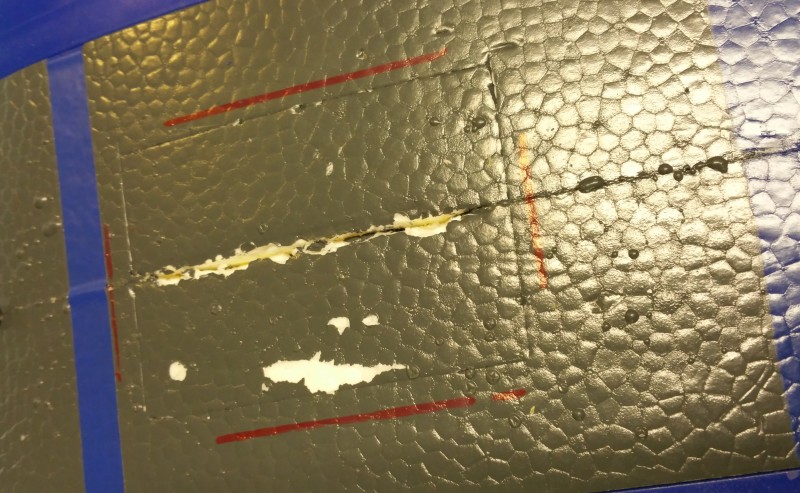
I then used tape to peel some paint off the selected area.
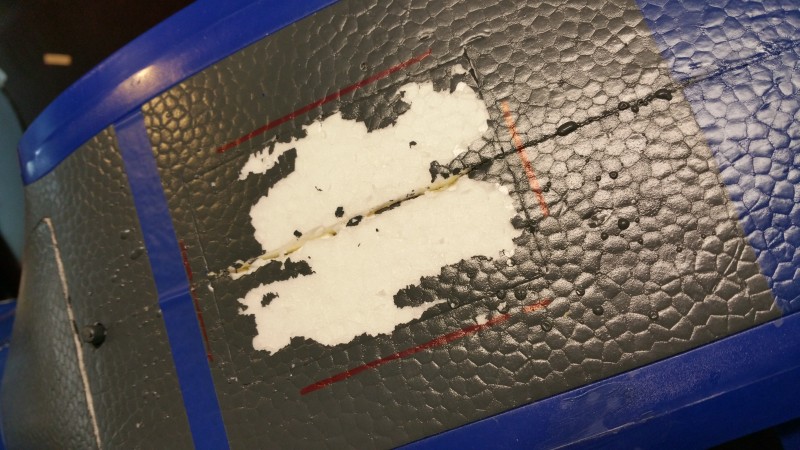
Once finished I wiped away the marker with the aid of some alcohol. Then I mixed up some epoxy and slathered it on the fin and the bottom of the mount generally. I then placed the mount on the prepared area, insuring the fin had glue applied and went snugly into the sliced open slot. Be sure the glue doesn’t get in the slot areas where the camera mount snaps in or this will all be for naught! Wait 30 minutes for the epoxy to dry (actually I wouldn’t trust it until it dried overnight) and there you have it.
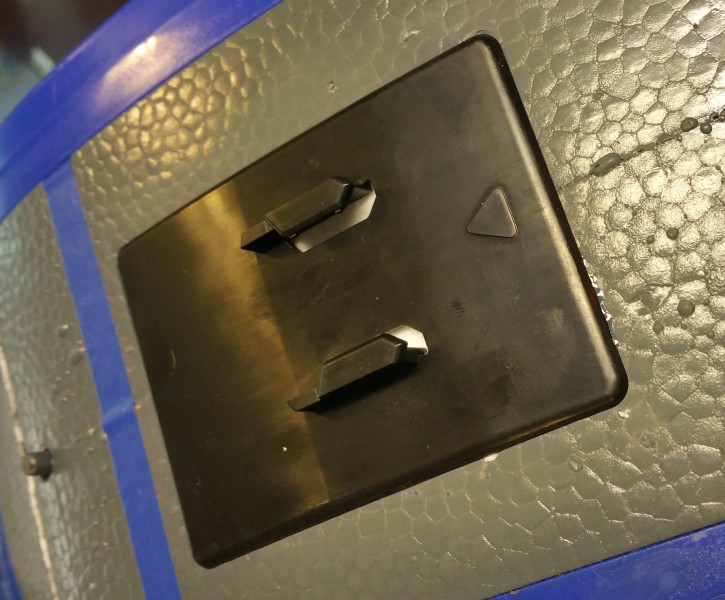
I have noticed that the mount is tighter/works better if you insert the GoPro latch assembly from the back. The other direction works but it is looser and I’d be concerned the camera bouncing around and wiggling a bit would affect video quality. The true GoPro stick on mounts don’t seem to have this issue so just be aware.
Hope you enjoy the videos. I’m just getting used to video editing so am hoping to get even better stuff in the future!